DIY
After completing the lab, the player does DIY
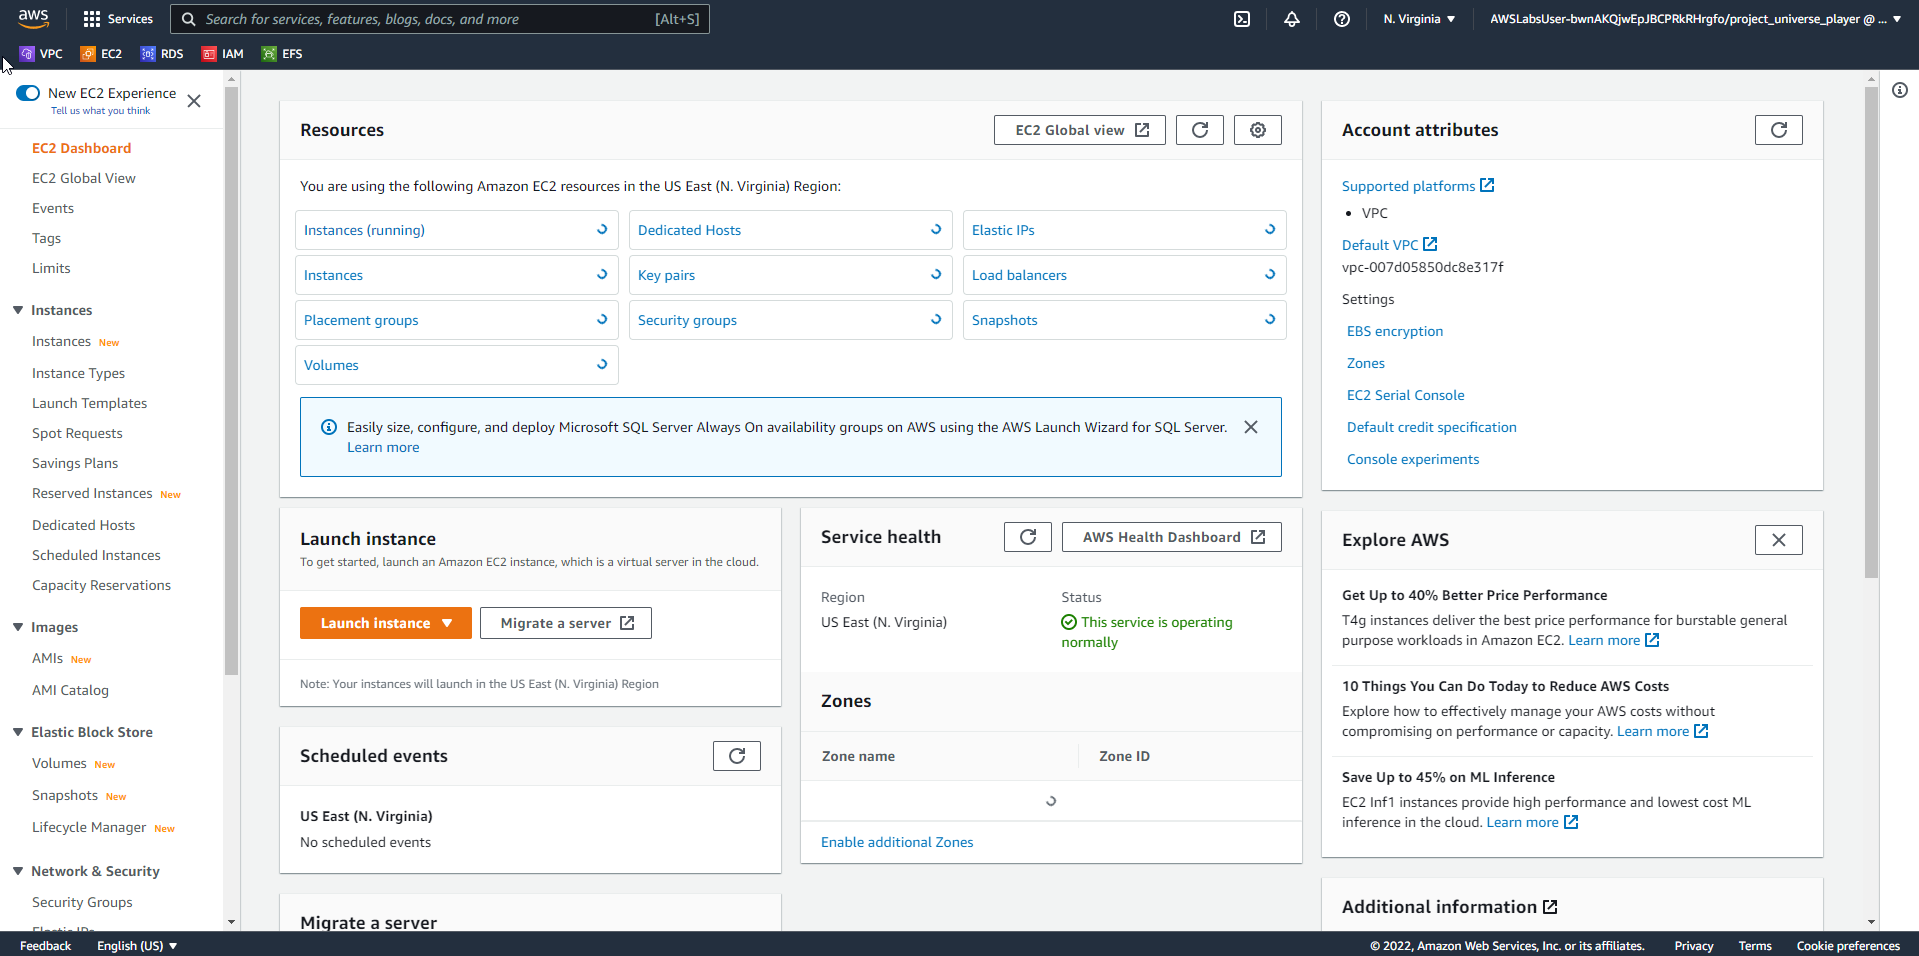
- In the AWS Console interface
- Find EC2
- Select EC2

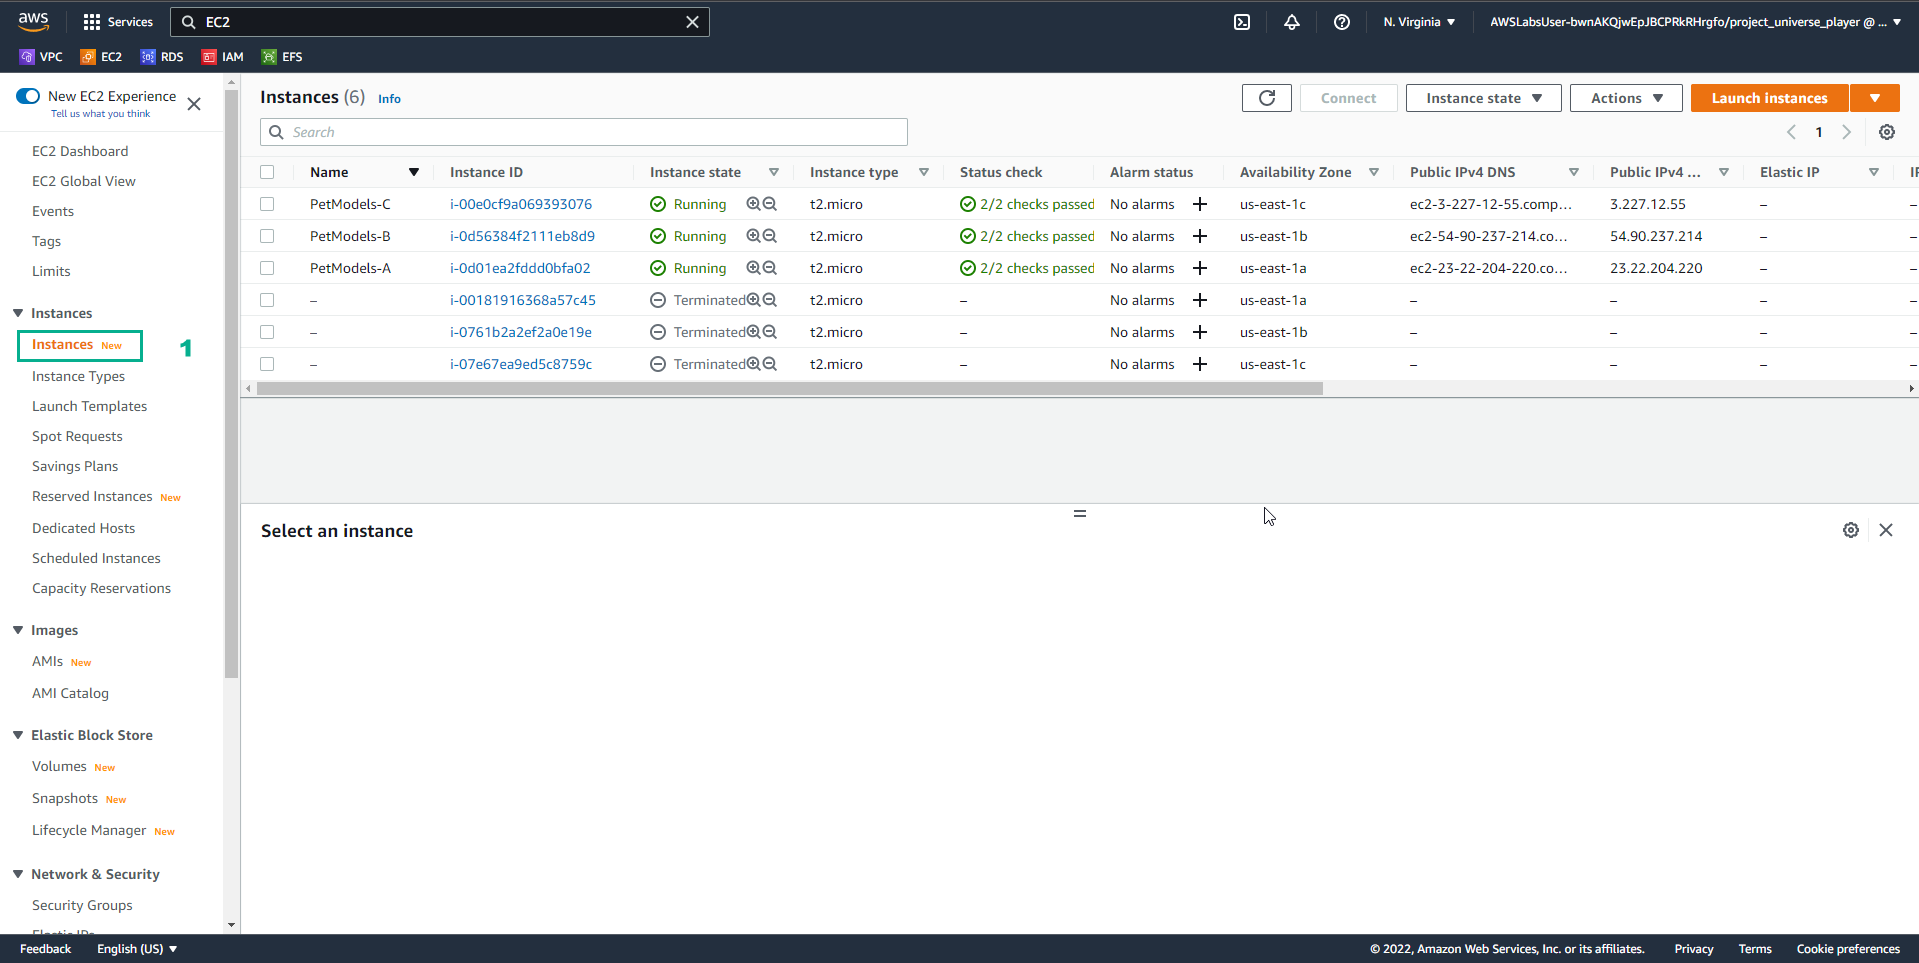
- In the EC2 interface
- Select Instances
- View the instance
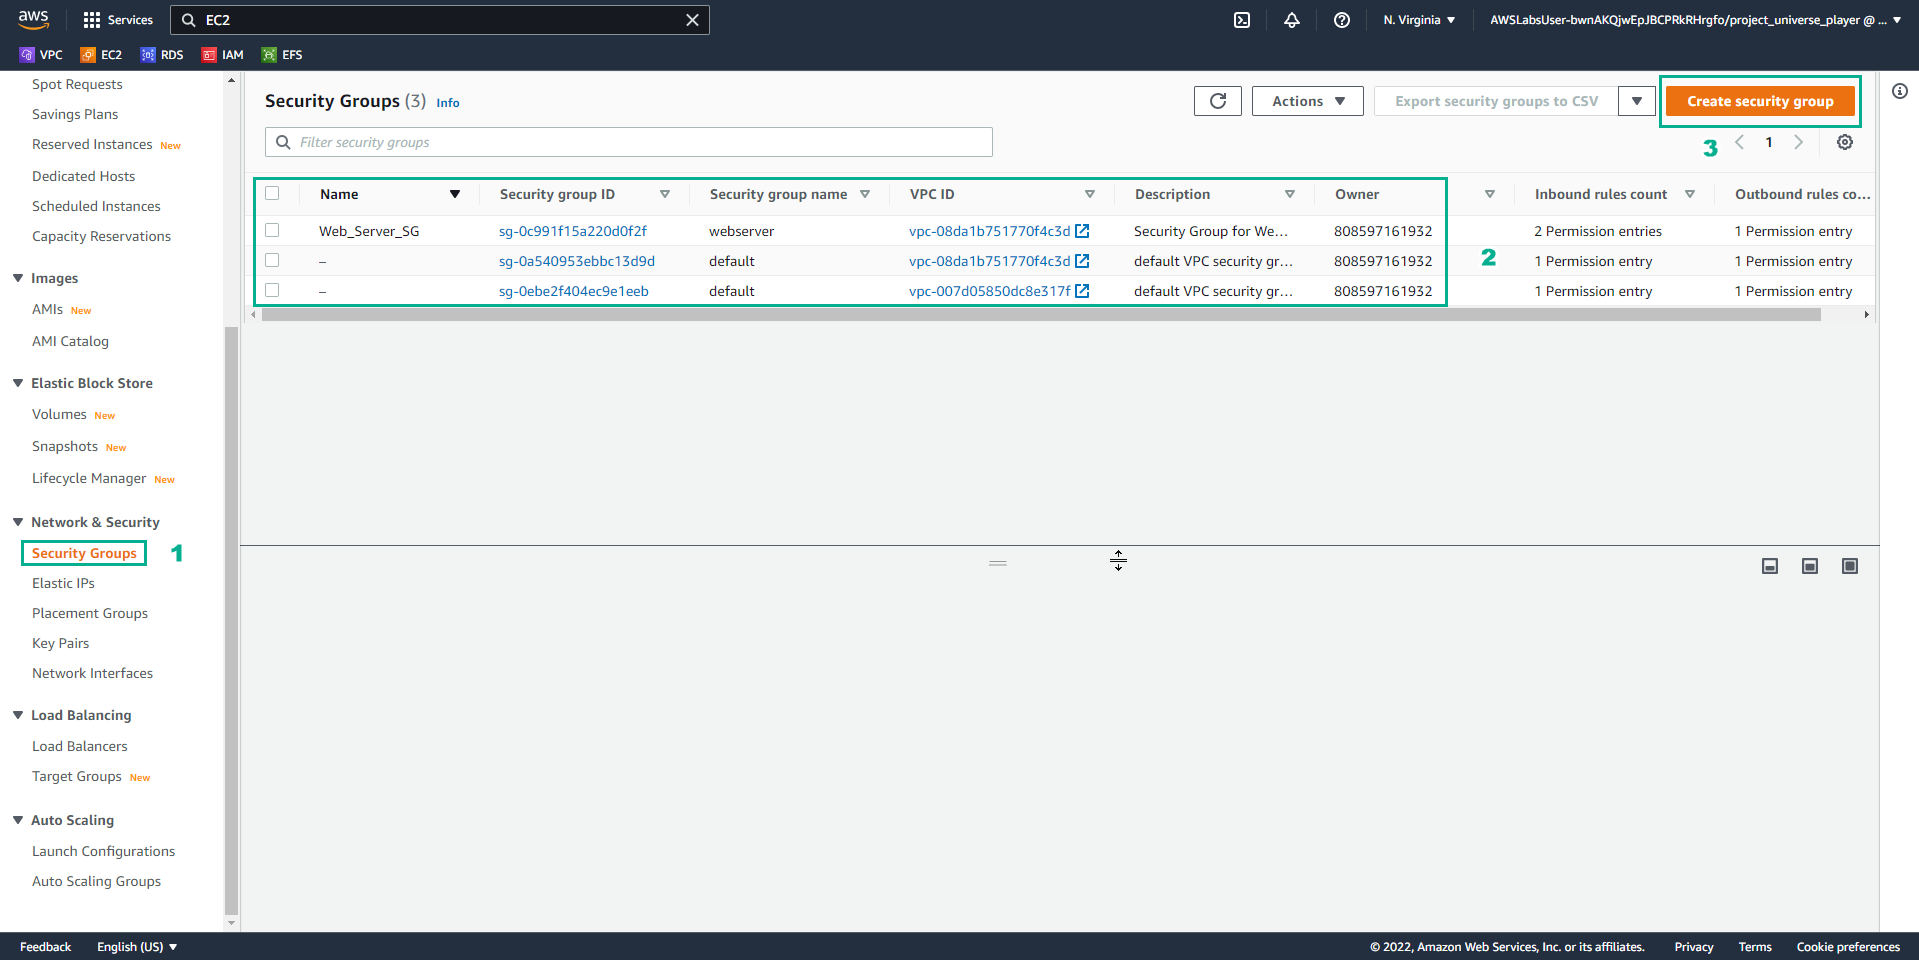
- In EC2 interface
- Select Security Groups
- View Security Groups
- Select Create security group
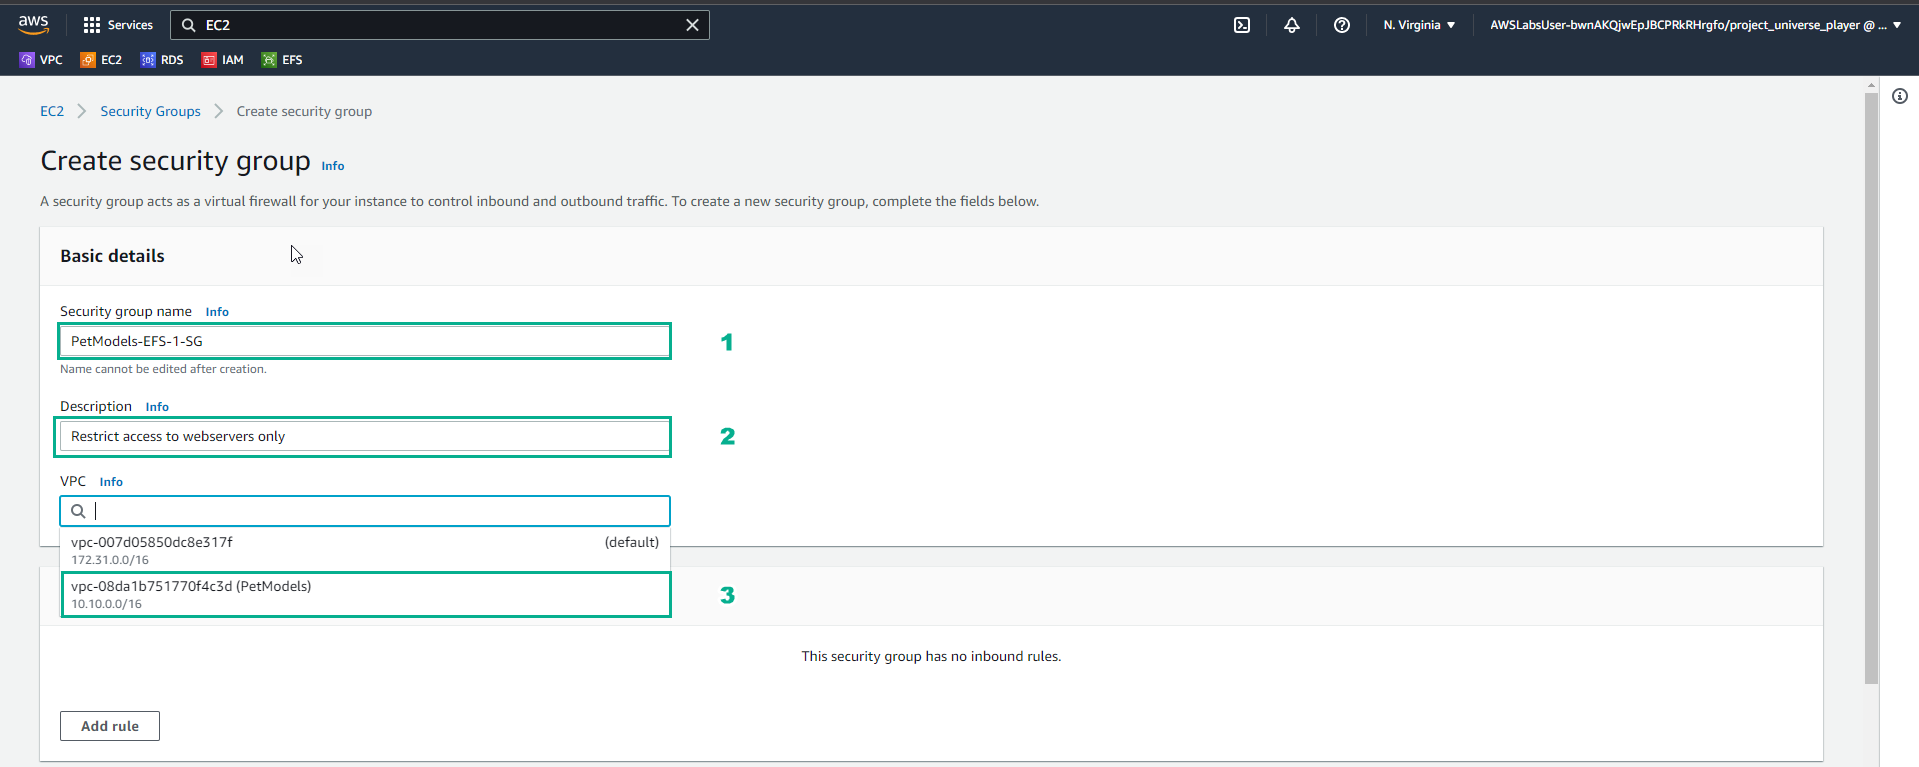
- In the Create security group interface
- Security group name, enter PetModels-EFS-1-SG
- Description, enter Restric access to webservers only
- Select PetModels VPC
- In the Create security group interface
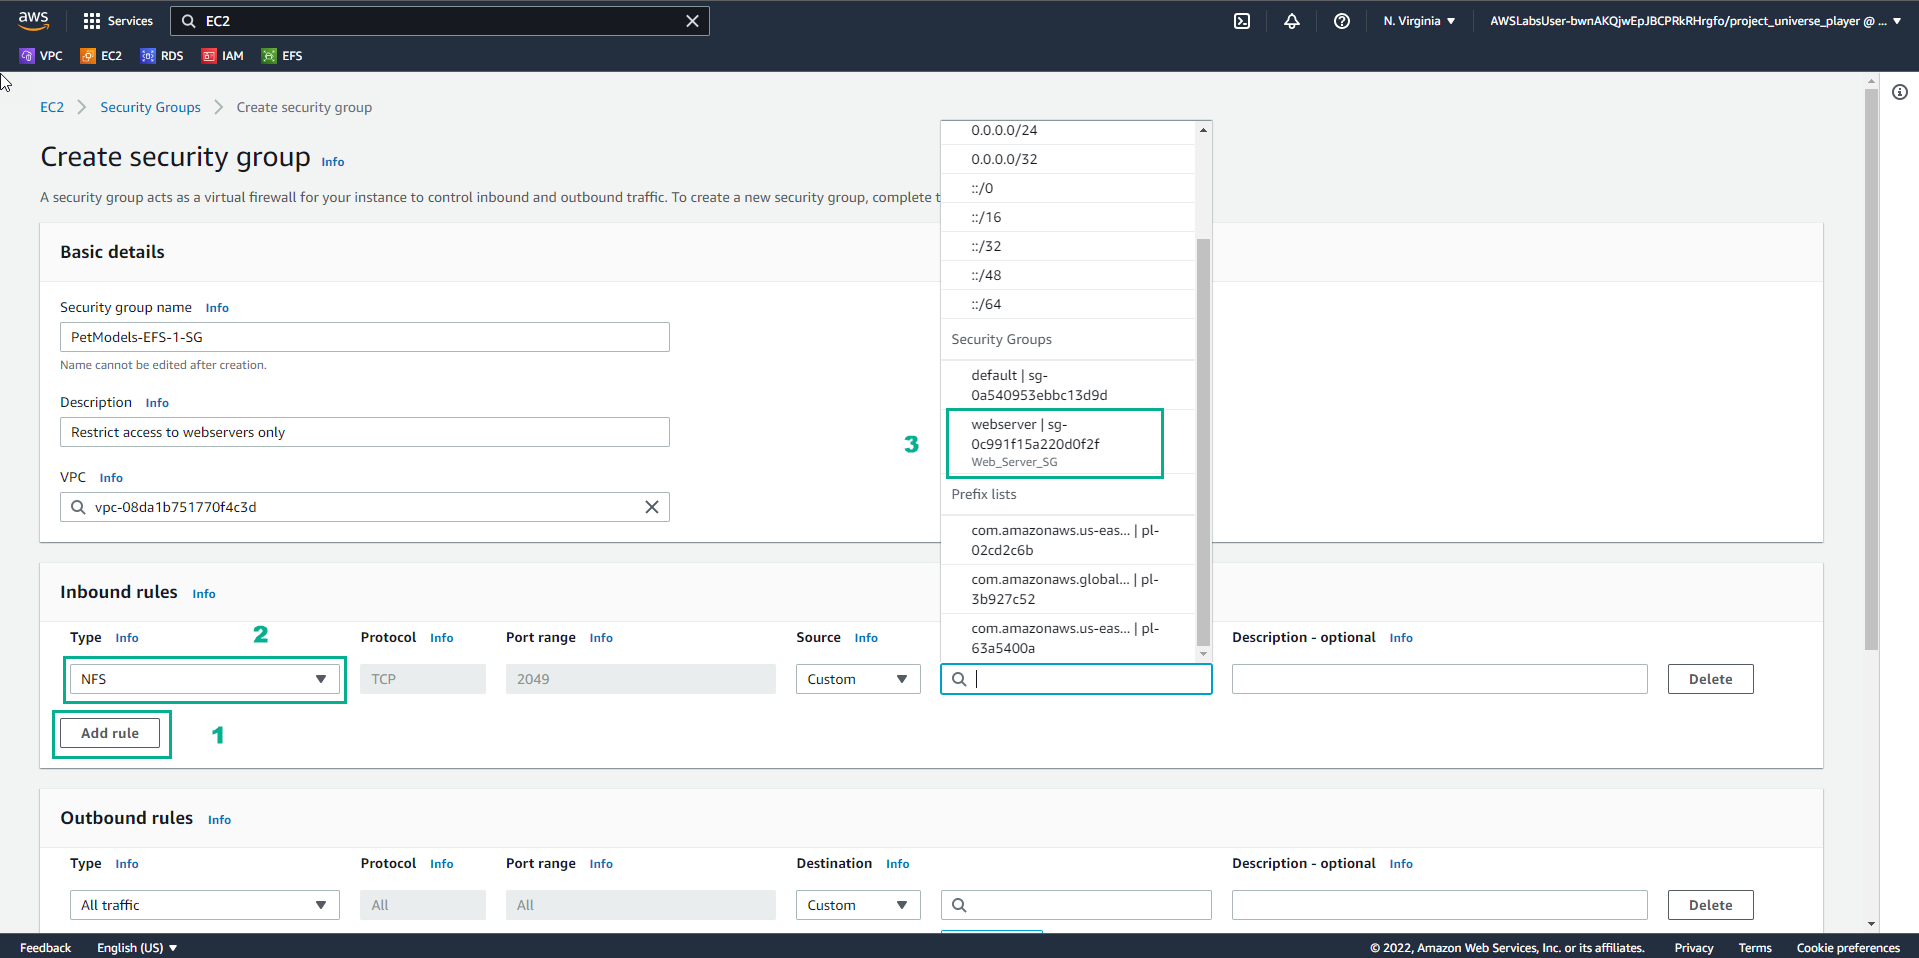
- Select Add rule
- In Inbound rules, select NFS
- Select webserver Security group
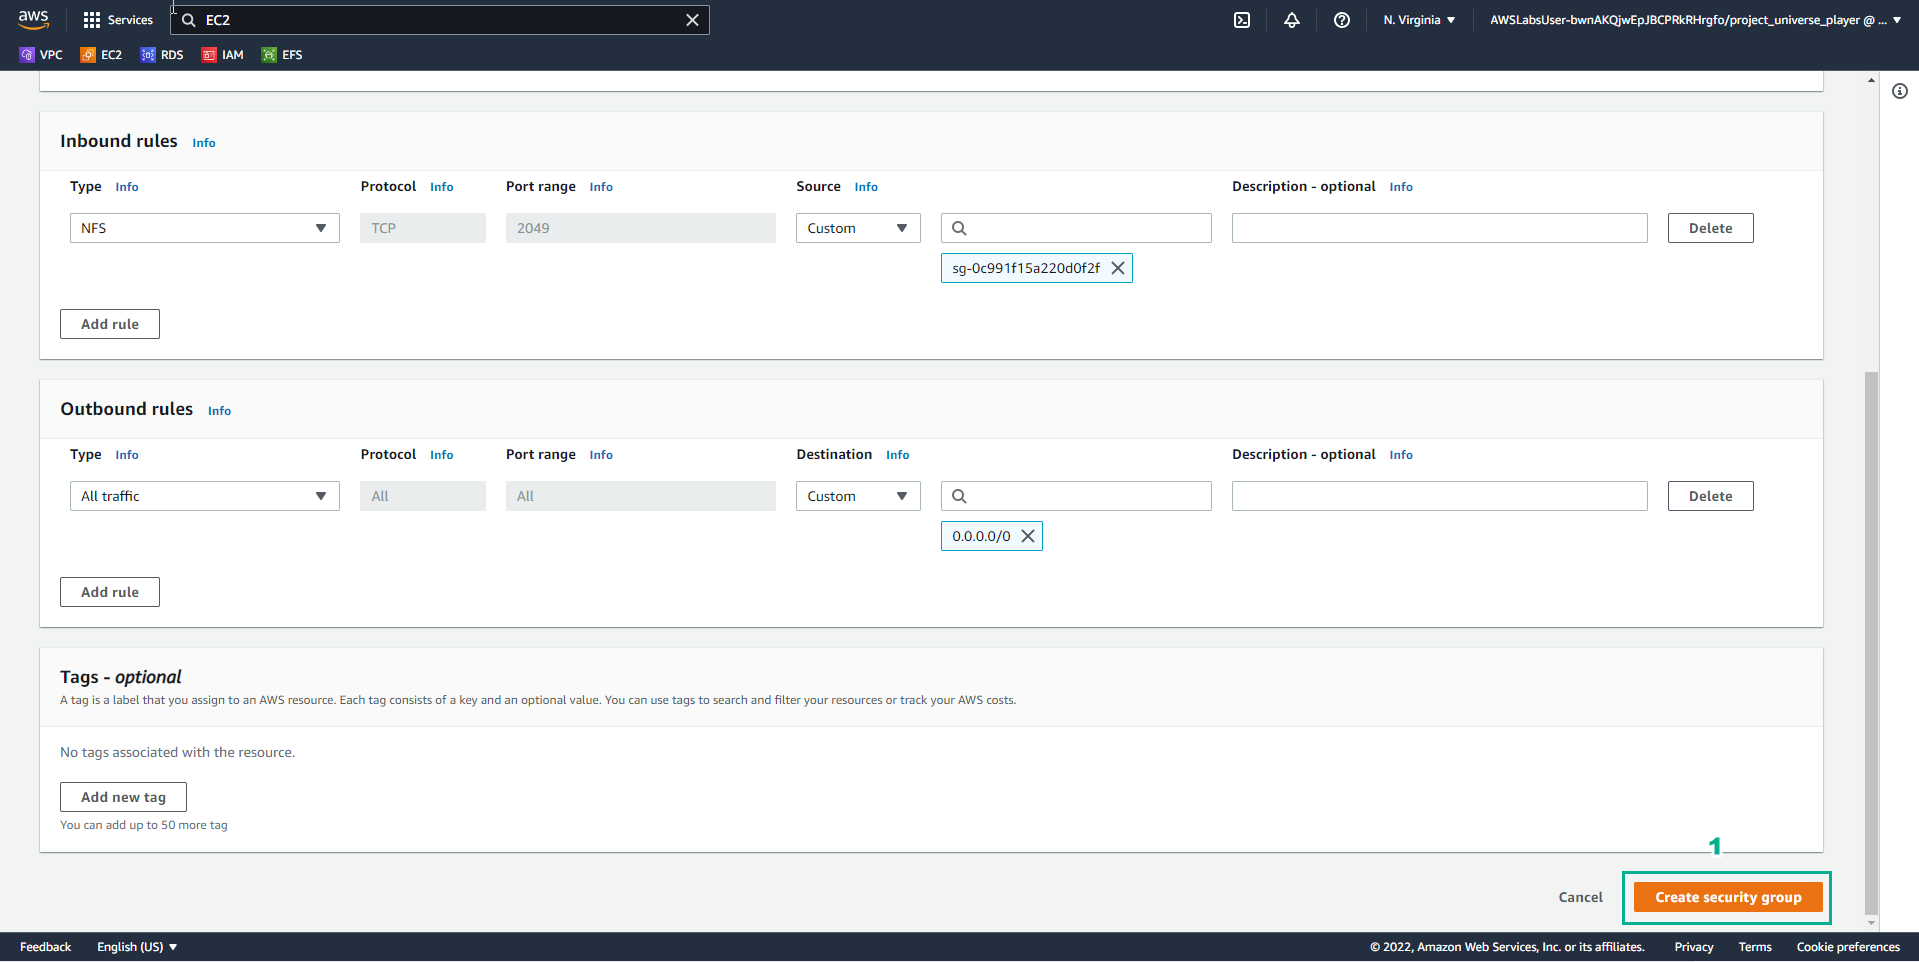
- In the Create security group interface
- Select Create security group
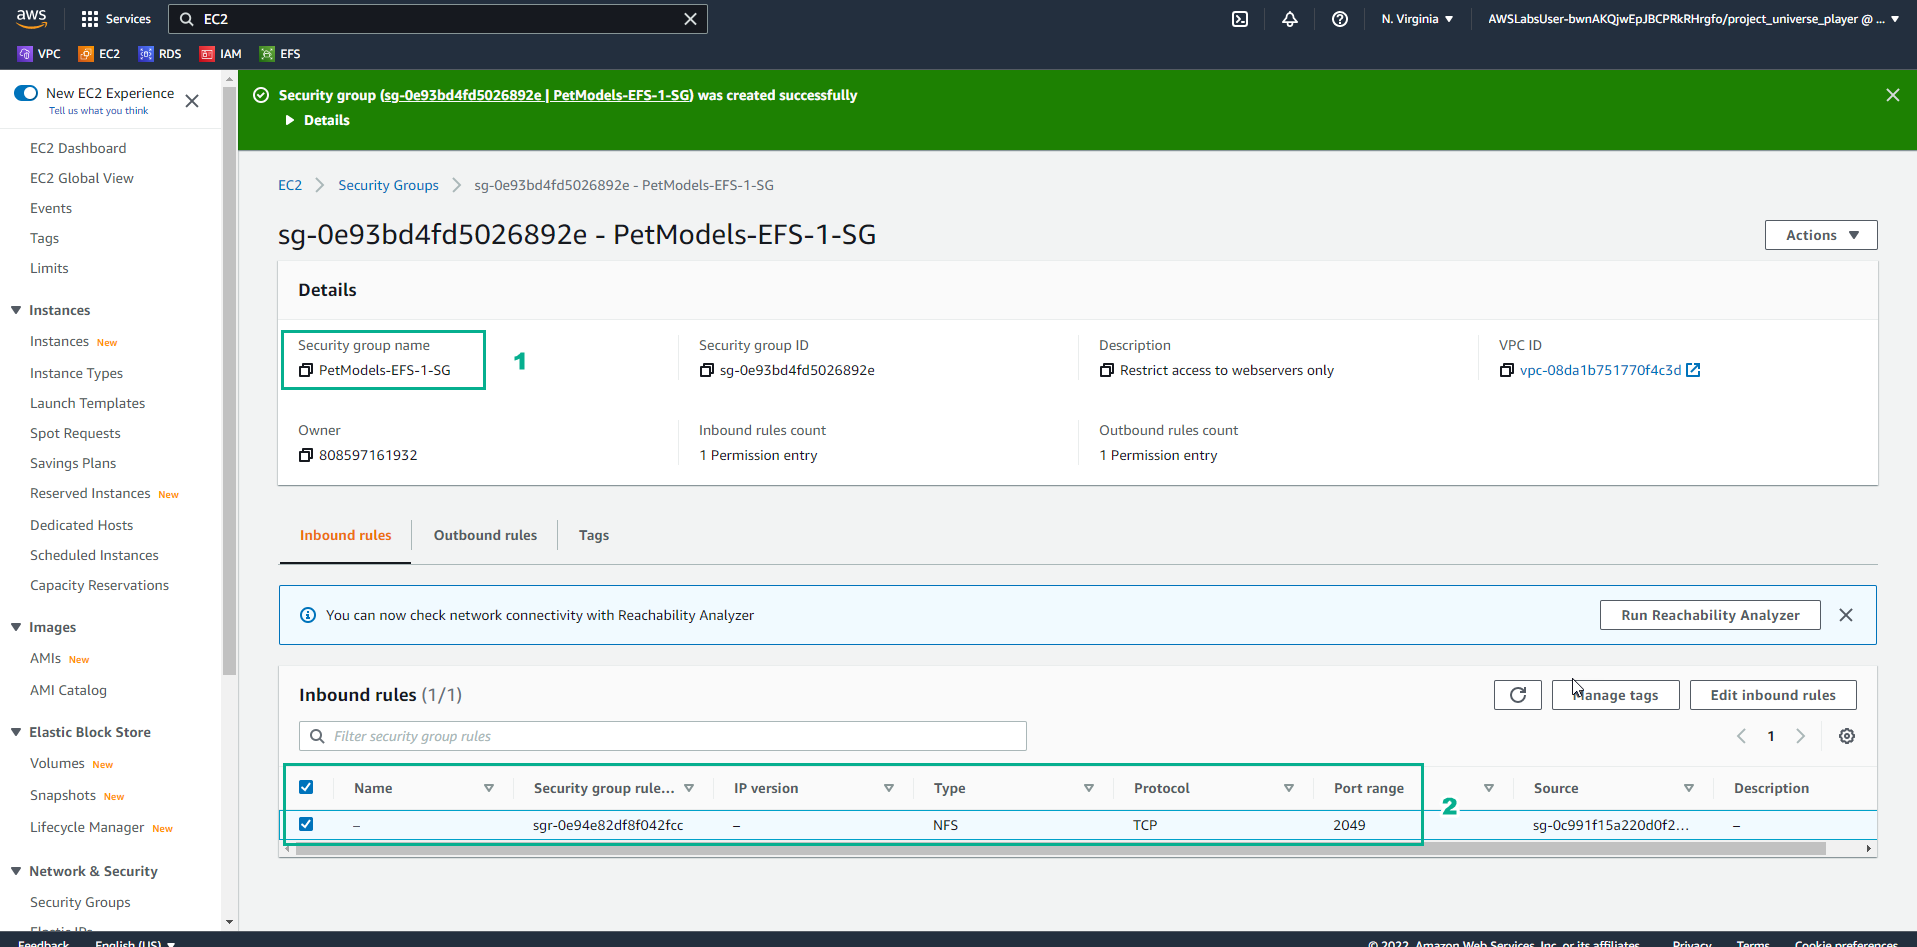
- In the Security groups interface
- View Security group name
- View the Inbound rules
- In the AWS Console interface
- Find EFS
- Select EFS

- In the EFS interface
- Select Create file system

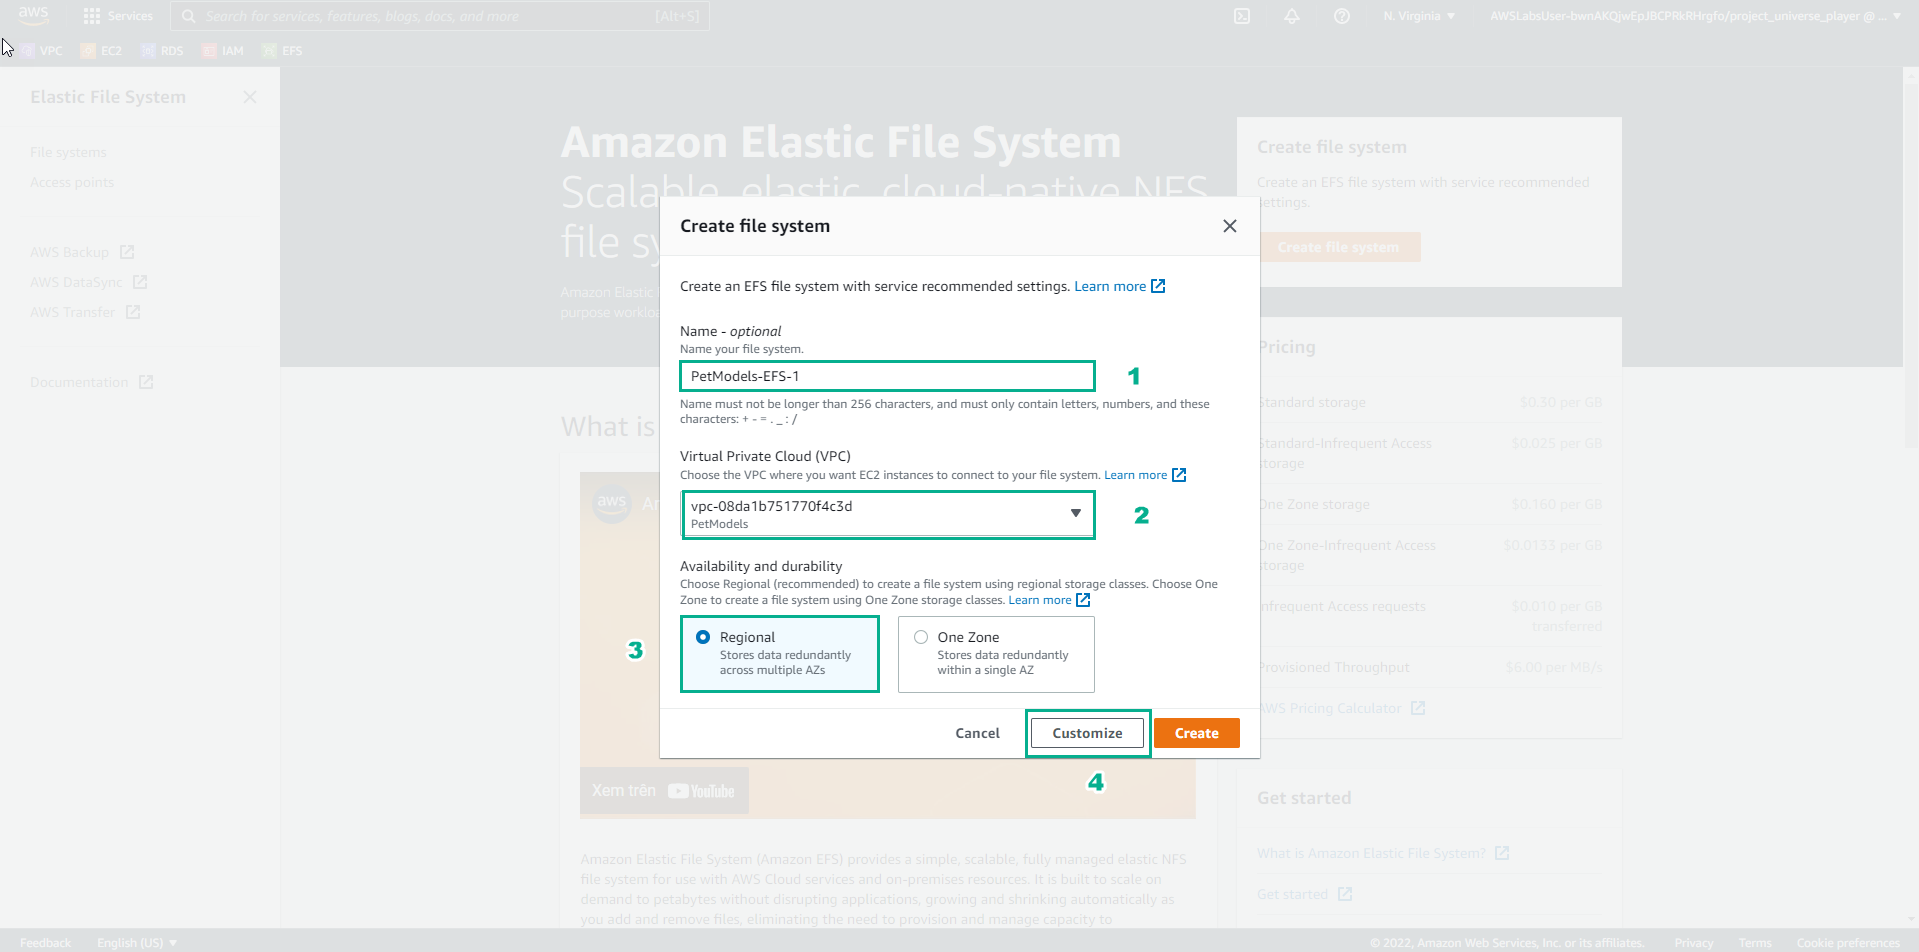
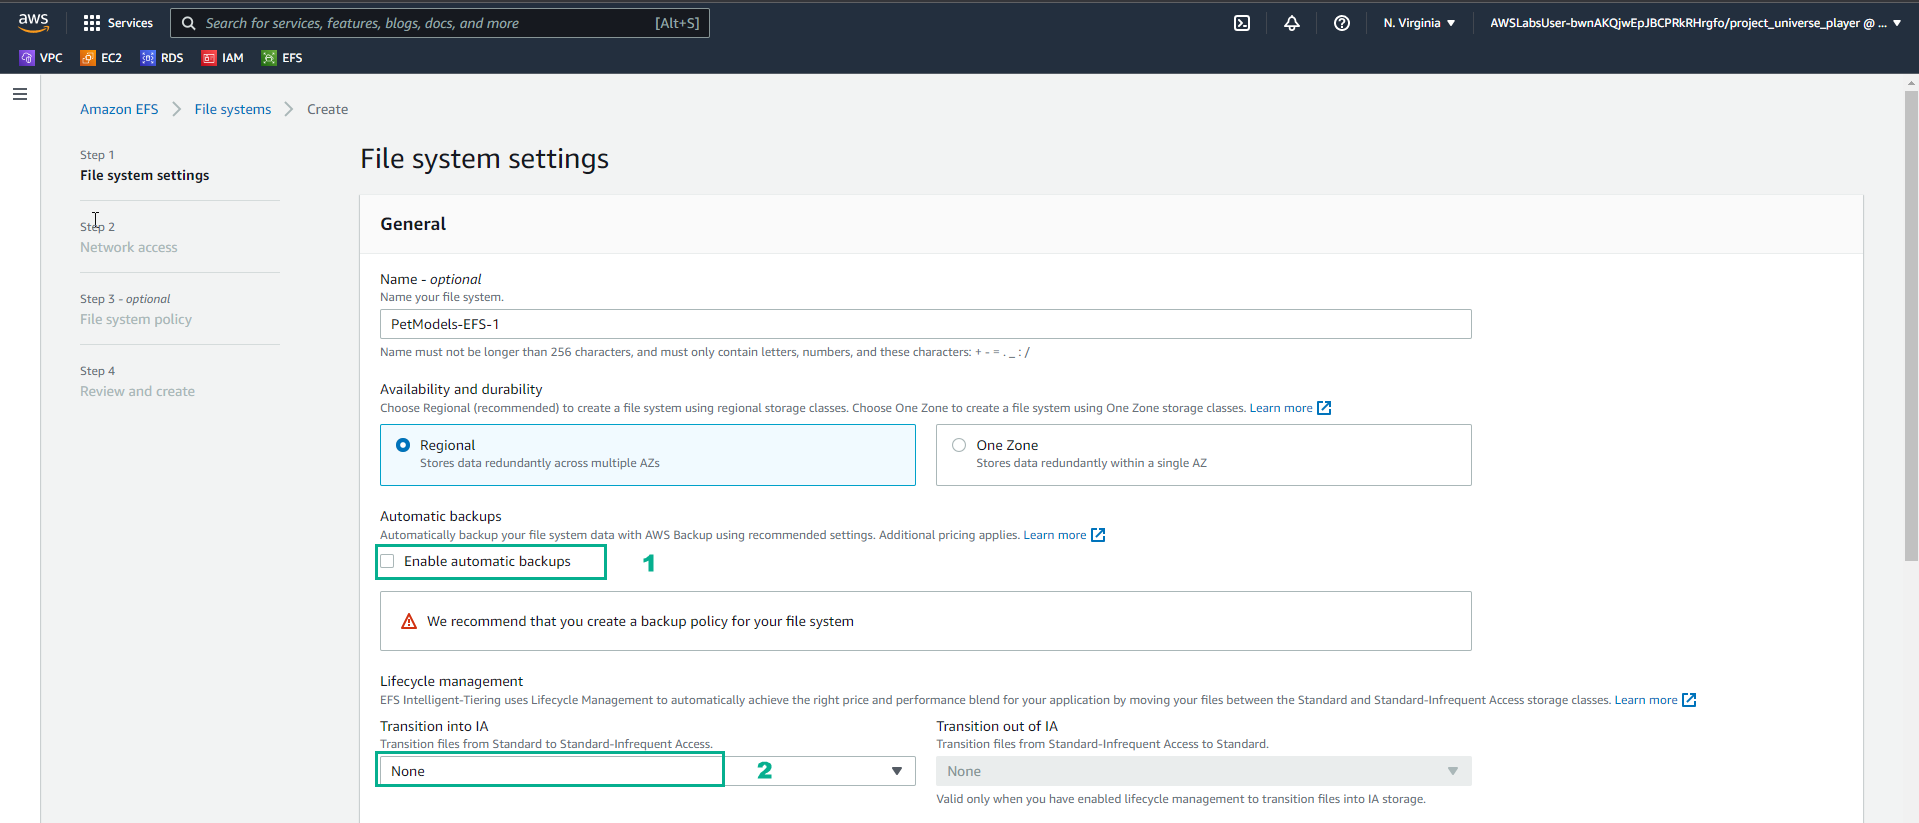
- In the Create file system interface
- Name, enter
PetModels-EFS-1 - VPC, select PetModels
- Select Regional
- Select Customize
- In the File Systems interface
- In Automatic backups, uncheck Enable automatic backups
- In Transition into A, select None
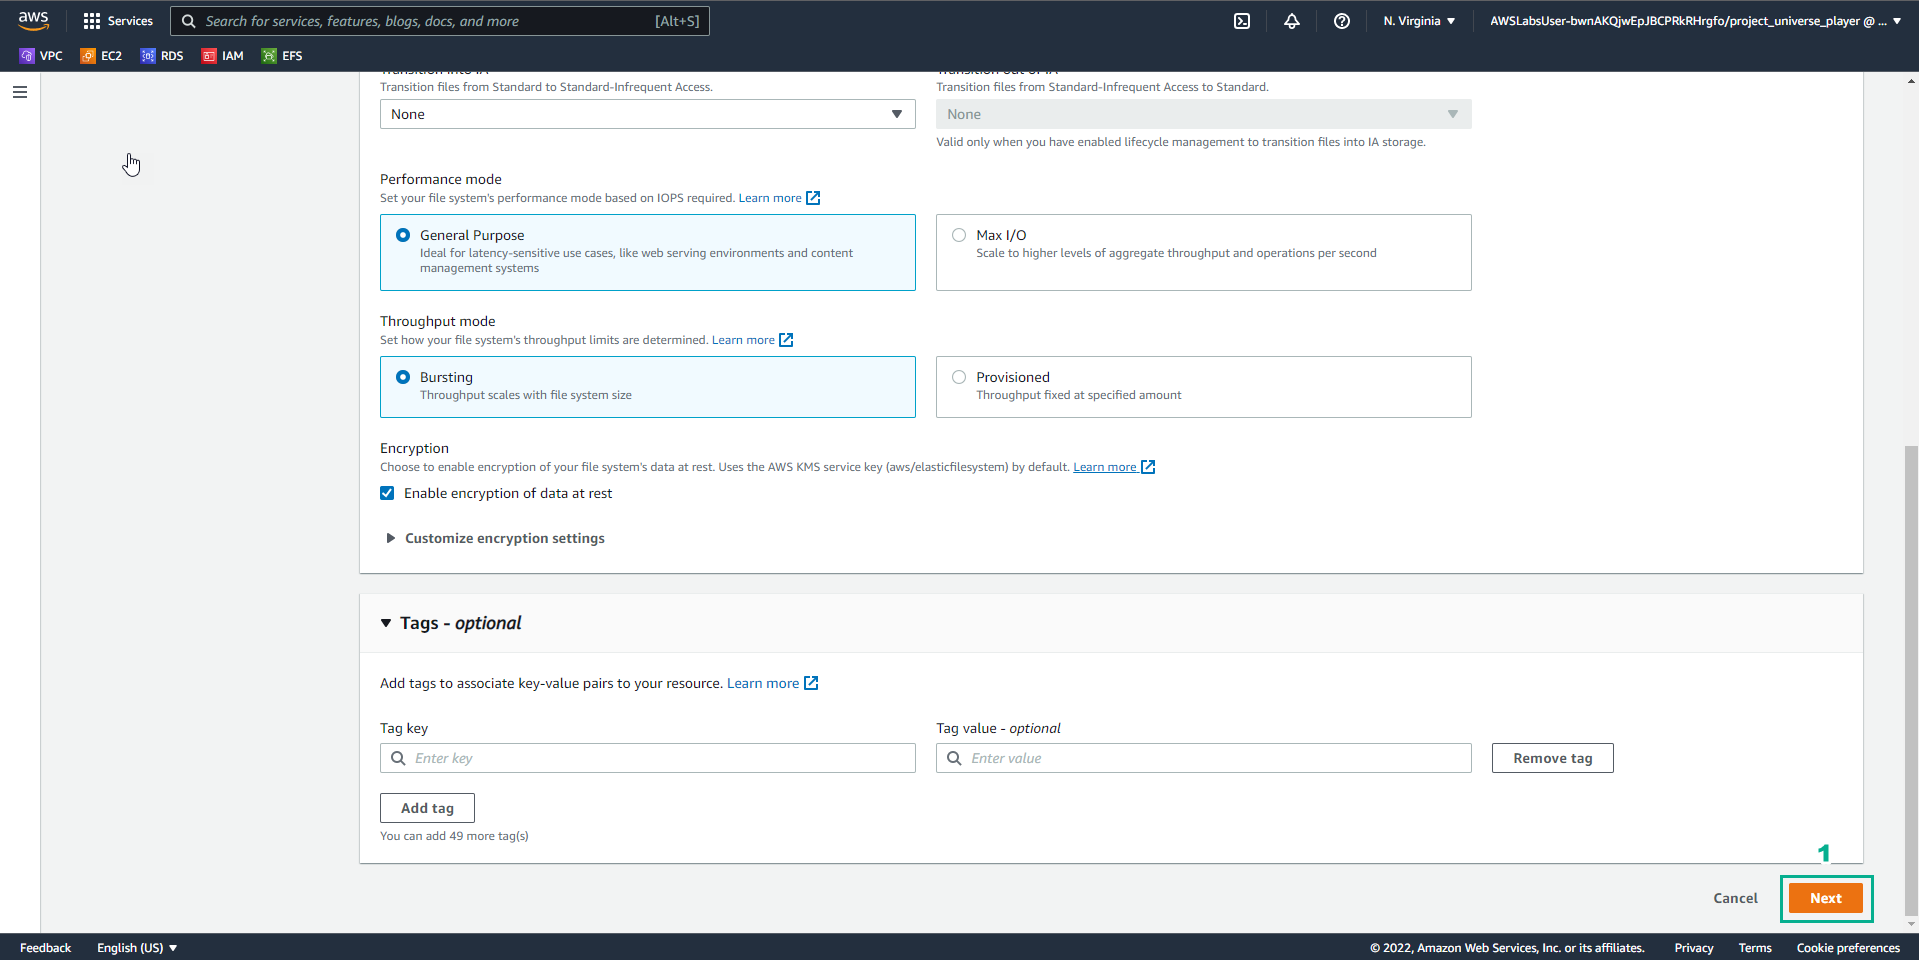
- In the File systems interface
- Select Next
- In the Network access interface
- Uncheck security group of us-east-1a
- Select Remove the remaining AZs
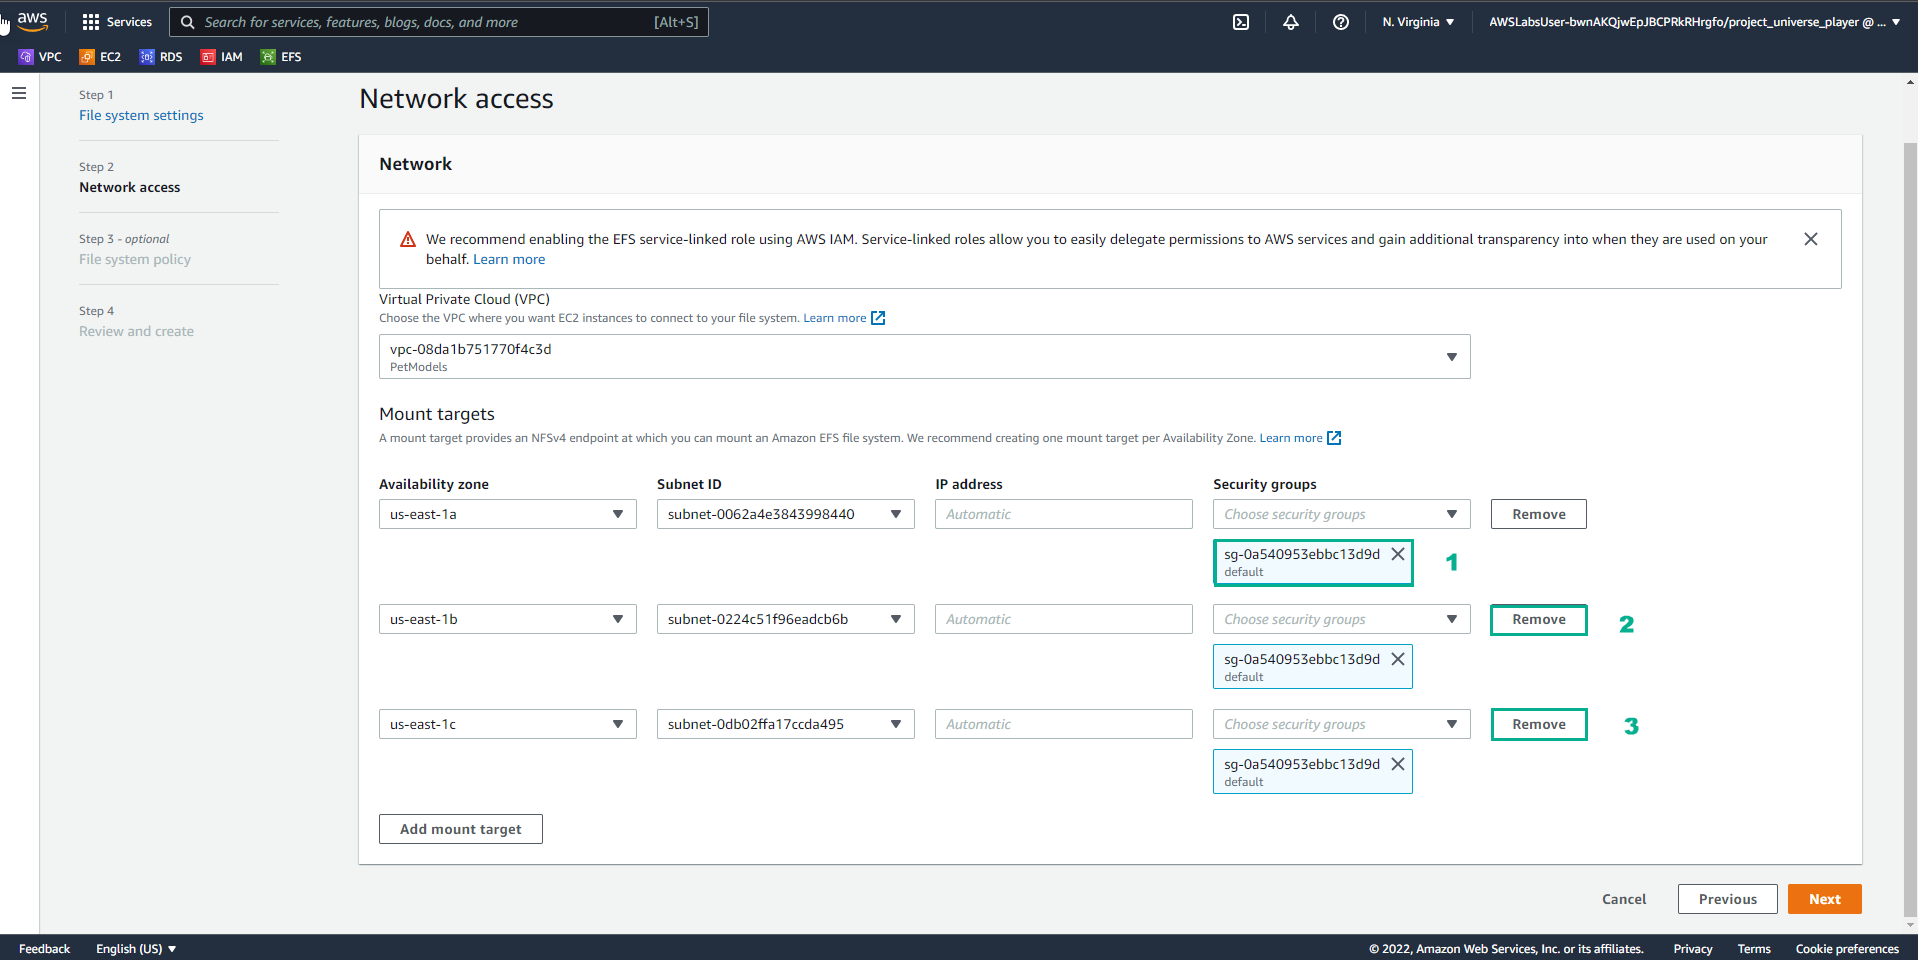
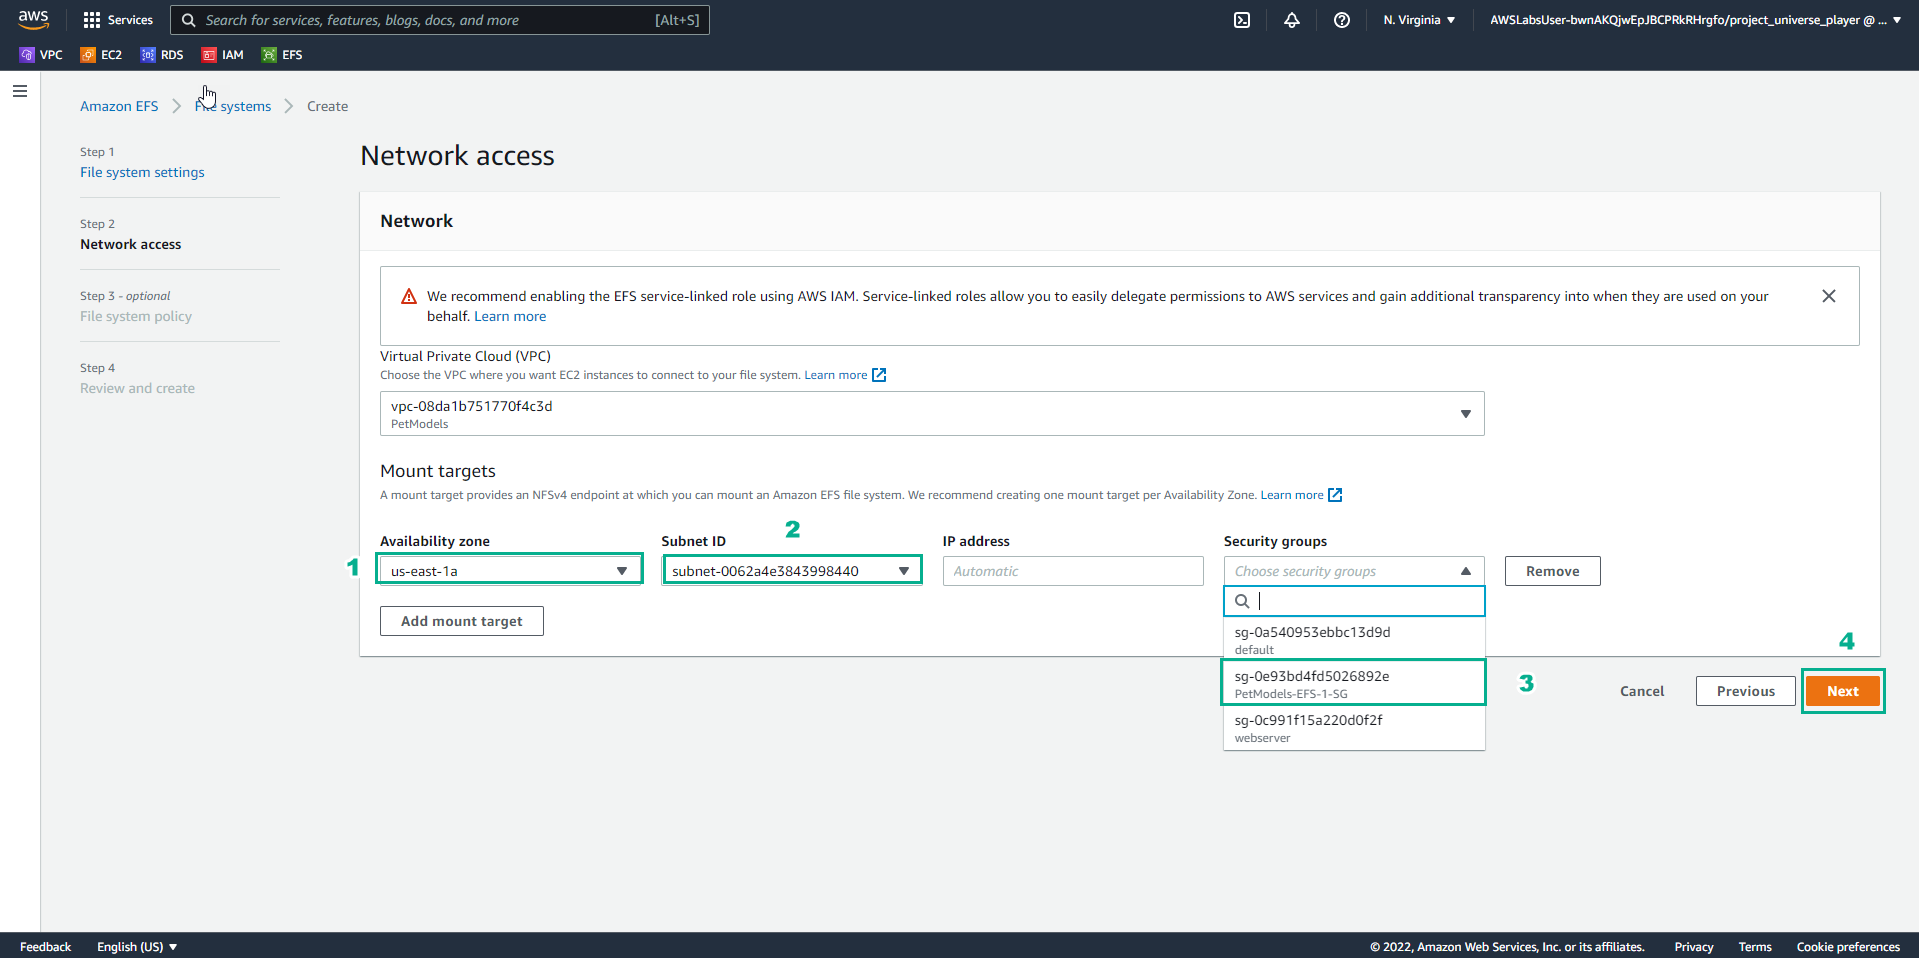
- In the Network access interface
- Select us-east-1a
- select Subnet ID
- Select Security group
- Select Next
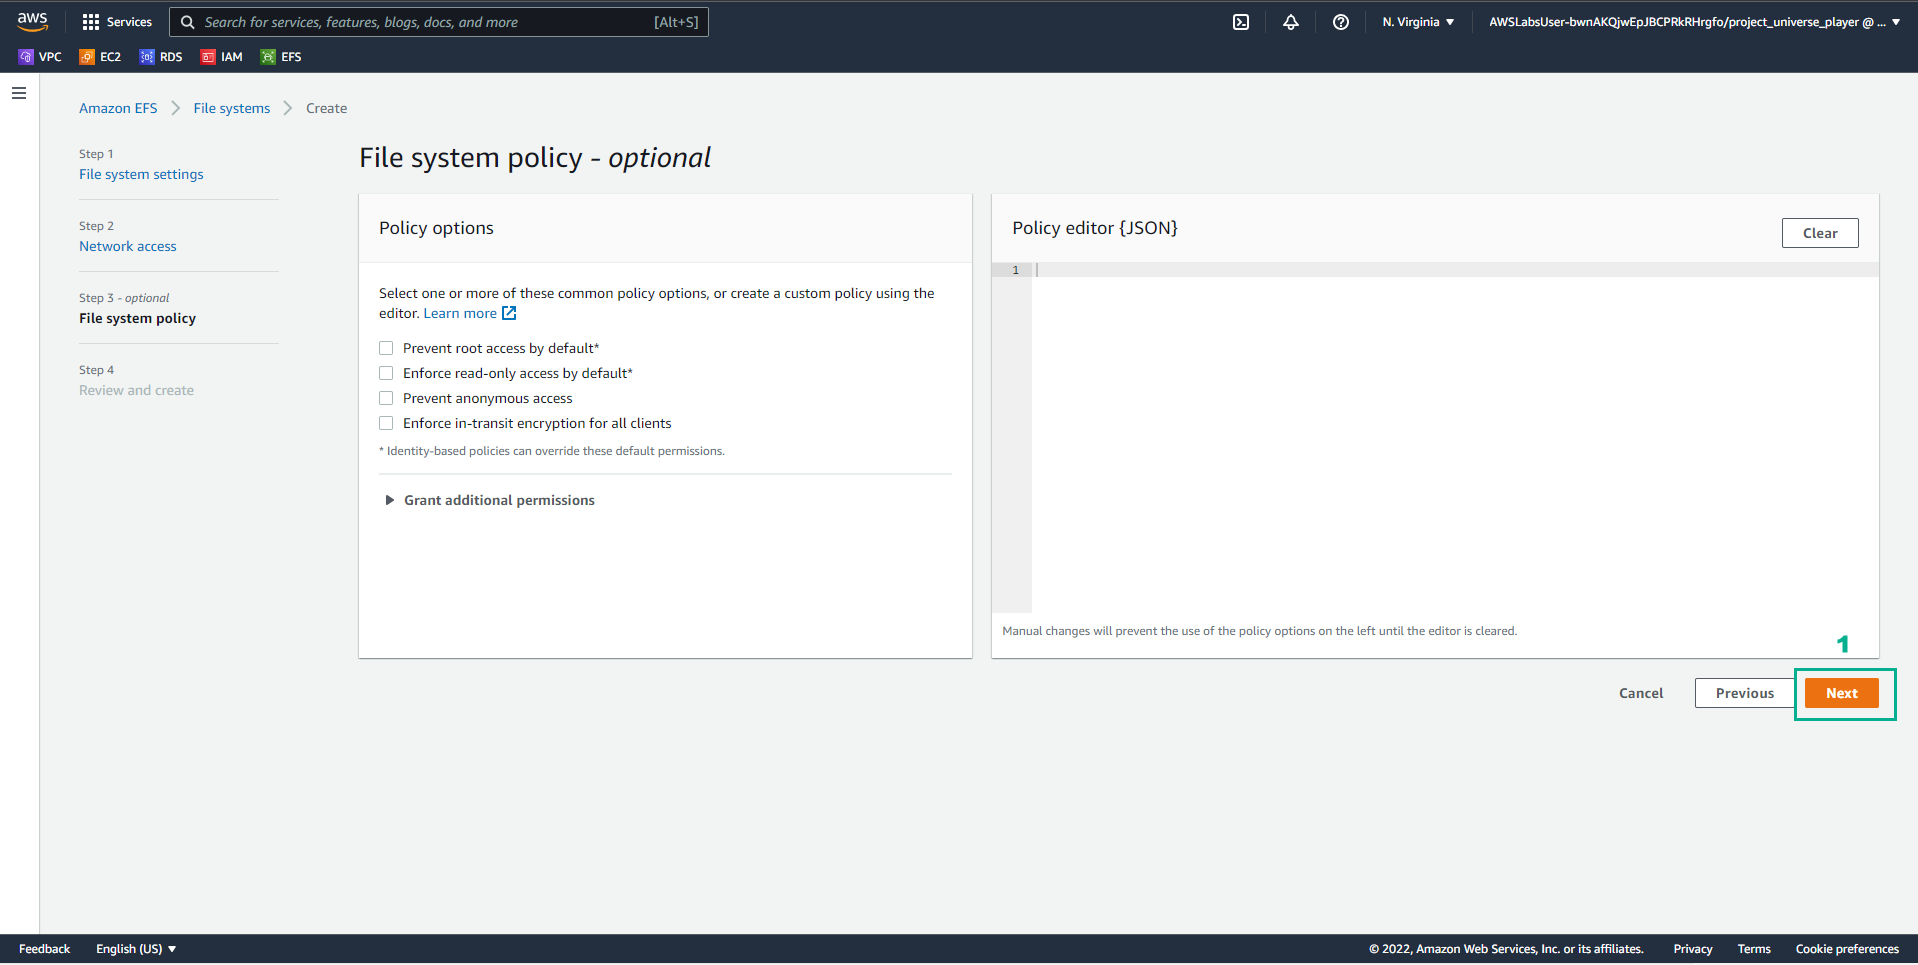
- In the File system policy interface
- Select Next
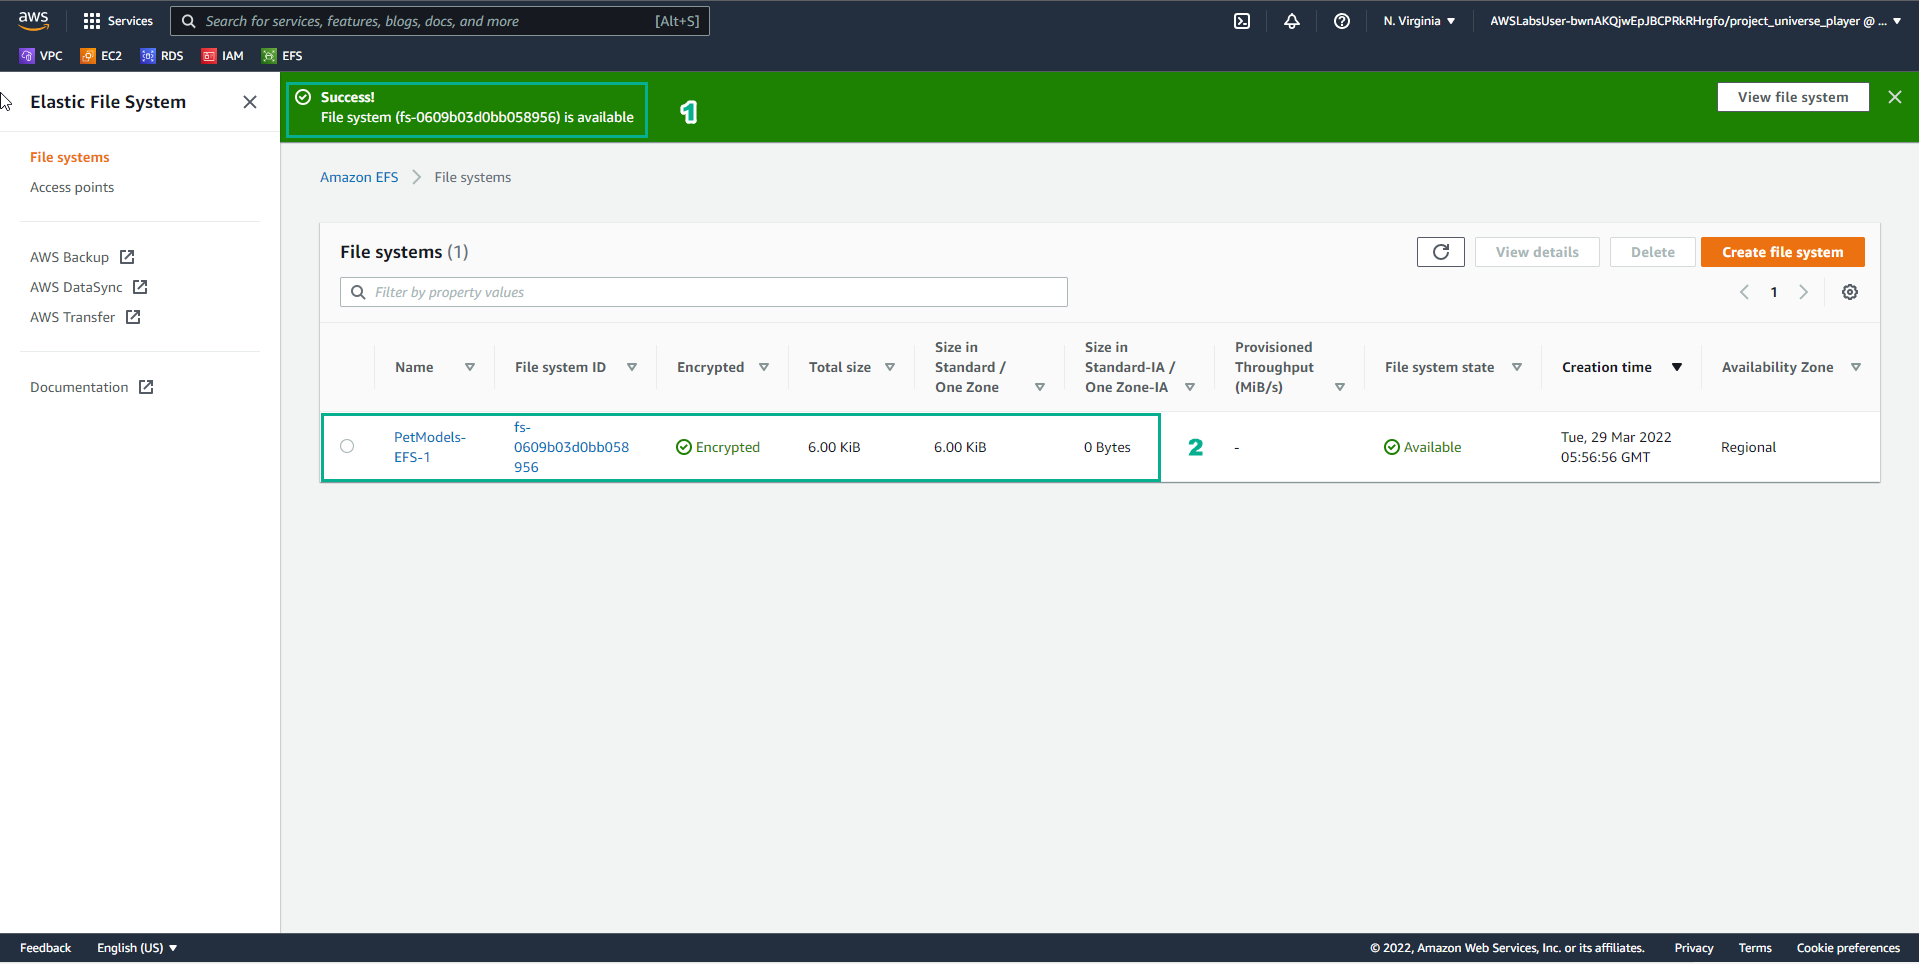
- In the Create file system interface
- Select Create

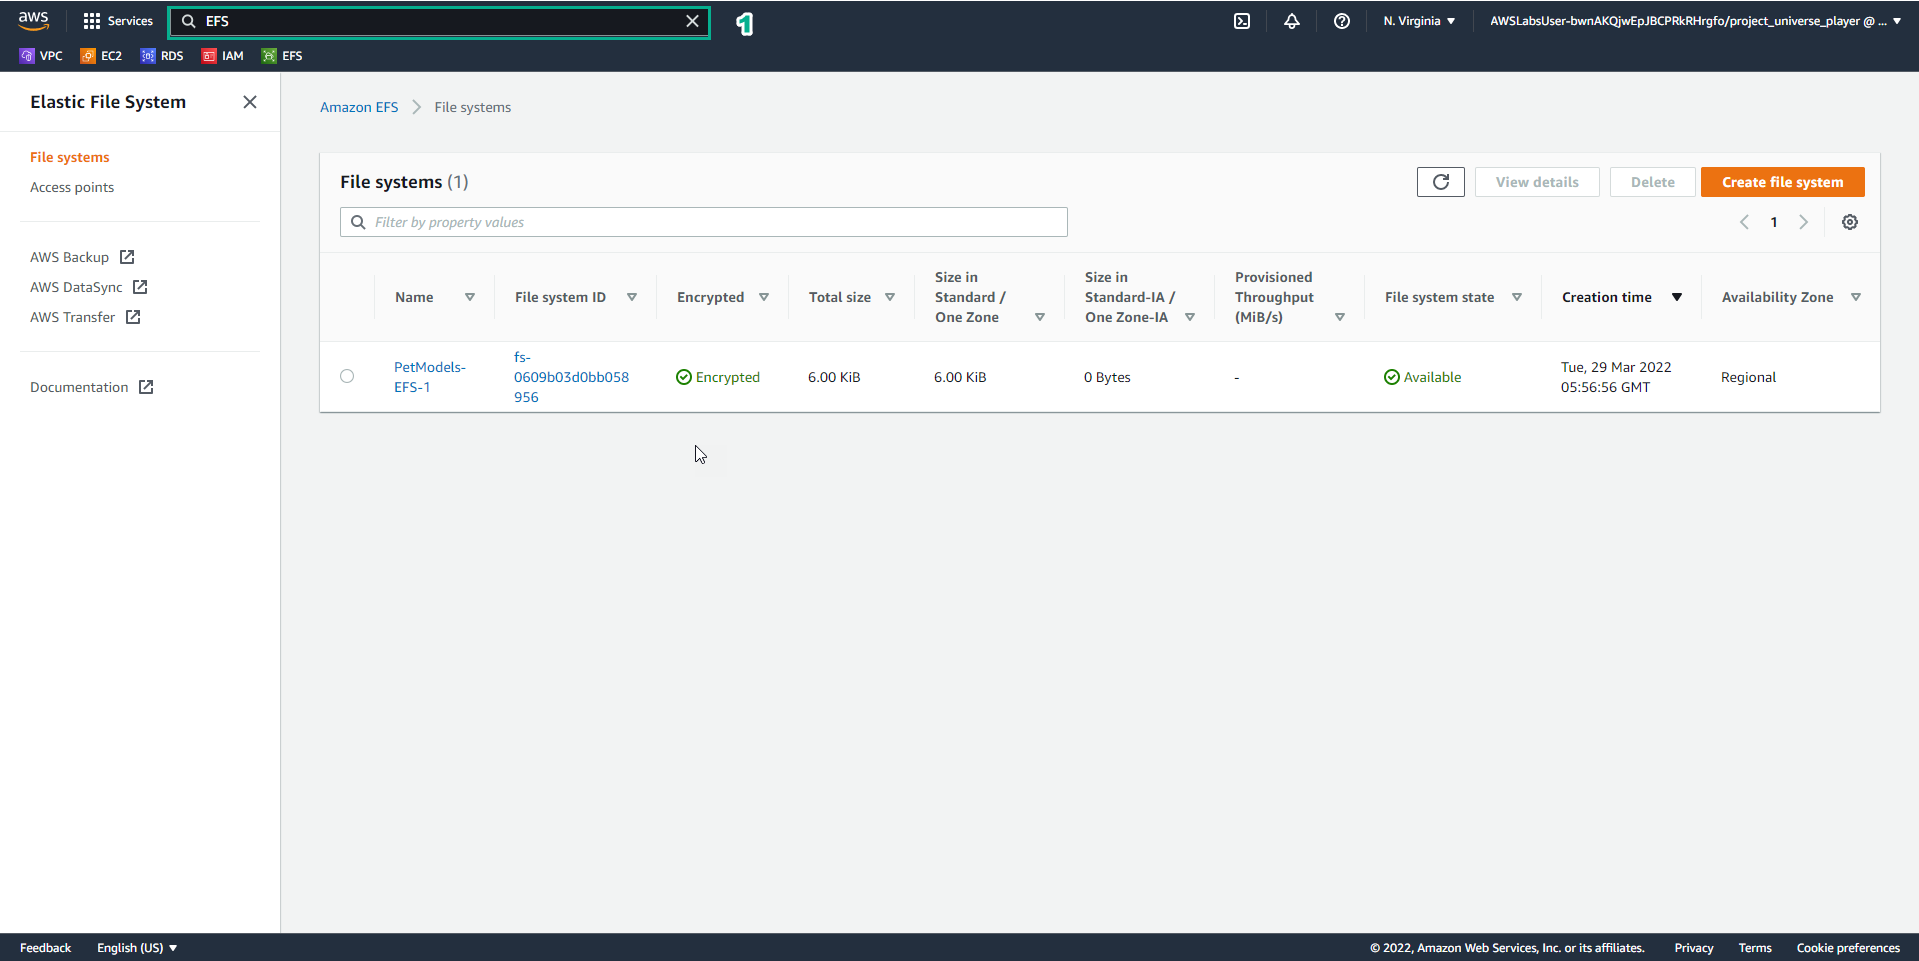
- In the File System interface
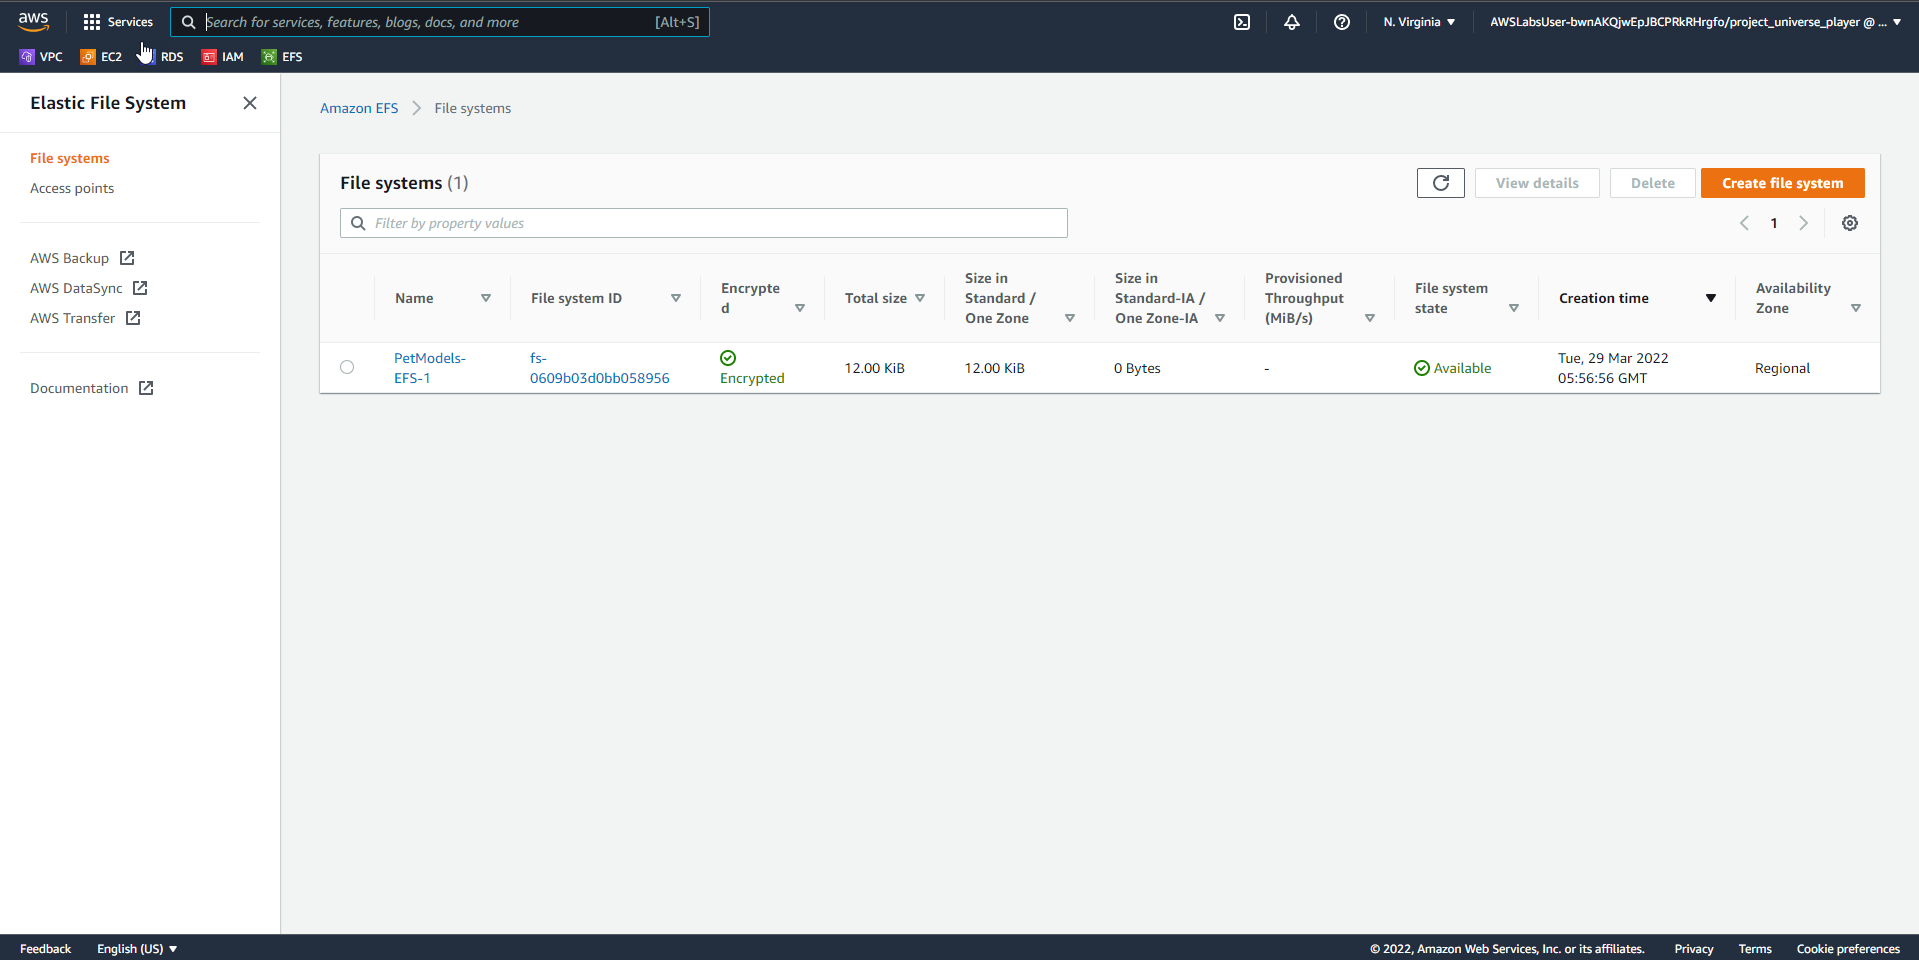
- See the successful file system initialization
- Select PetModels-EFS-1
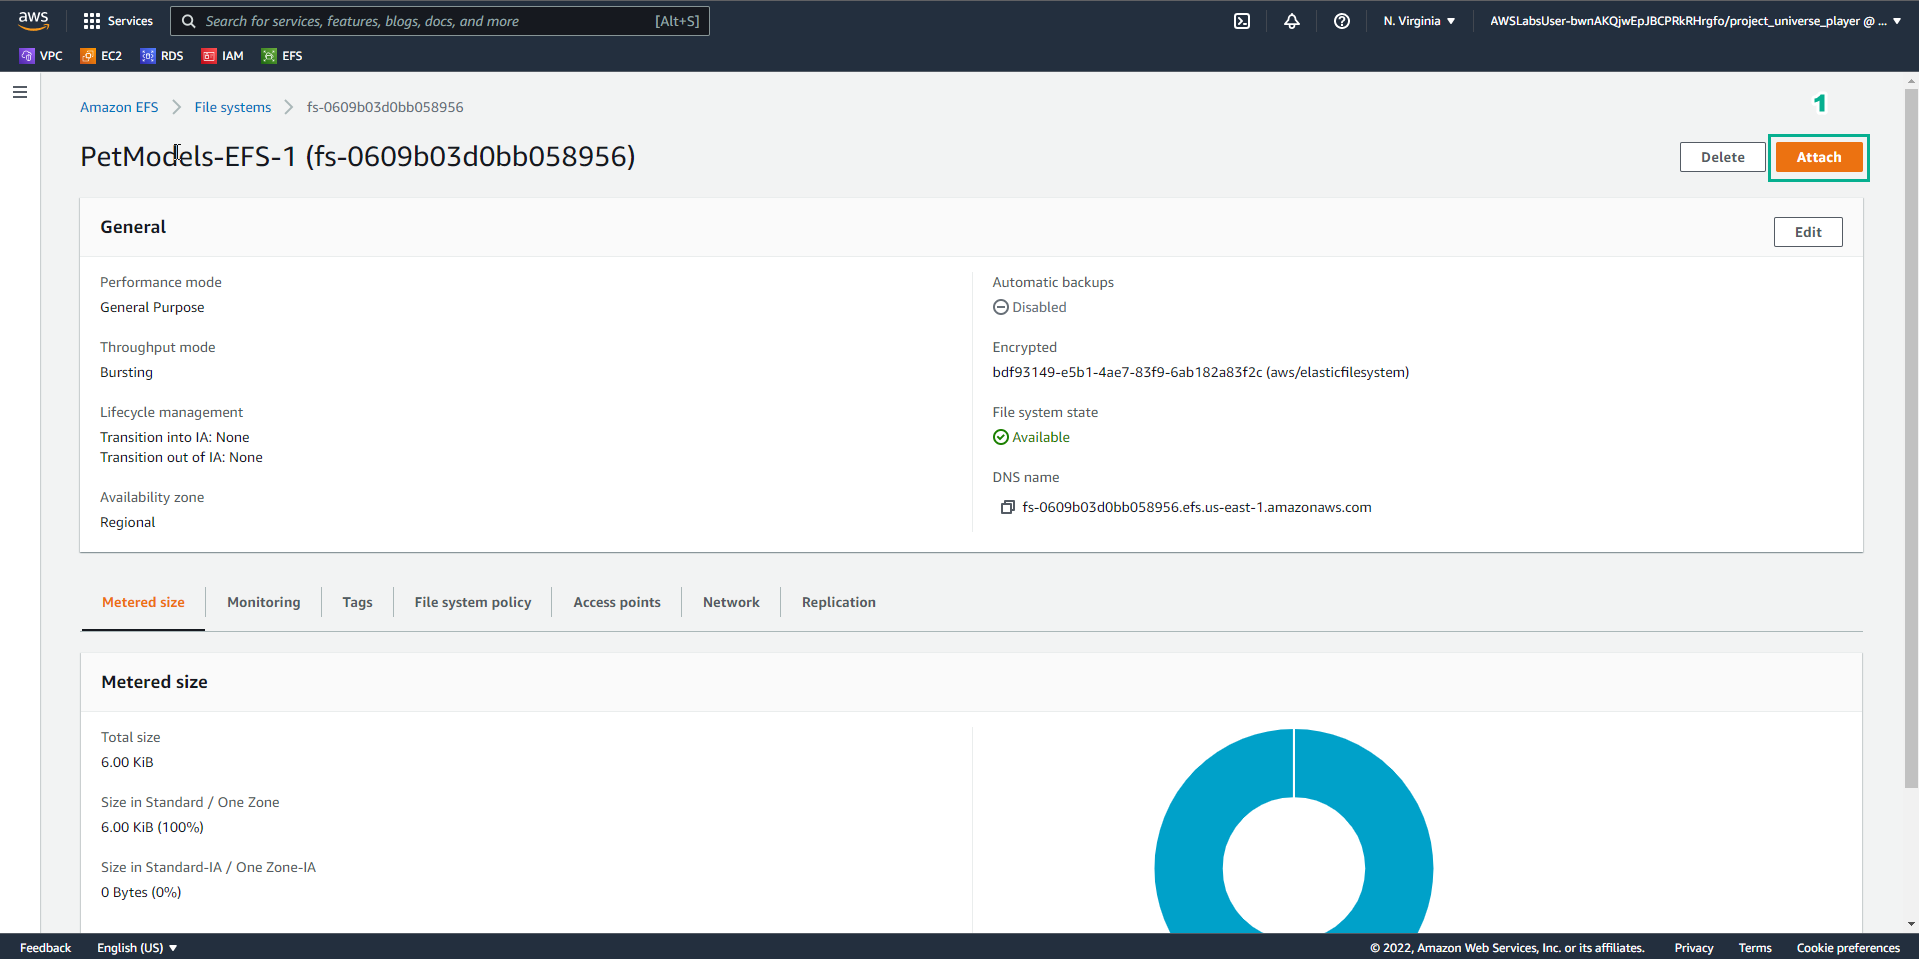
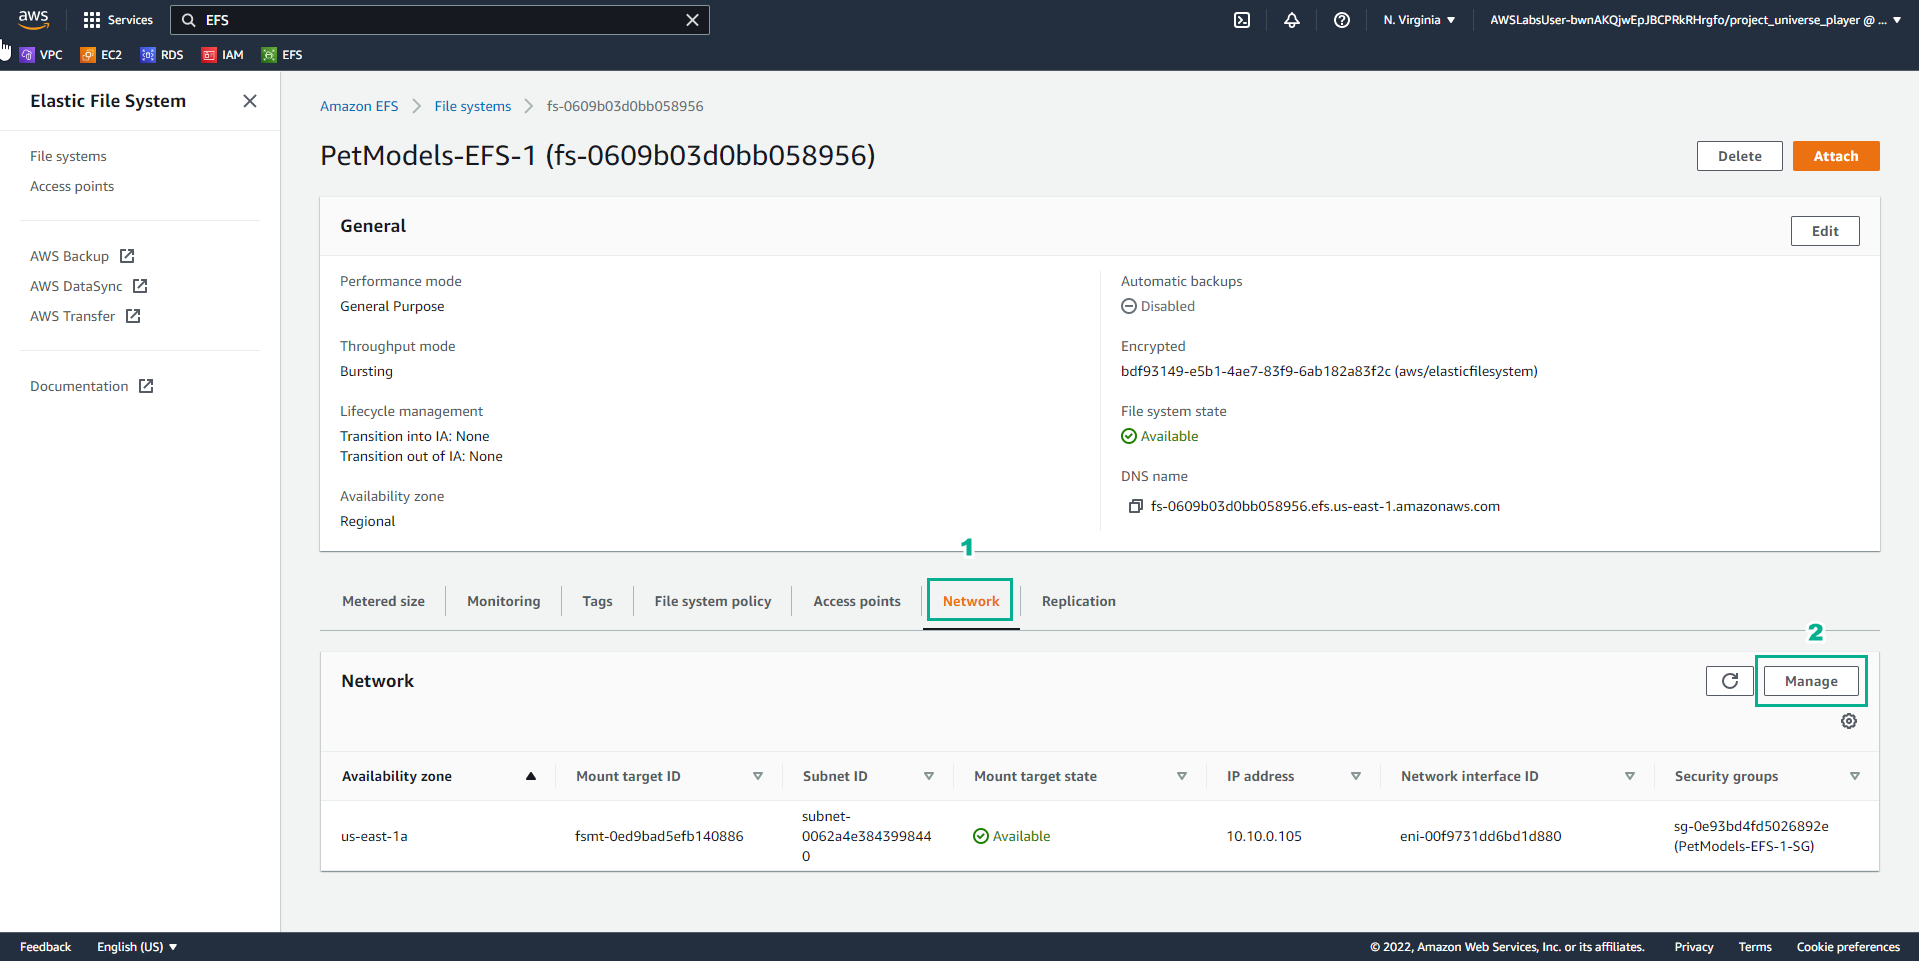
- In the PetModels-EFS-1 interface
- Select Attach
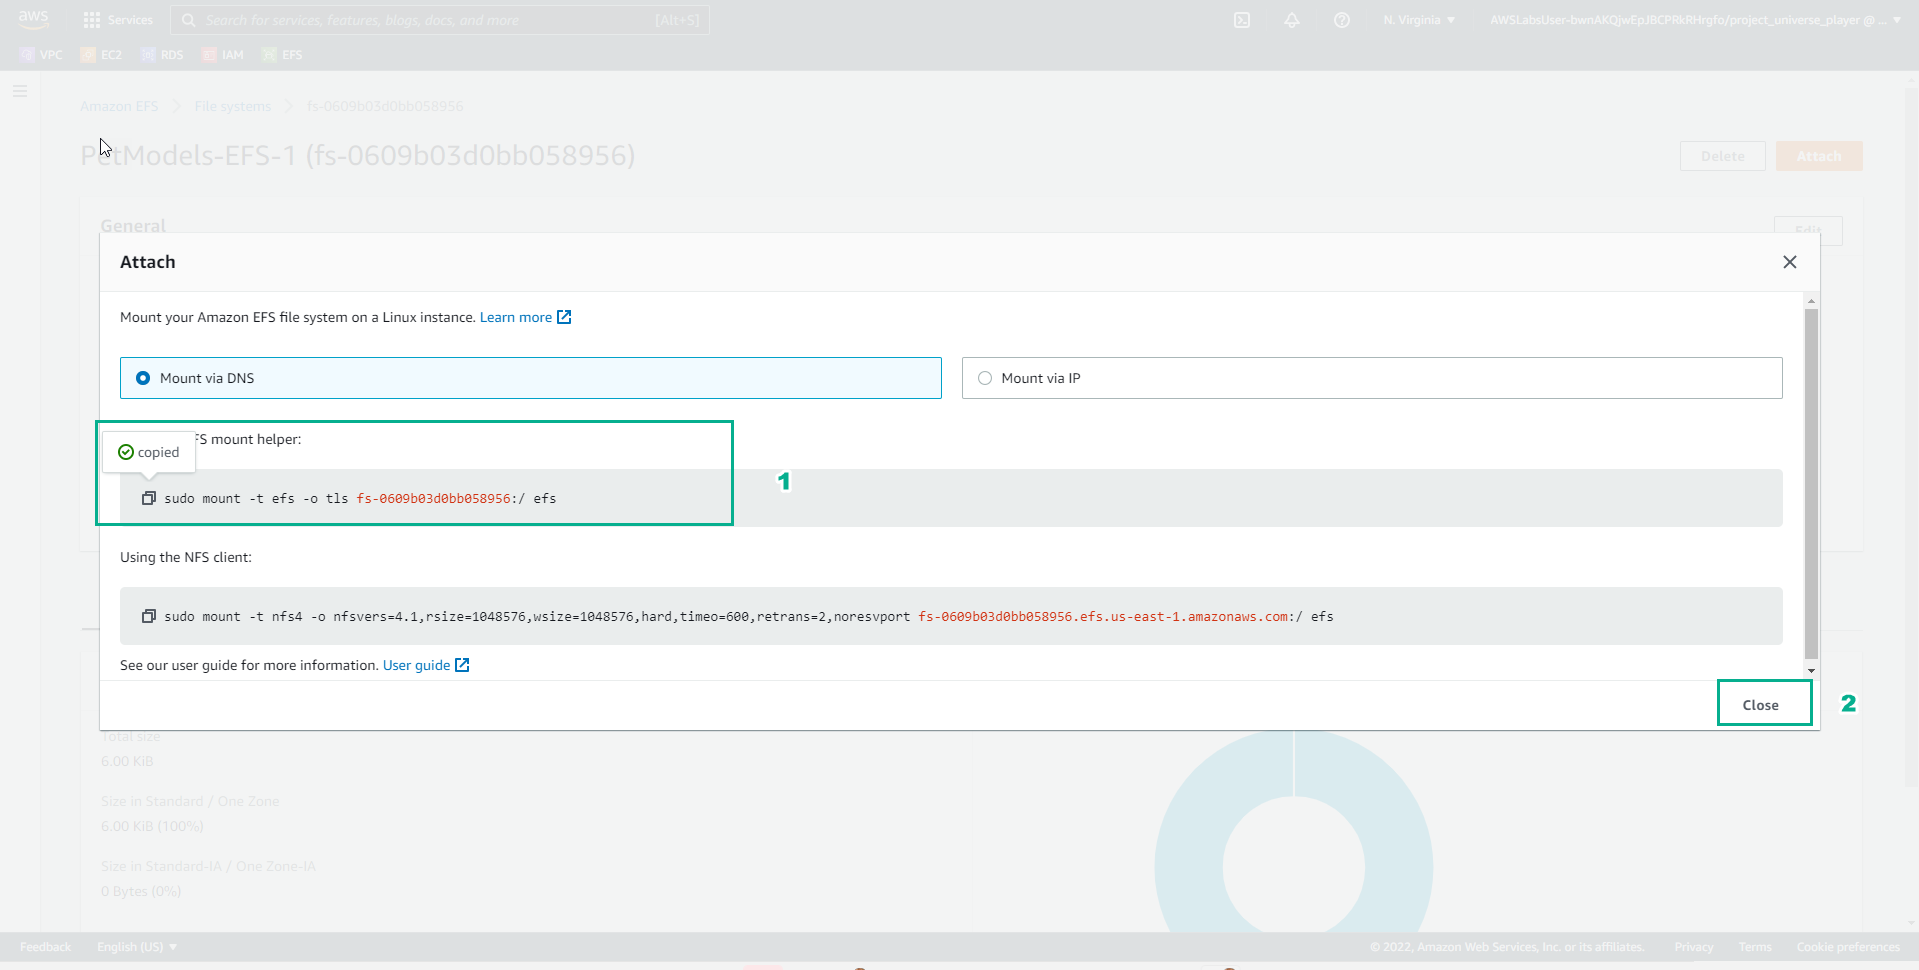
- In the Attach interface
- Copy EFS mount helper
- Select Close
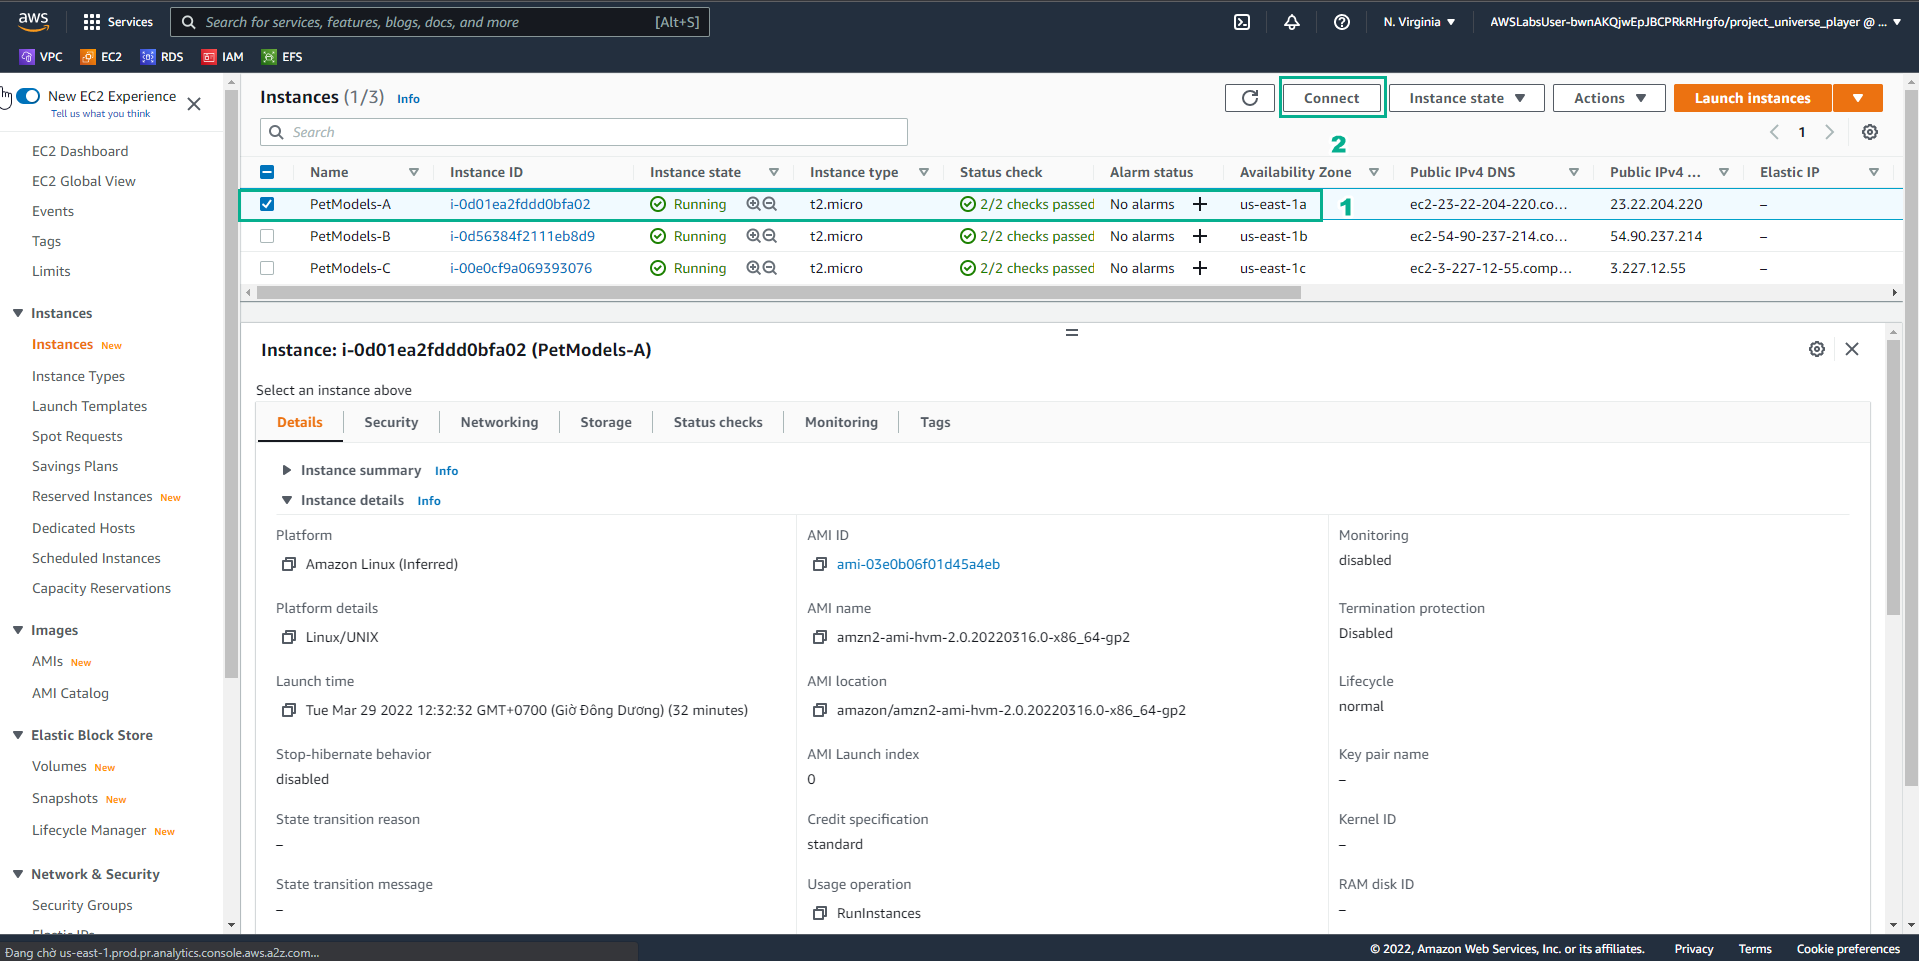
- In the AWS Console interface
- Find EC2
- Select EC2
- In the EC2 interface
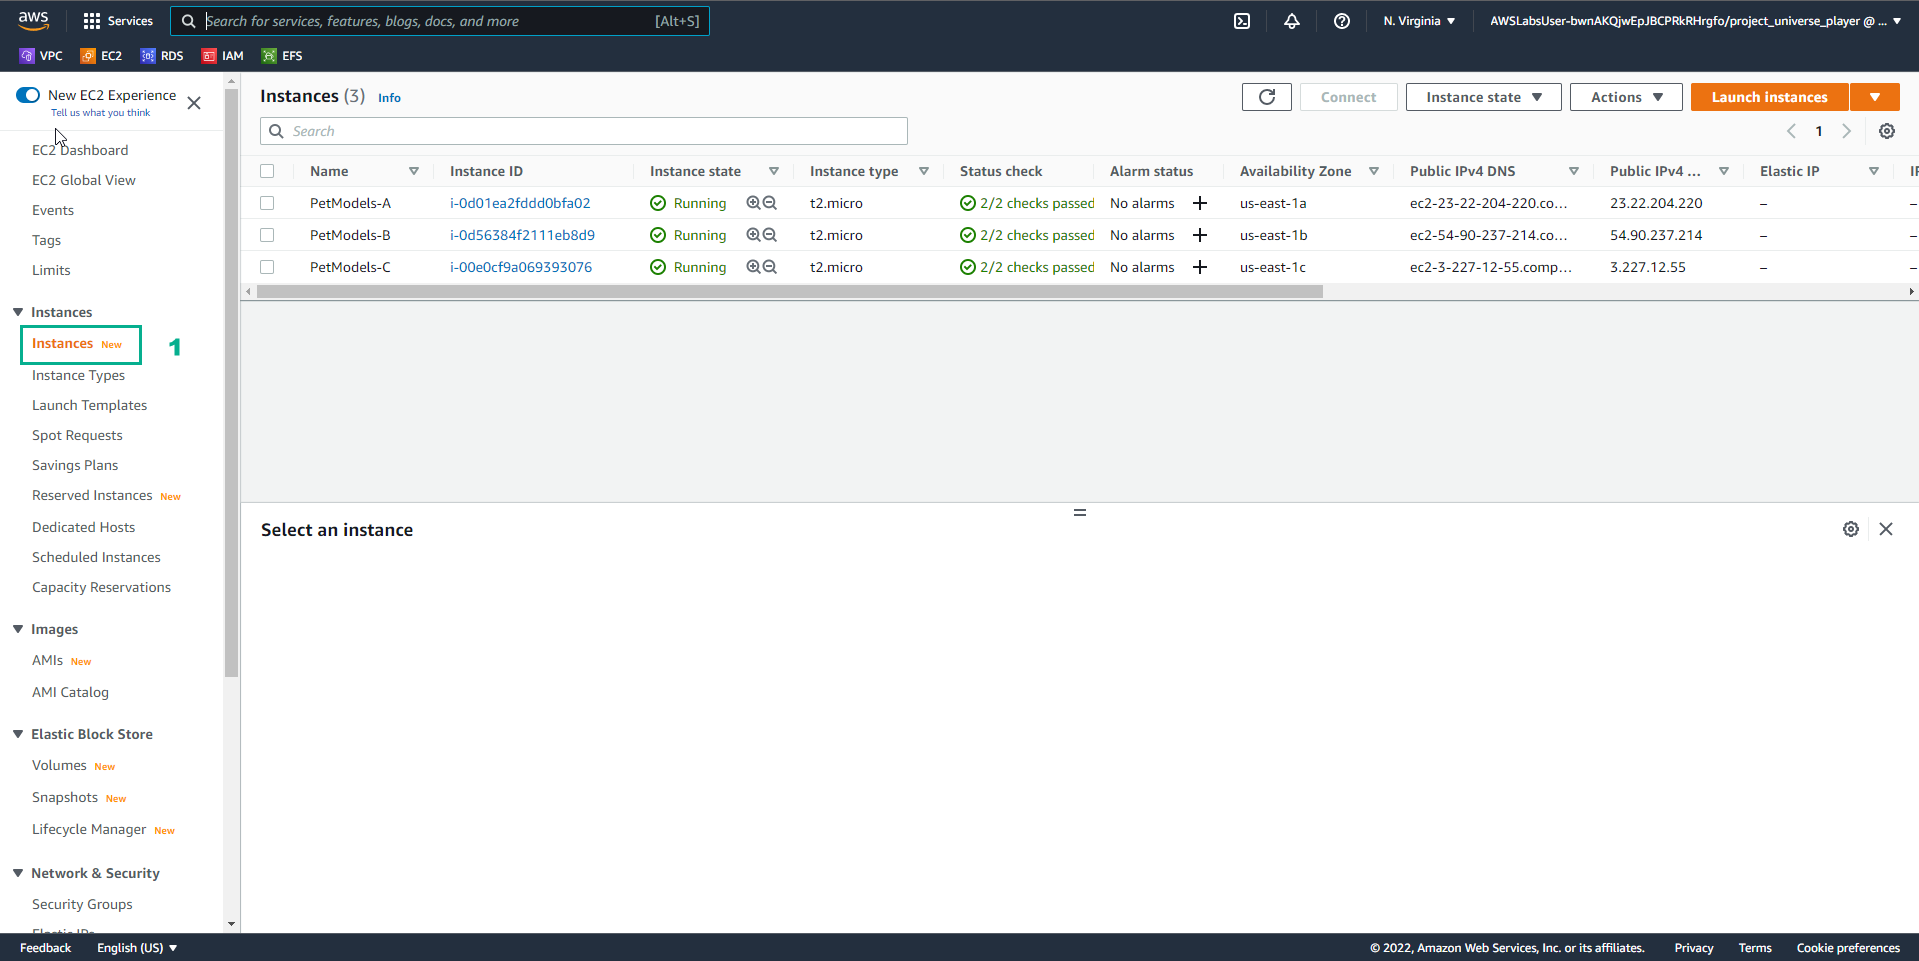
- Select Instances
- View instances

- In the Instances interface
- Select PetModels-A
- Select Connect
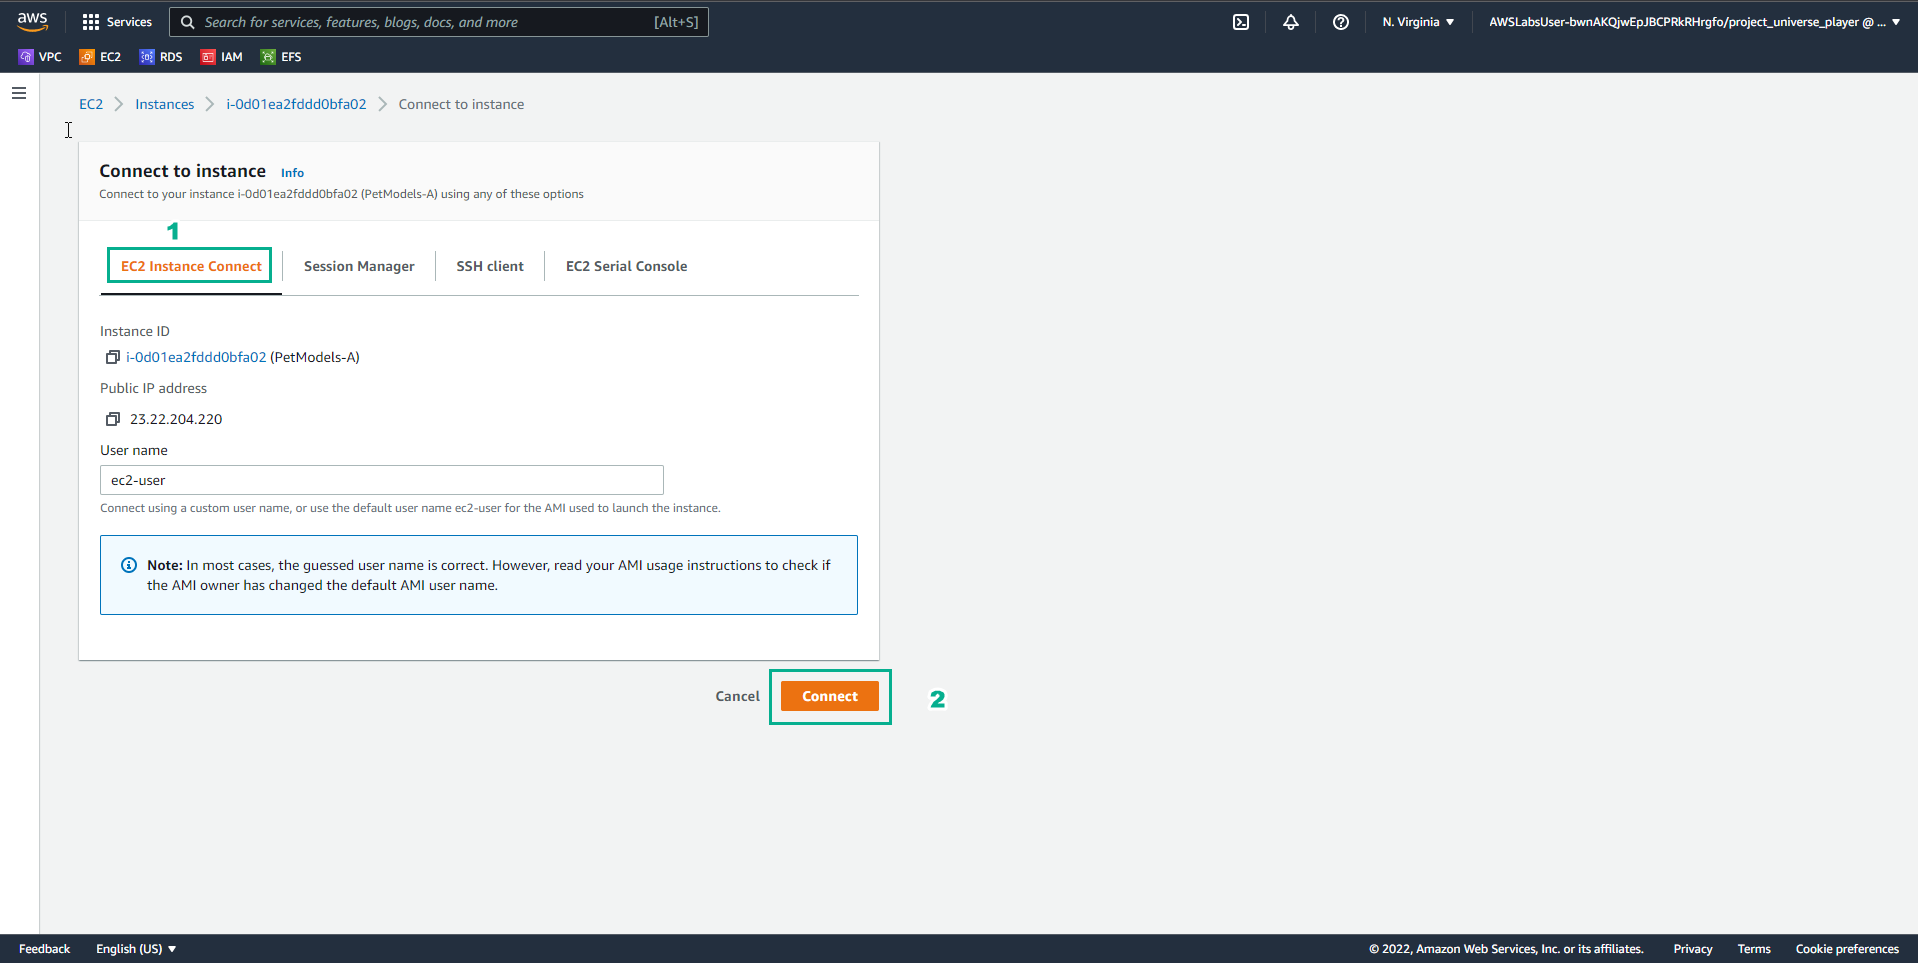
- In the Connect to instance interface
- Select EC2 Instance Connect
- Select Connect
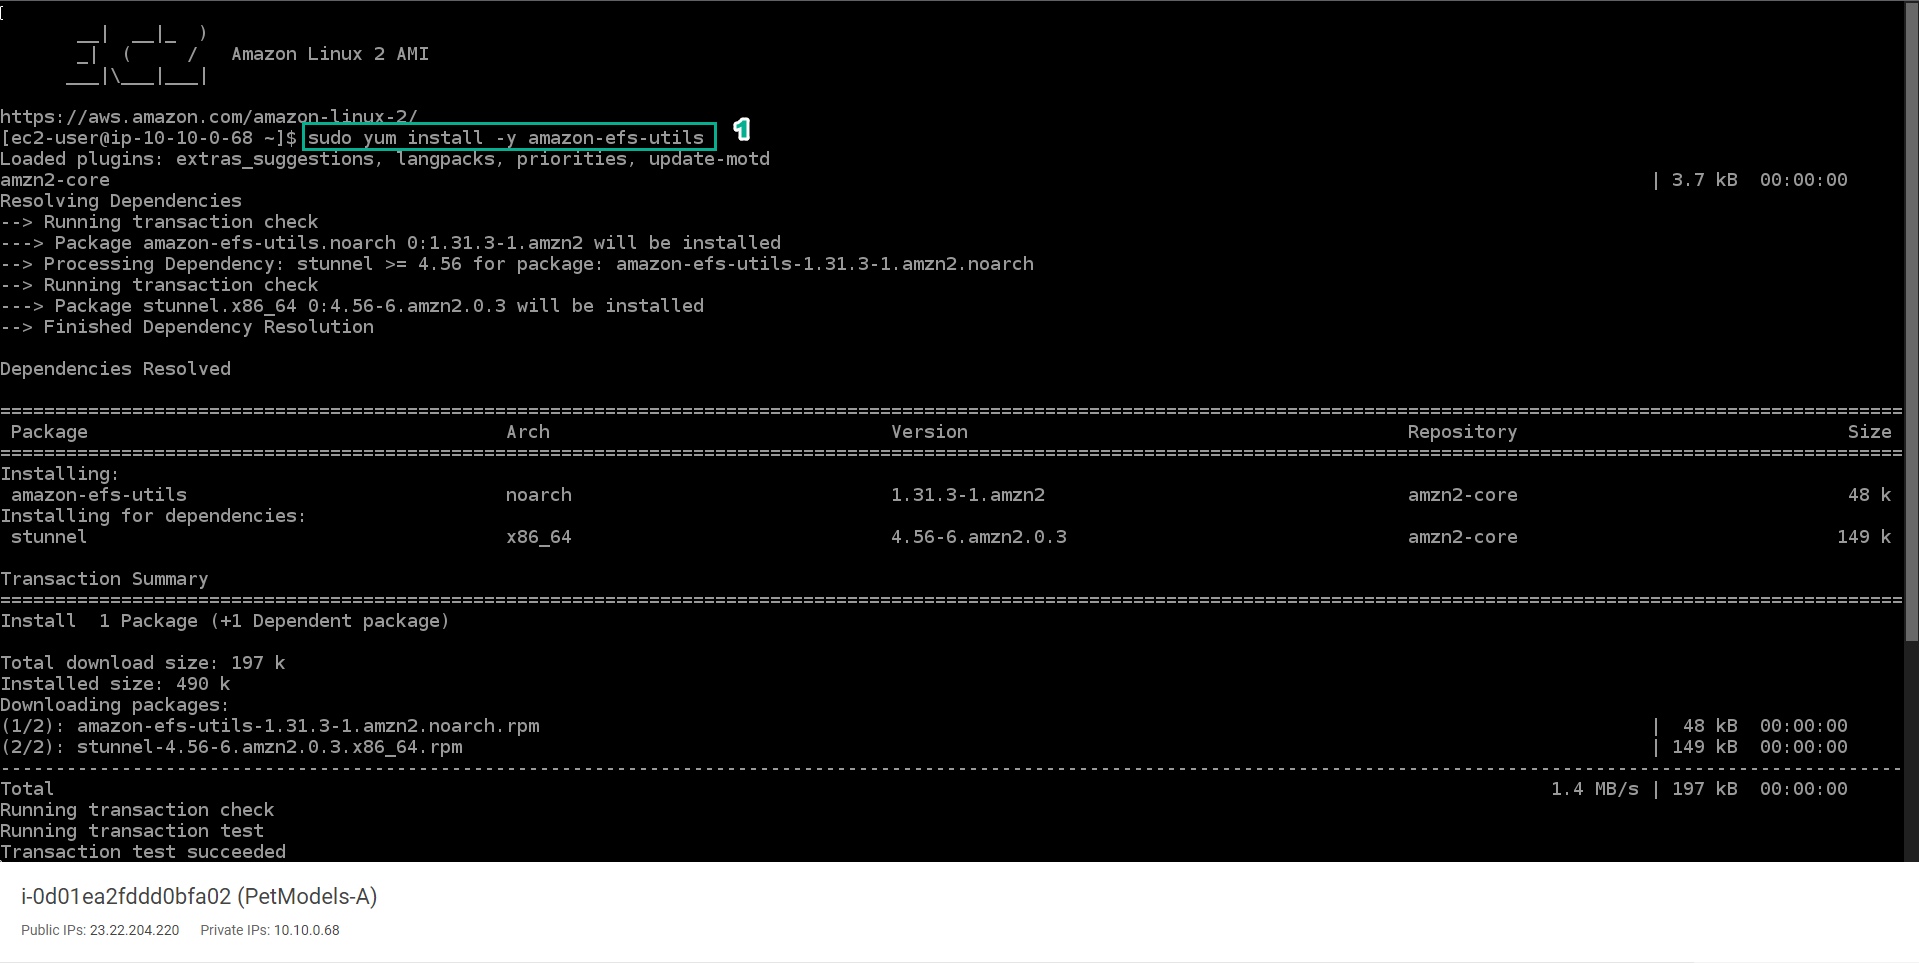
- In the PetModels-A interface
- Type
sudo yum install -y amazon-efs-utils
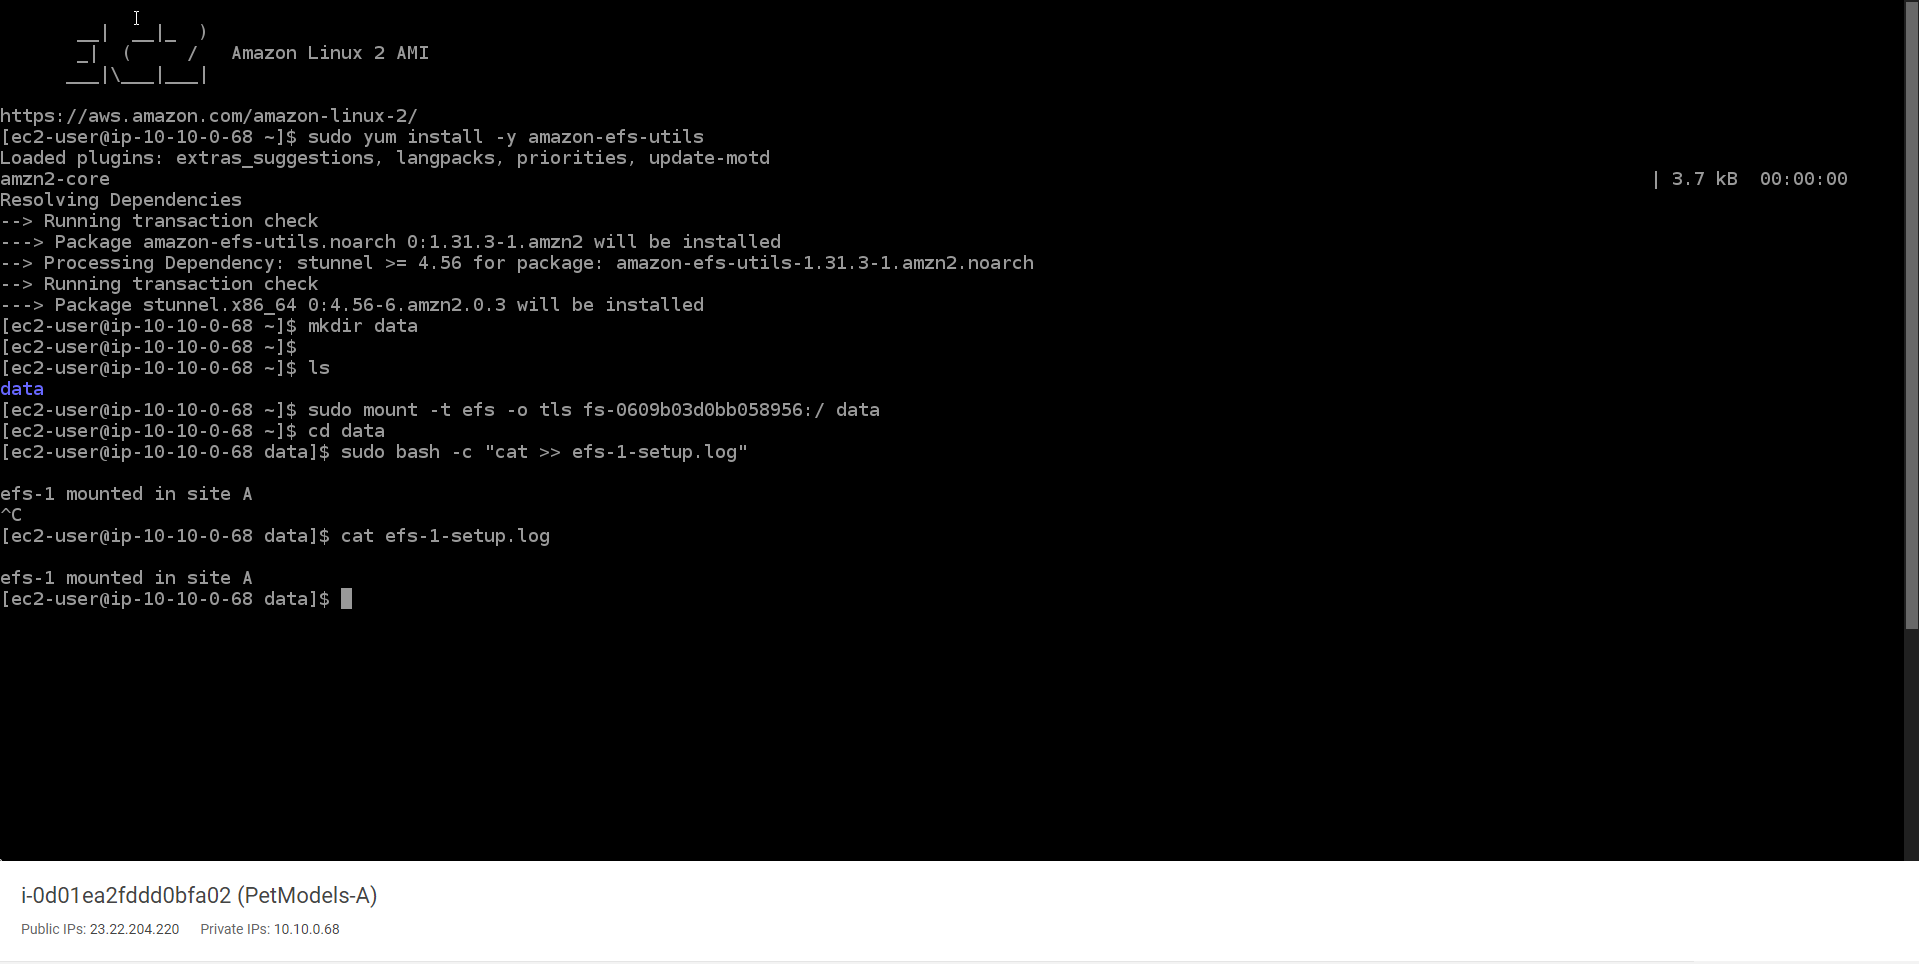
- In the PetModels-A interface
- Enter
mkdir data - Enter
ls - Enter the command line of Using the EFS mount helper copied in step 19, then change efs to data
- Enter
cd data - Type
cat efs-l-setup.log - Type
sudo bash -c "cat >> efs-l-setup.log" - Enter
efs-1-mounted in site B - Use Ctrl + C
- Type
cat efs-l-setup.log - View results
- In the AWS Console interface
- Find EFS
- Select EFS
- Select PetModels-EFS-1
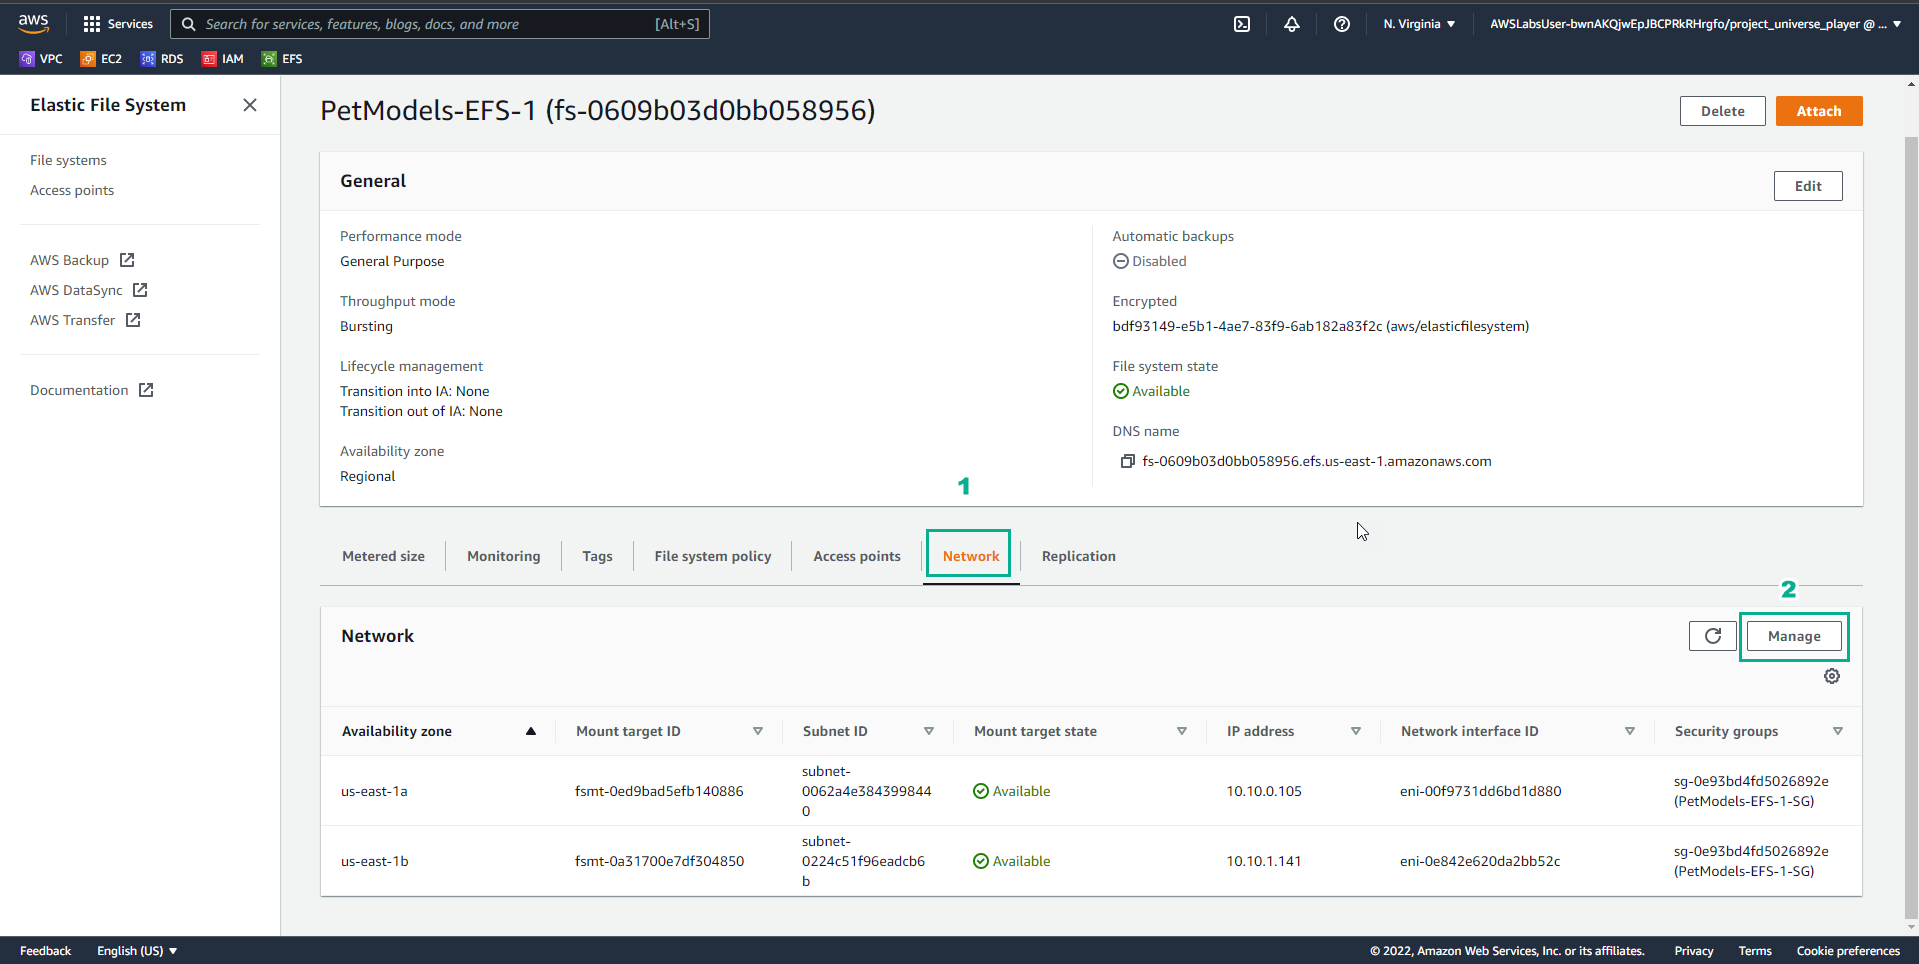
- In the PetModels-EFS-1 interface
- Select Network
- Select Manage
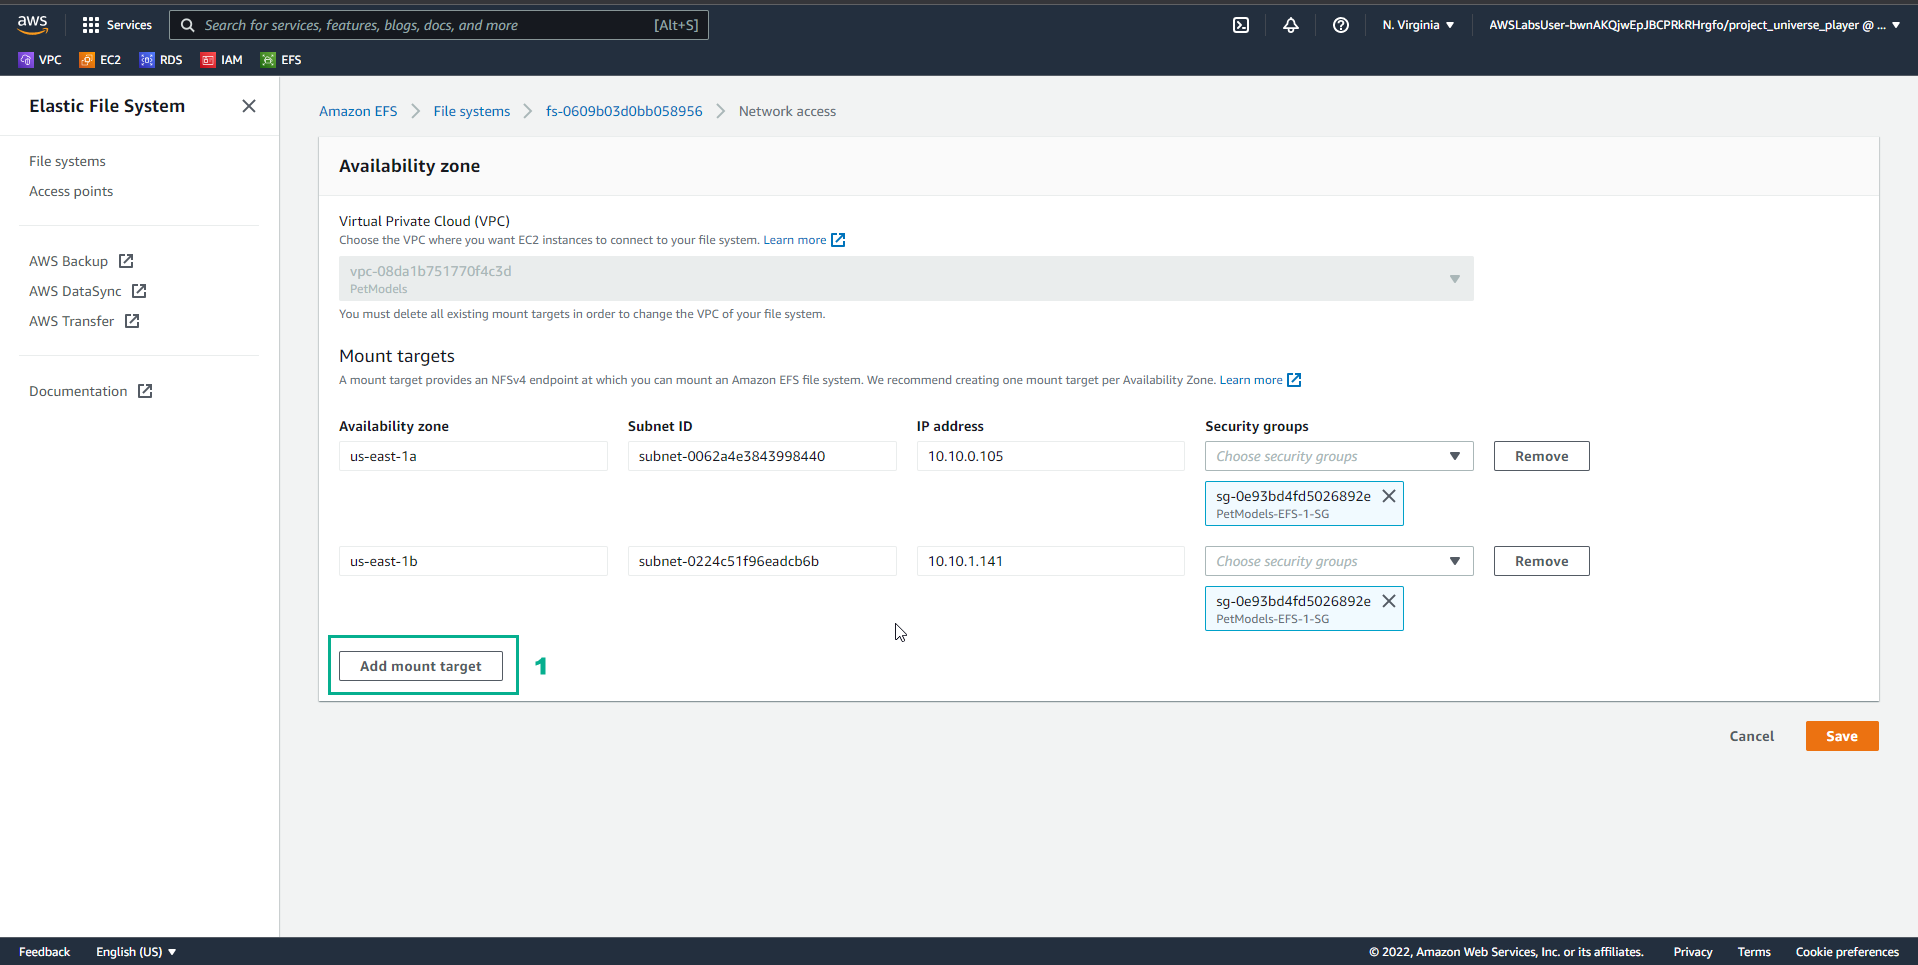
- In the Network access interface
- Select Add mount target
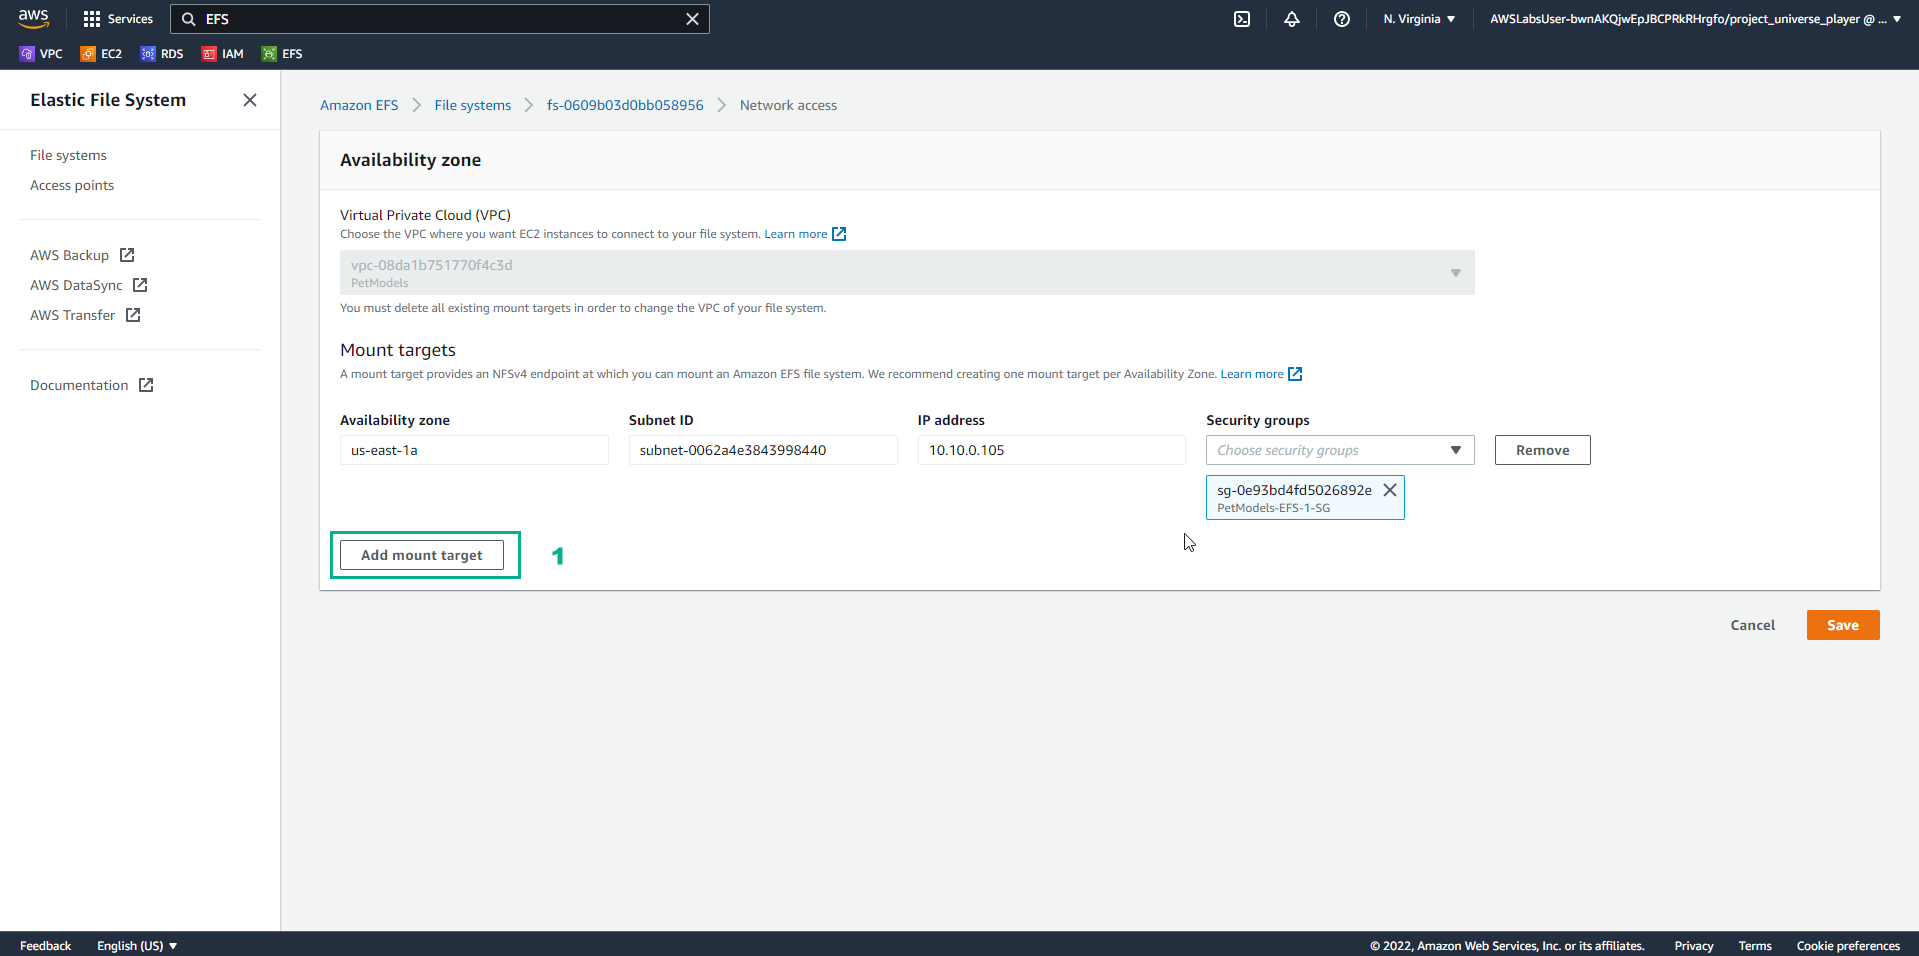
- In the Network access interface
- Select us-east-1b
- Select Subnet ID
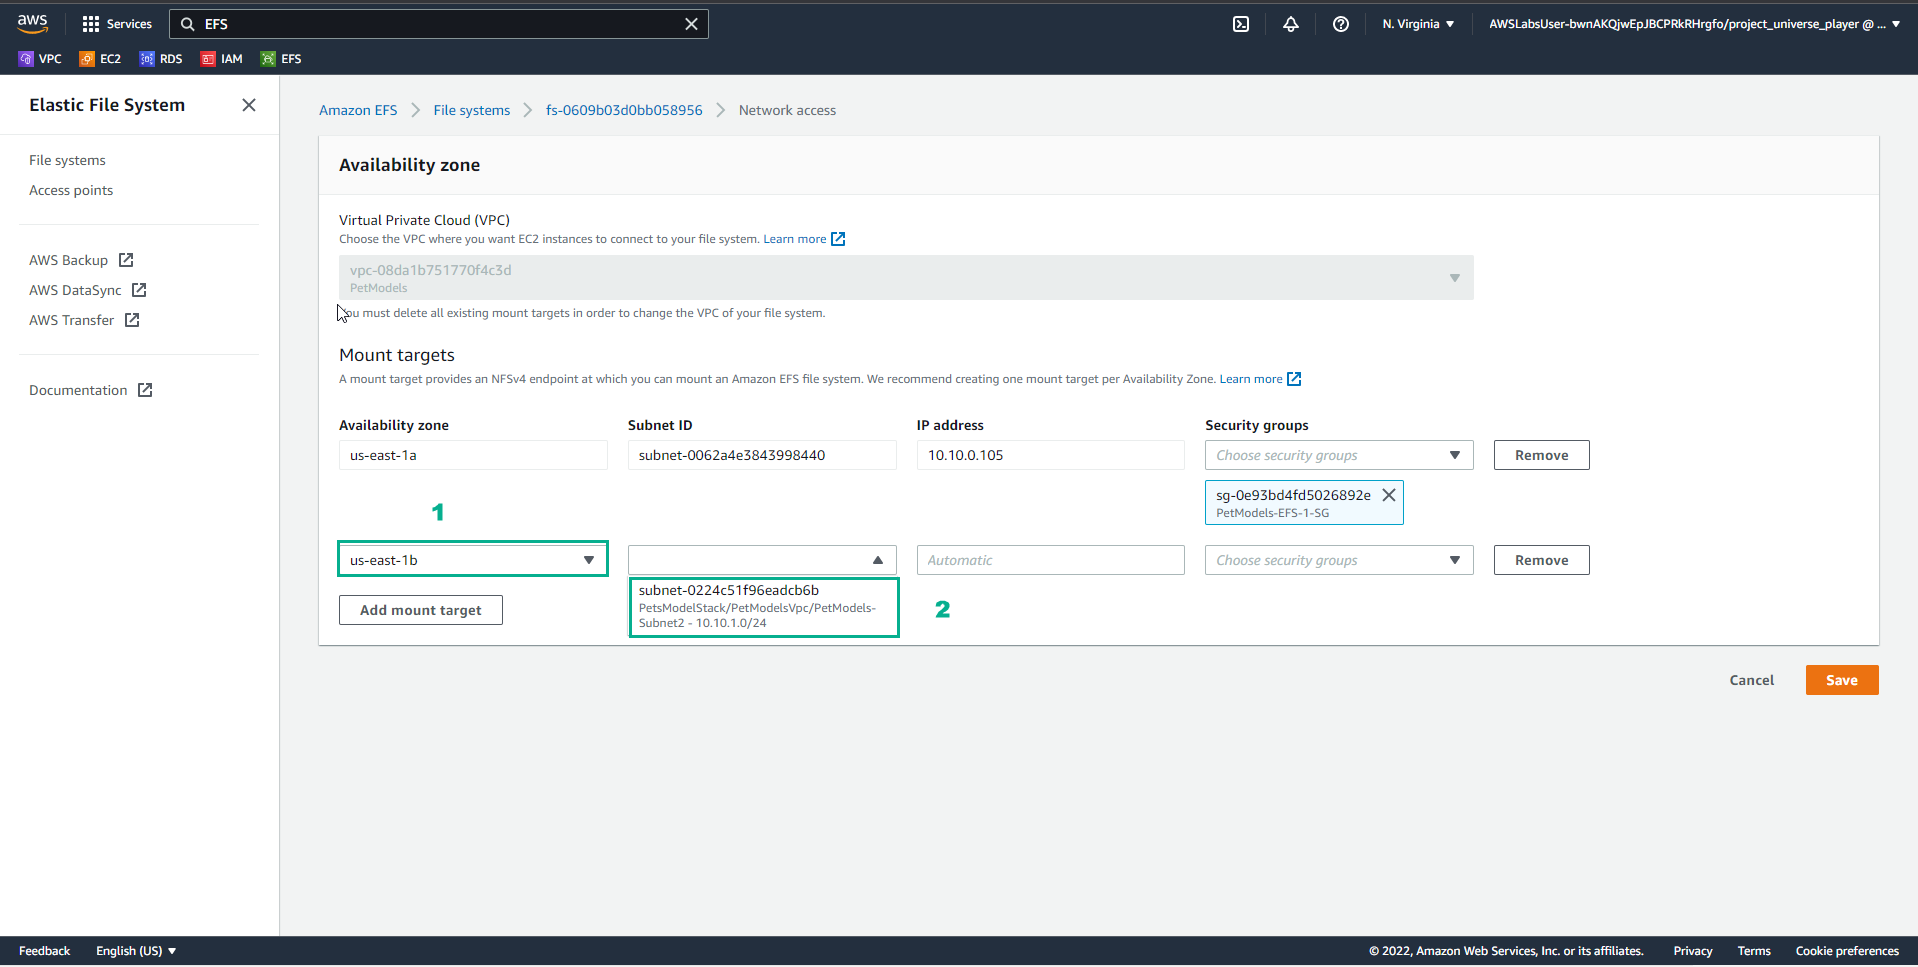
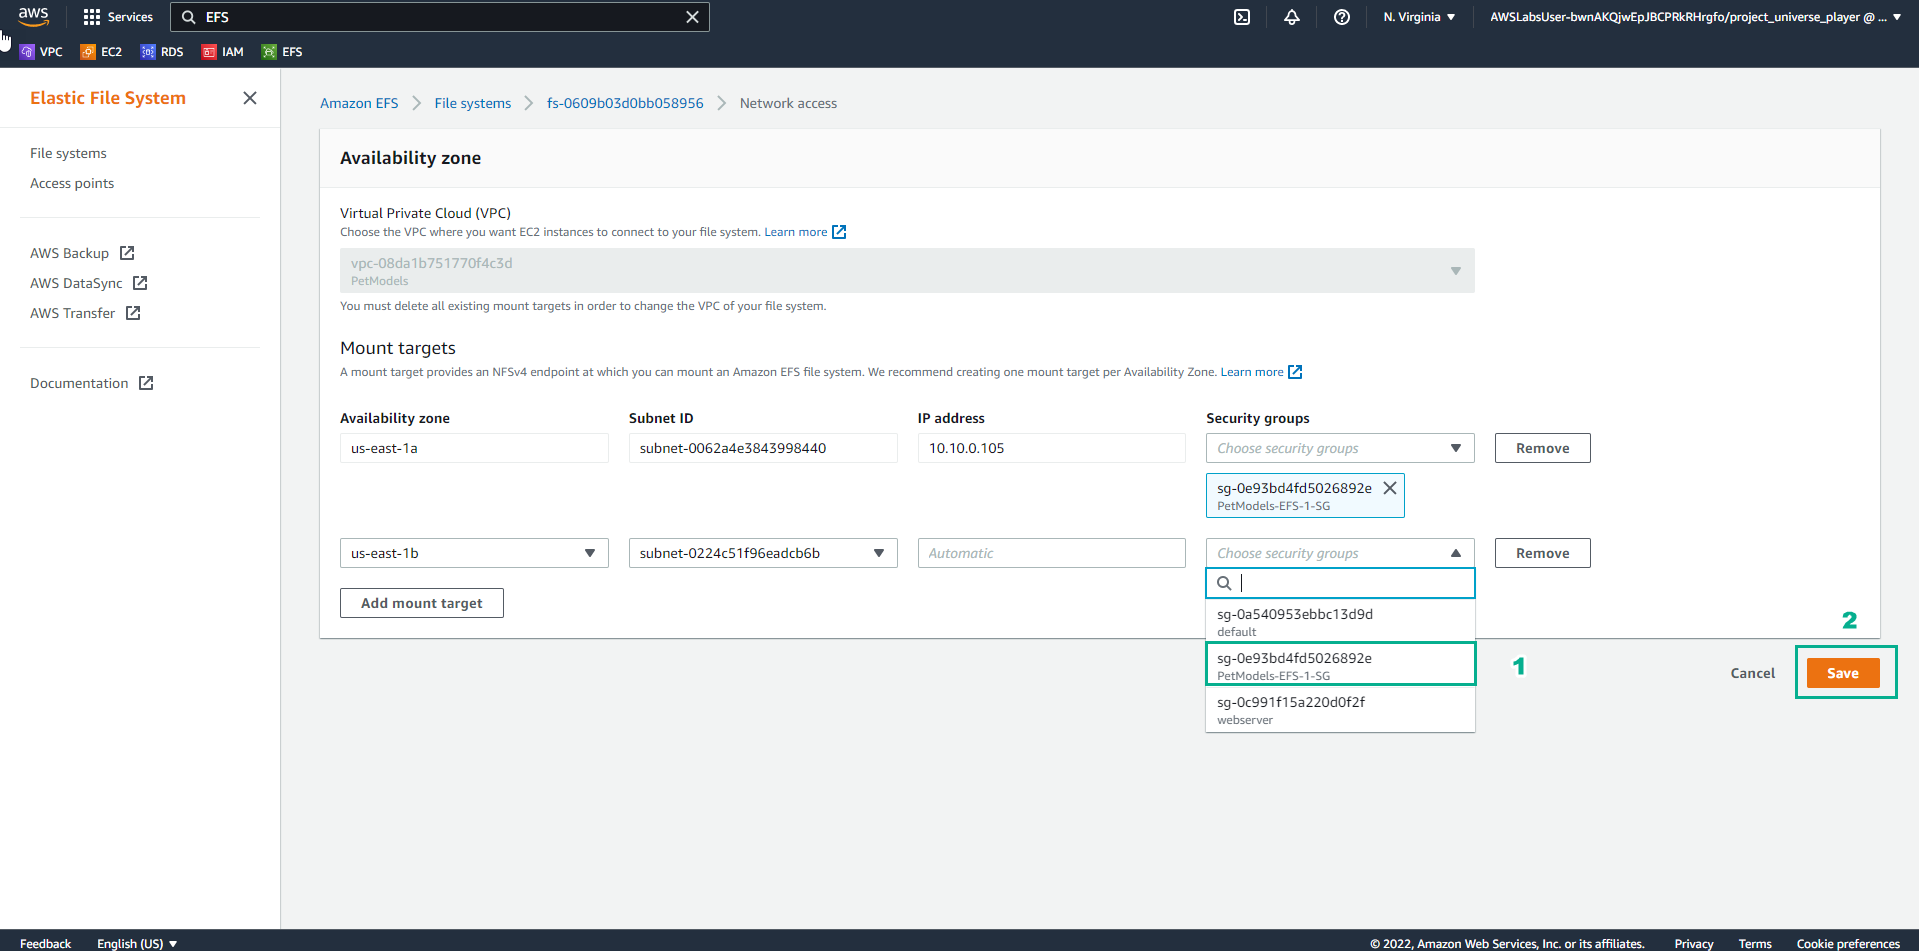
- In the Network access interface
- Select PetModels-EFS-1-SG
- Select Save
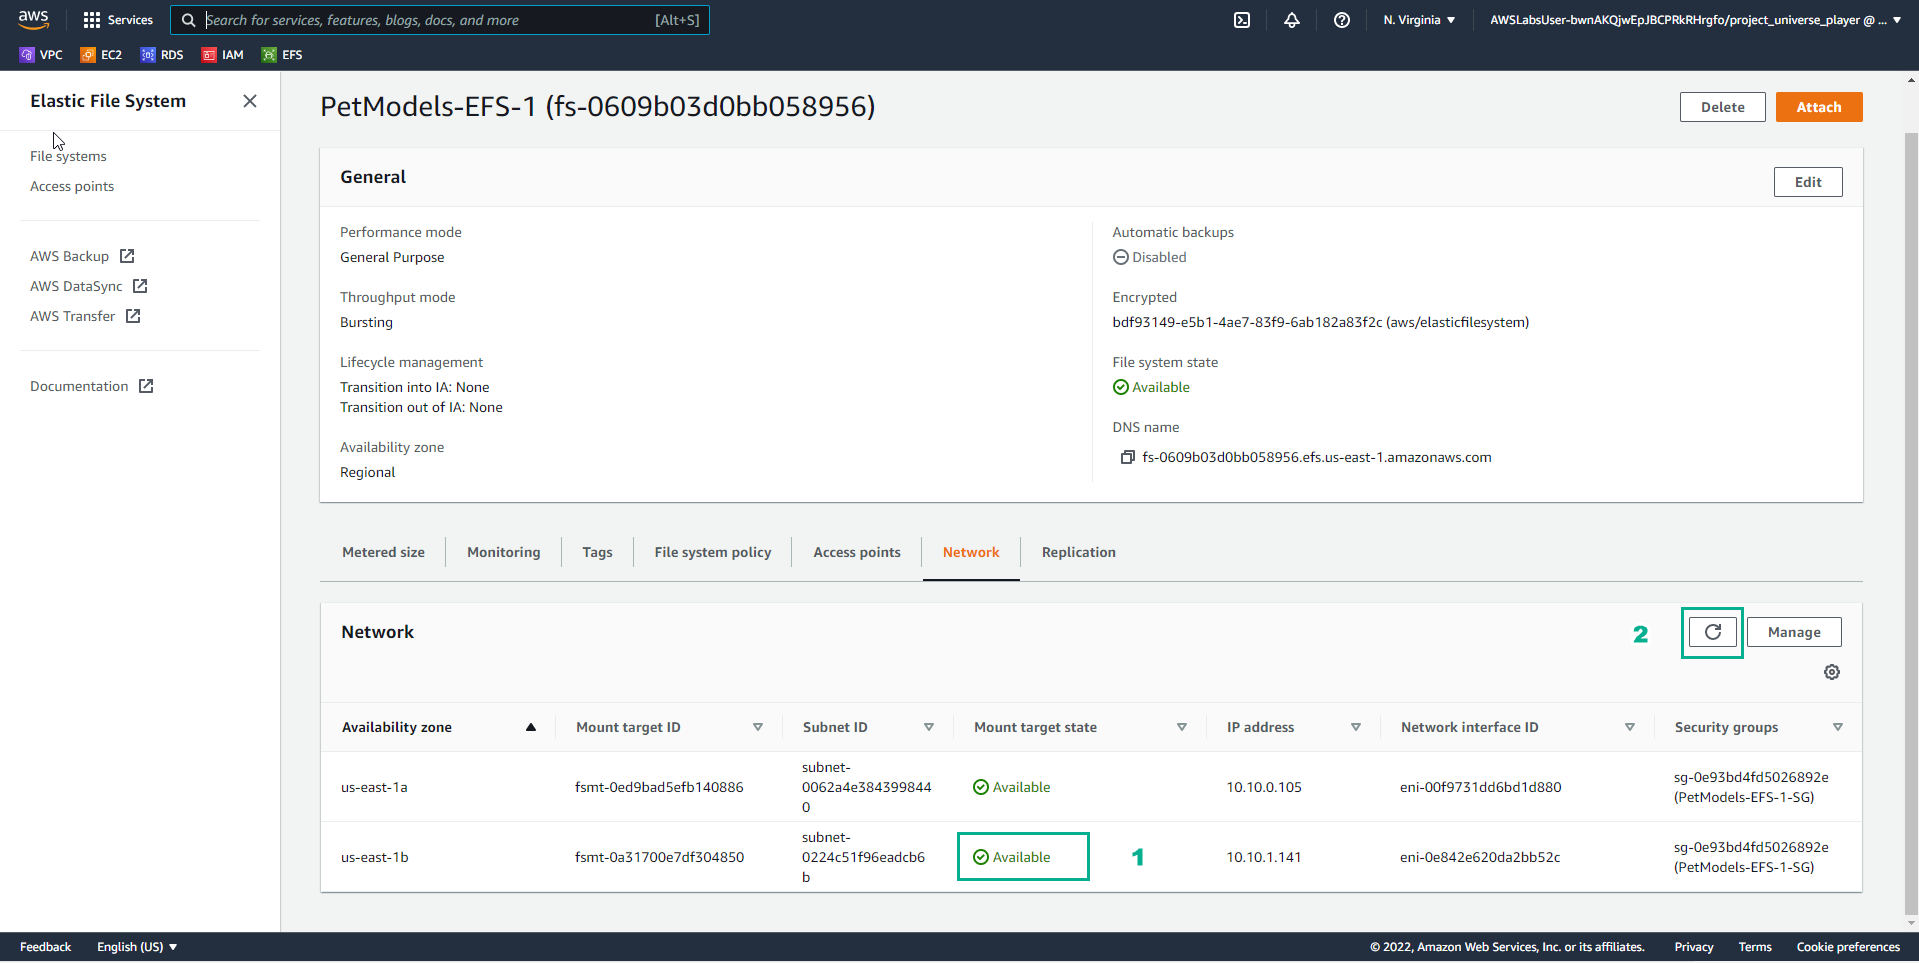
- In the PetModels-EFS-1 interface
- View Mount target state
- Select refresh
- In the AWS Console interface
- Find EC2
- Select EC2
- Select Instances
- In the Instances interface
- Select PetMdels-B
- Select Connect
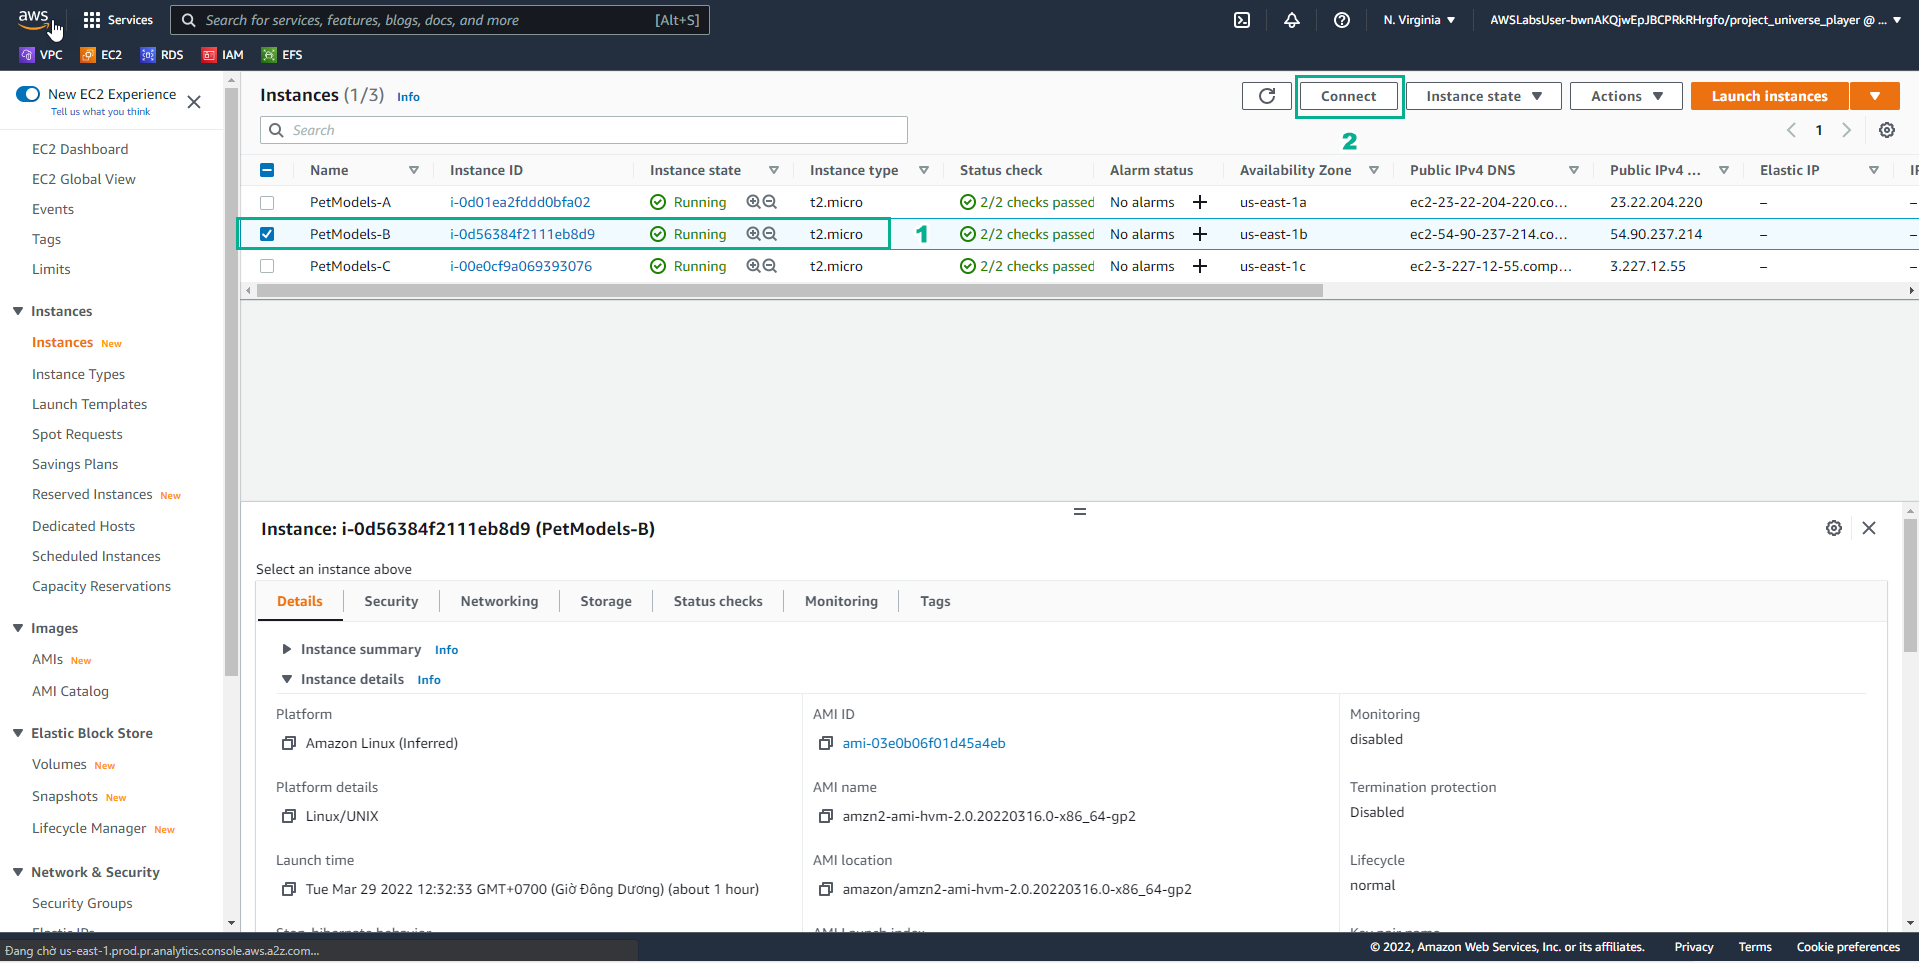
- In the Connect to instance interface
- Select EC2 Instance Connect
- Select Connect

- In the PetModels-B interface
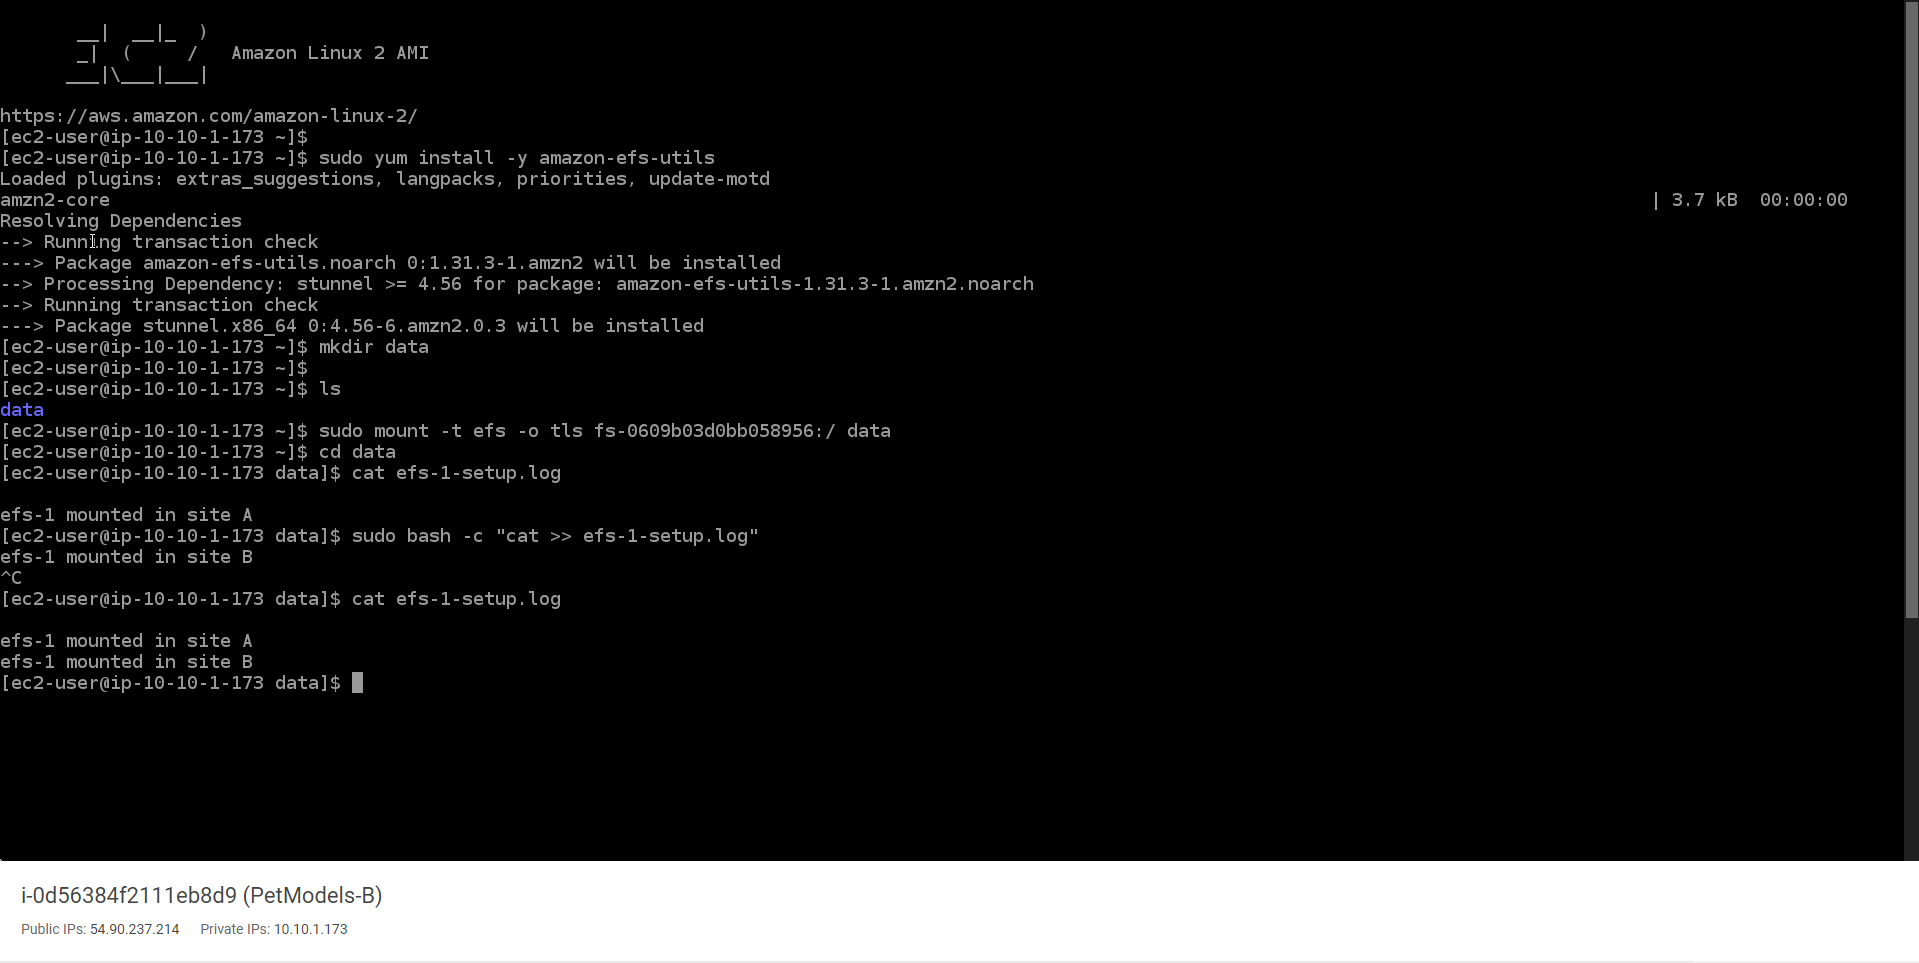
- Type
sudo yum install -y amazon-efs-utils

- In the PetModels-B interface
- Enter
mkdir data - Enter
ls - Enter the command line of Using the EFS mount helper copied in step 19, then change efs to data
- Enter
cd data - Type
cat efs-l-setup.log - Type
sudo bash -c "cat >> efs-l-setup.log" - Enter
efs-1-mounted in site B - Use Ctrl + C
- Type
cat efs-l-setup.log - View results
- In the File systems interface
- Select PetModels-EFS-1
- In the PetModels-EFS-1 interface
- Select Network
- Select Manage
- In the Network access interface
- Select Add mount target
- In the Network access interface
- Select us-east-1c
- Select Subnet ID
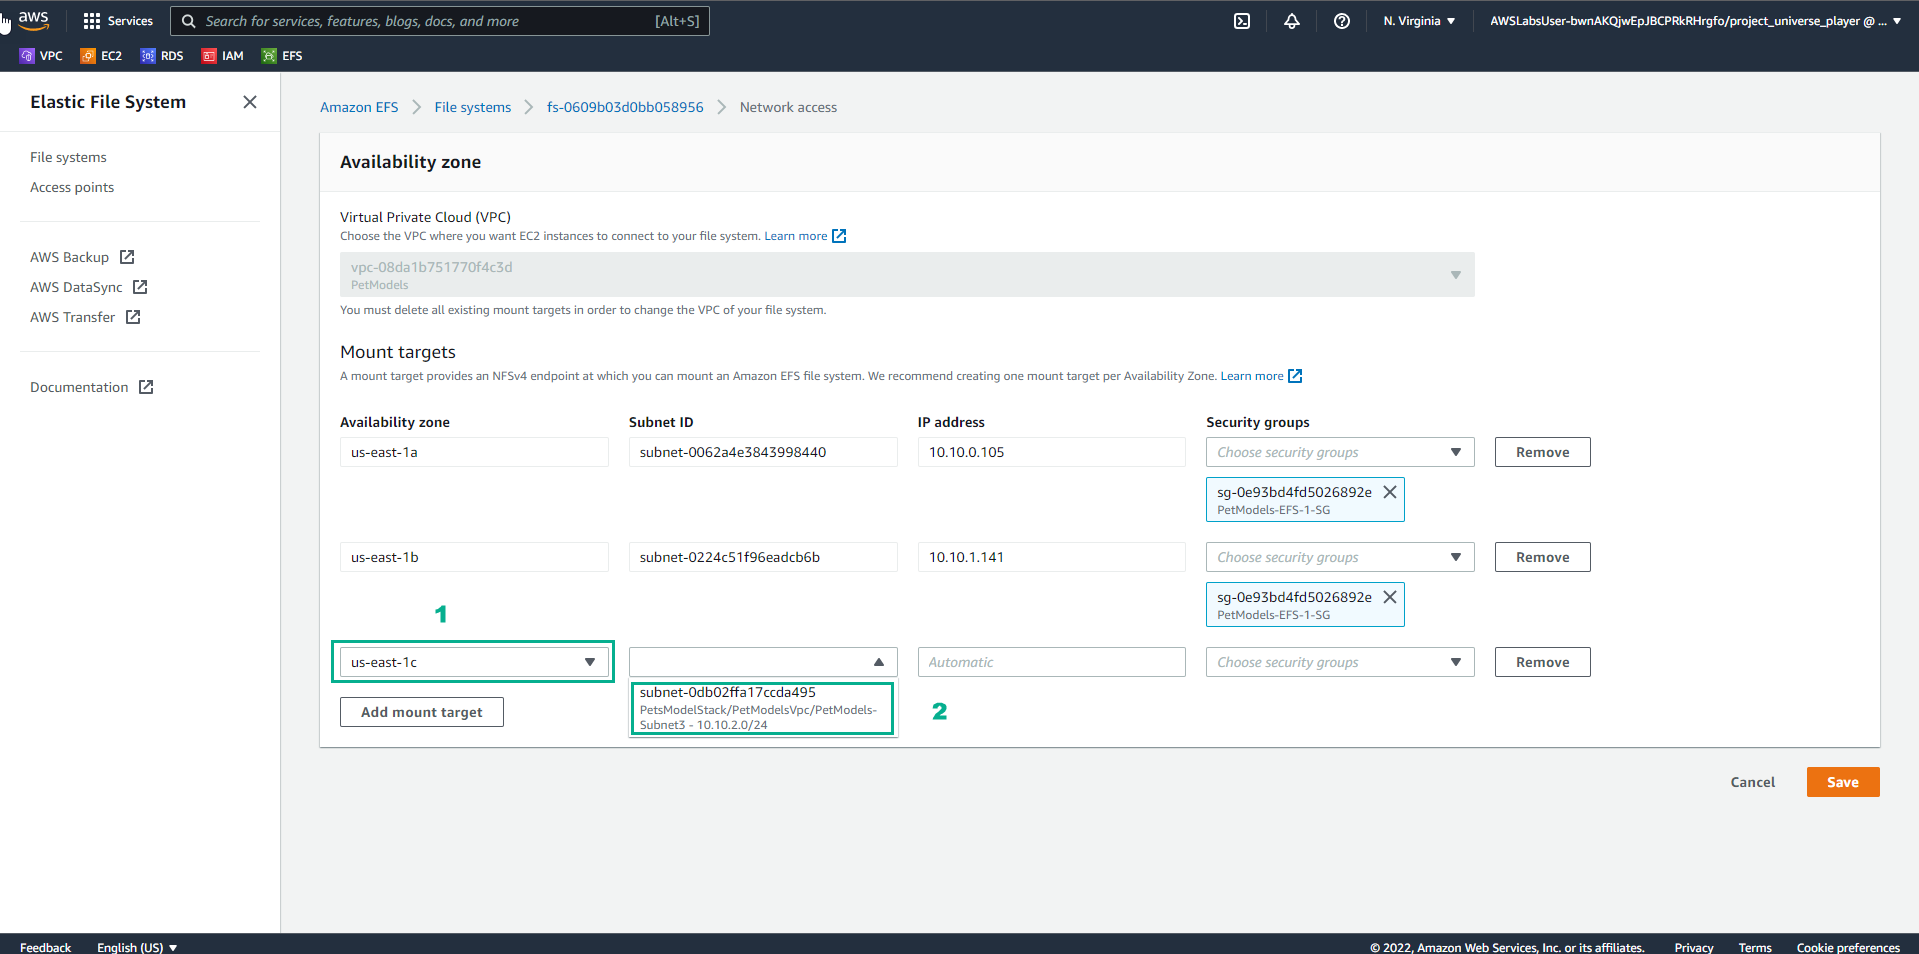
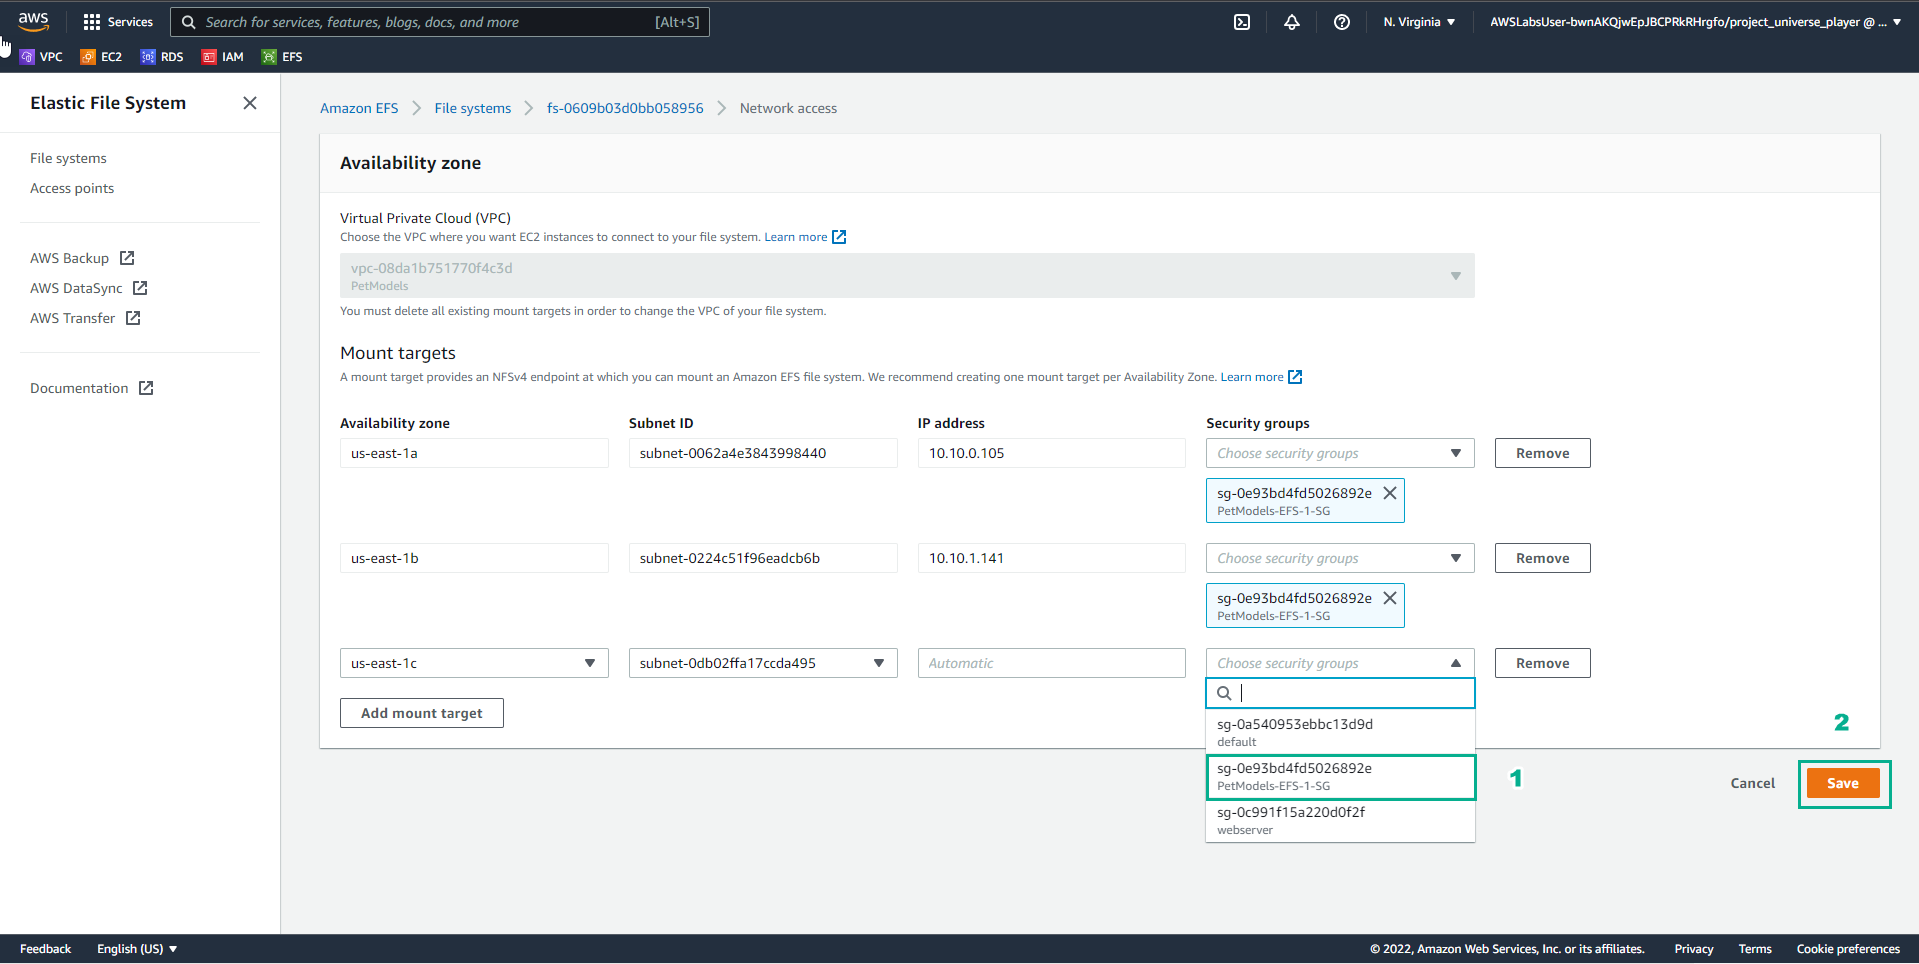
- In the Network access interface
- Select security group
- Select Save
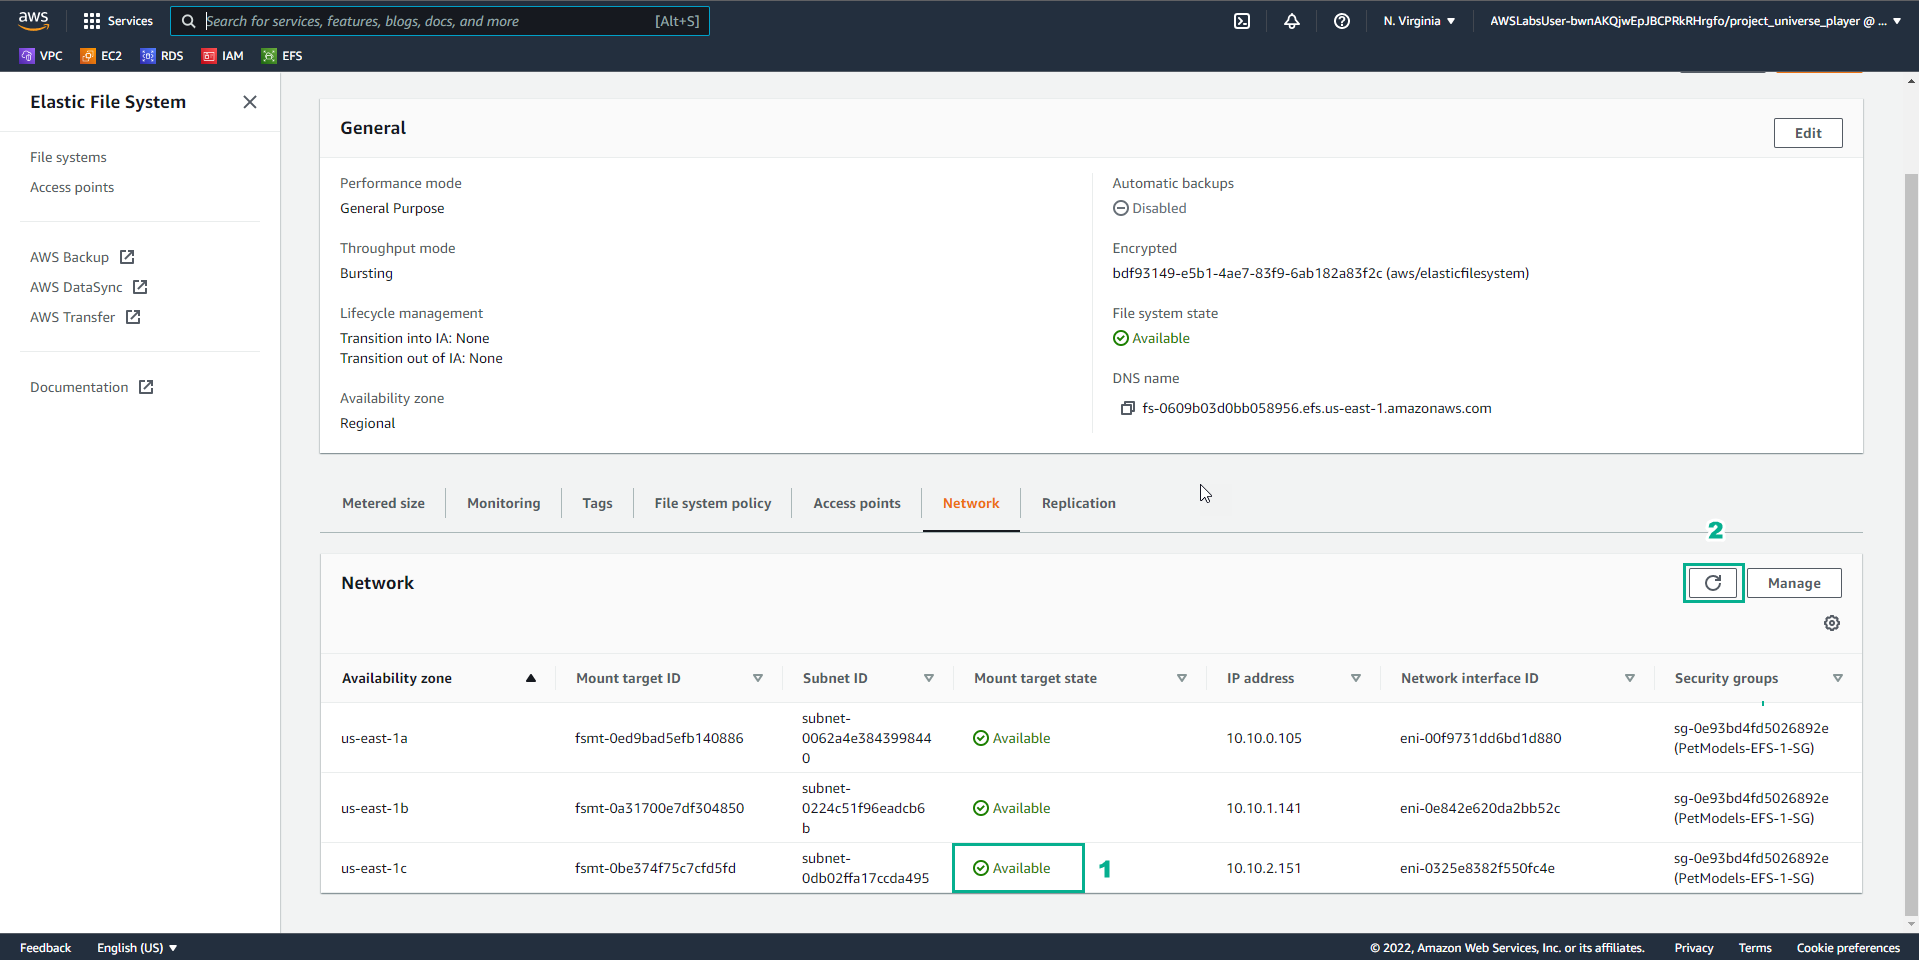
- In the File system interface
- Select Network
- View Mount target state
- Select refresh
- In the EC2 interface
- Find EC2
- Select EC2
- Select Instances
- Select PetModels-C
- Select Connect
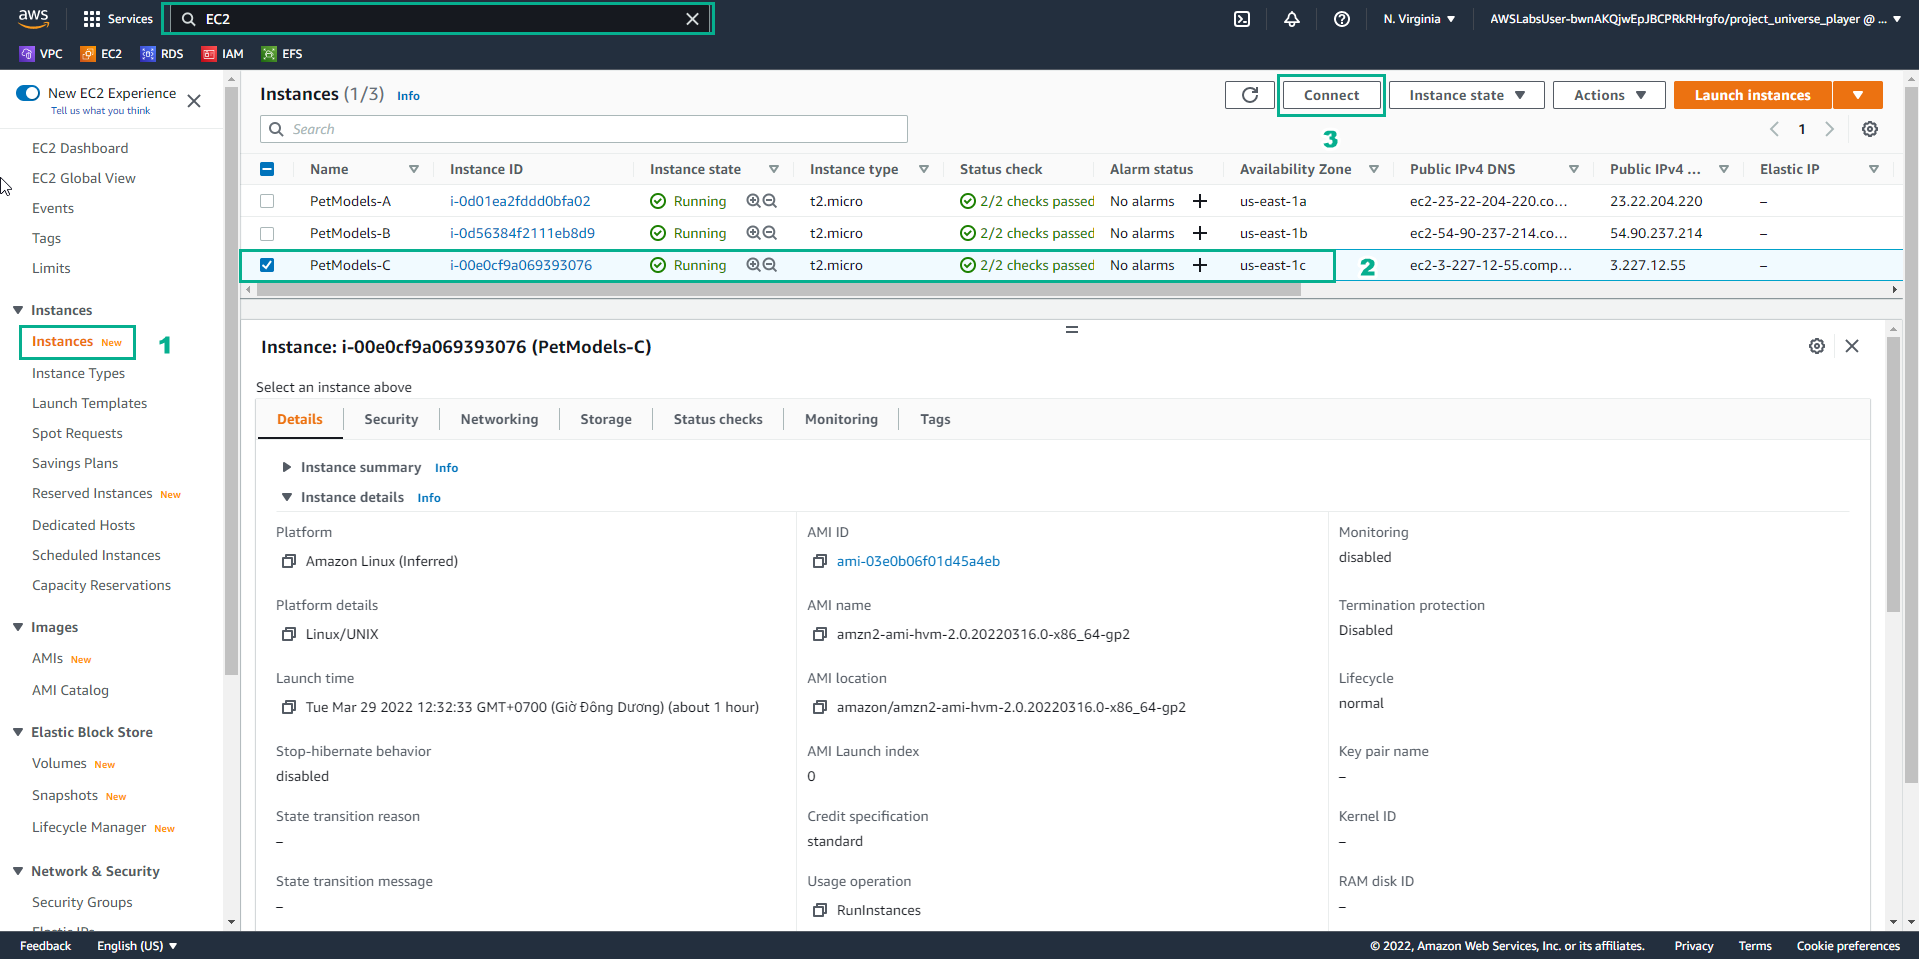
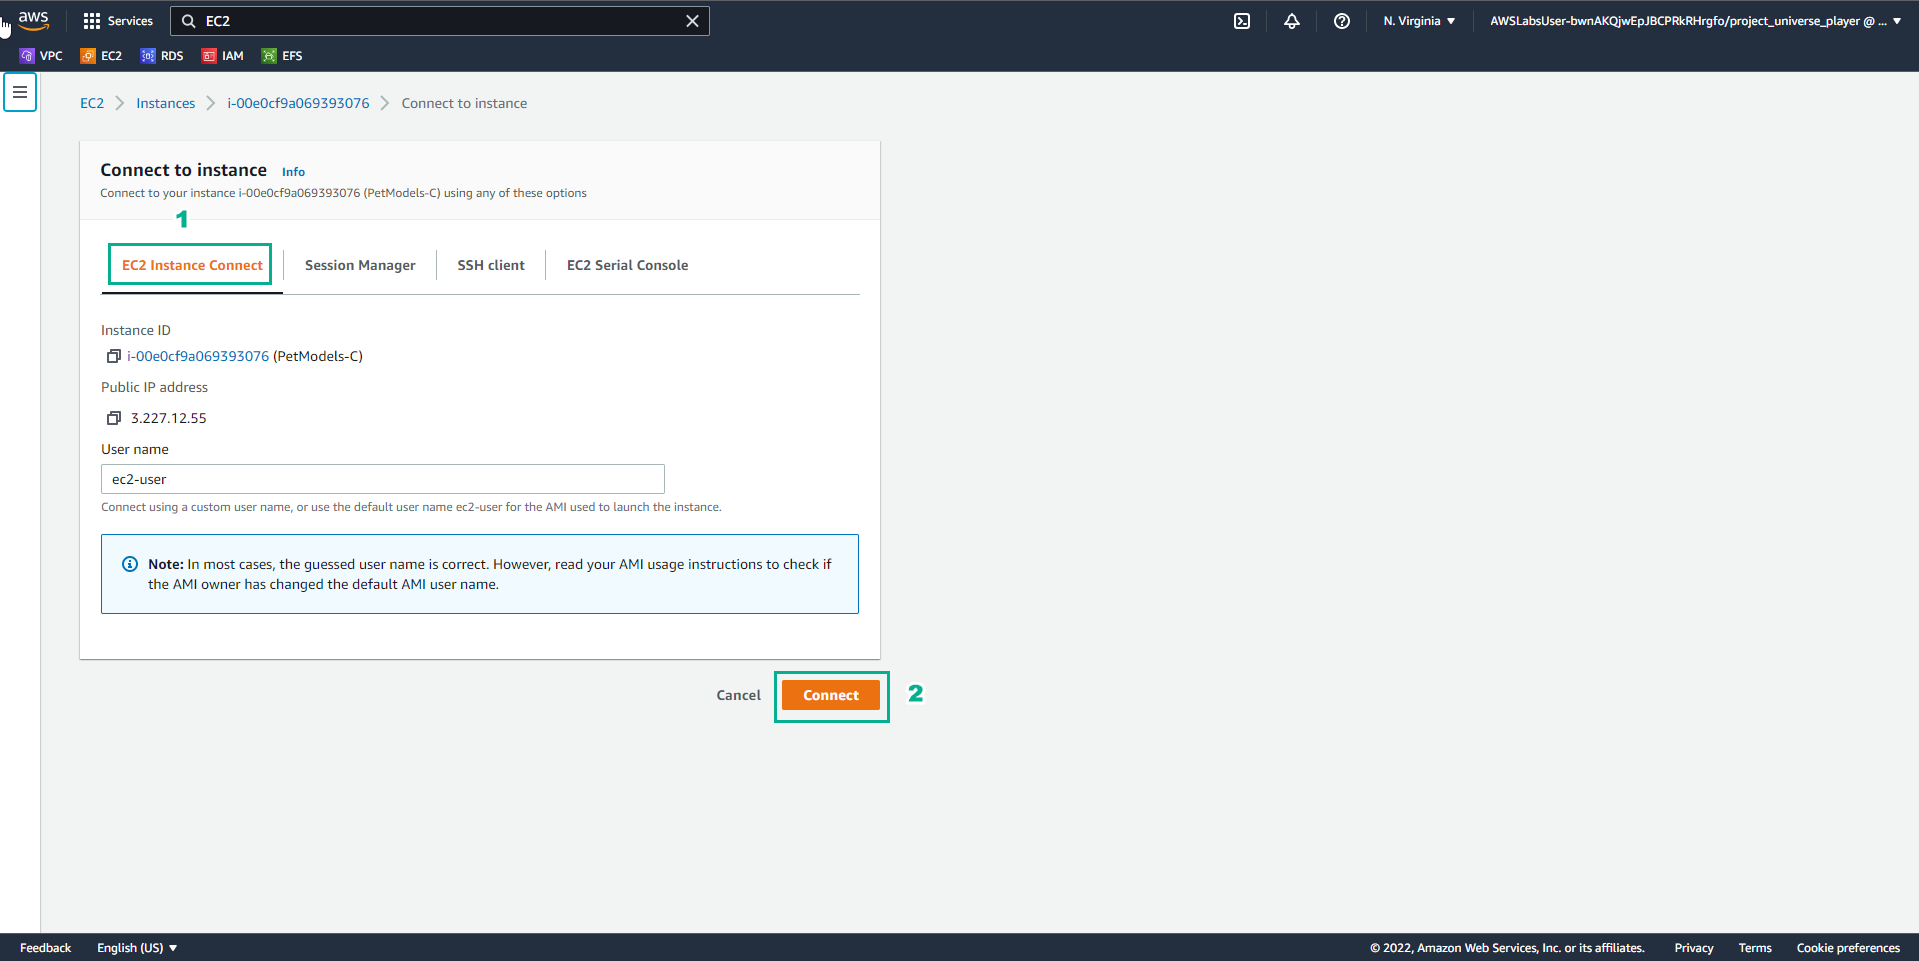
- In the Connect to instance interface
- Select EC2 Instance Connect
- Select Connect
- In the PetModels-C interface
- Type
sudo yum install -y amazon-efs-utils
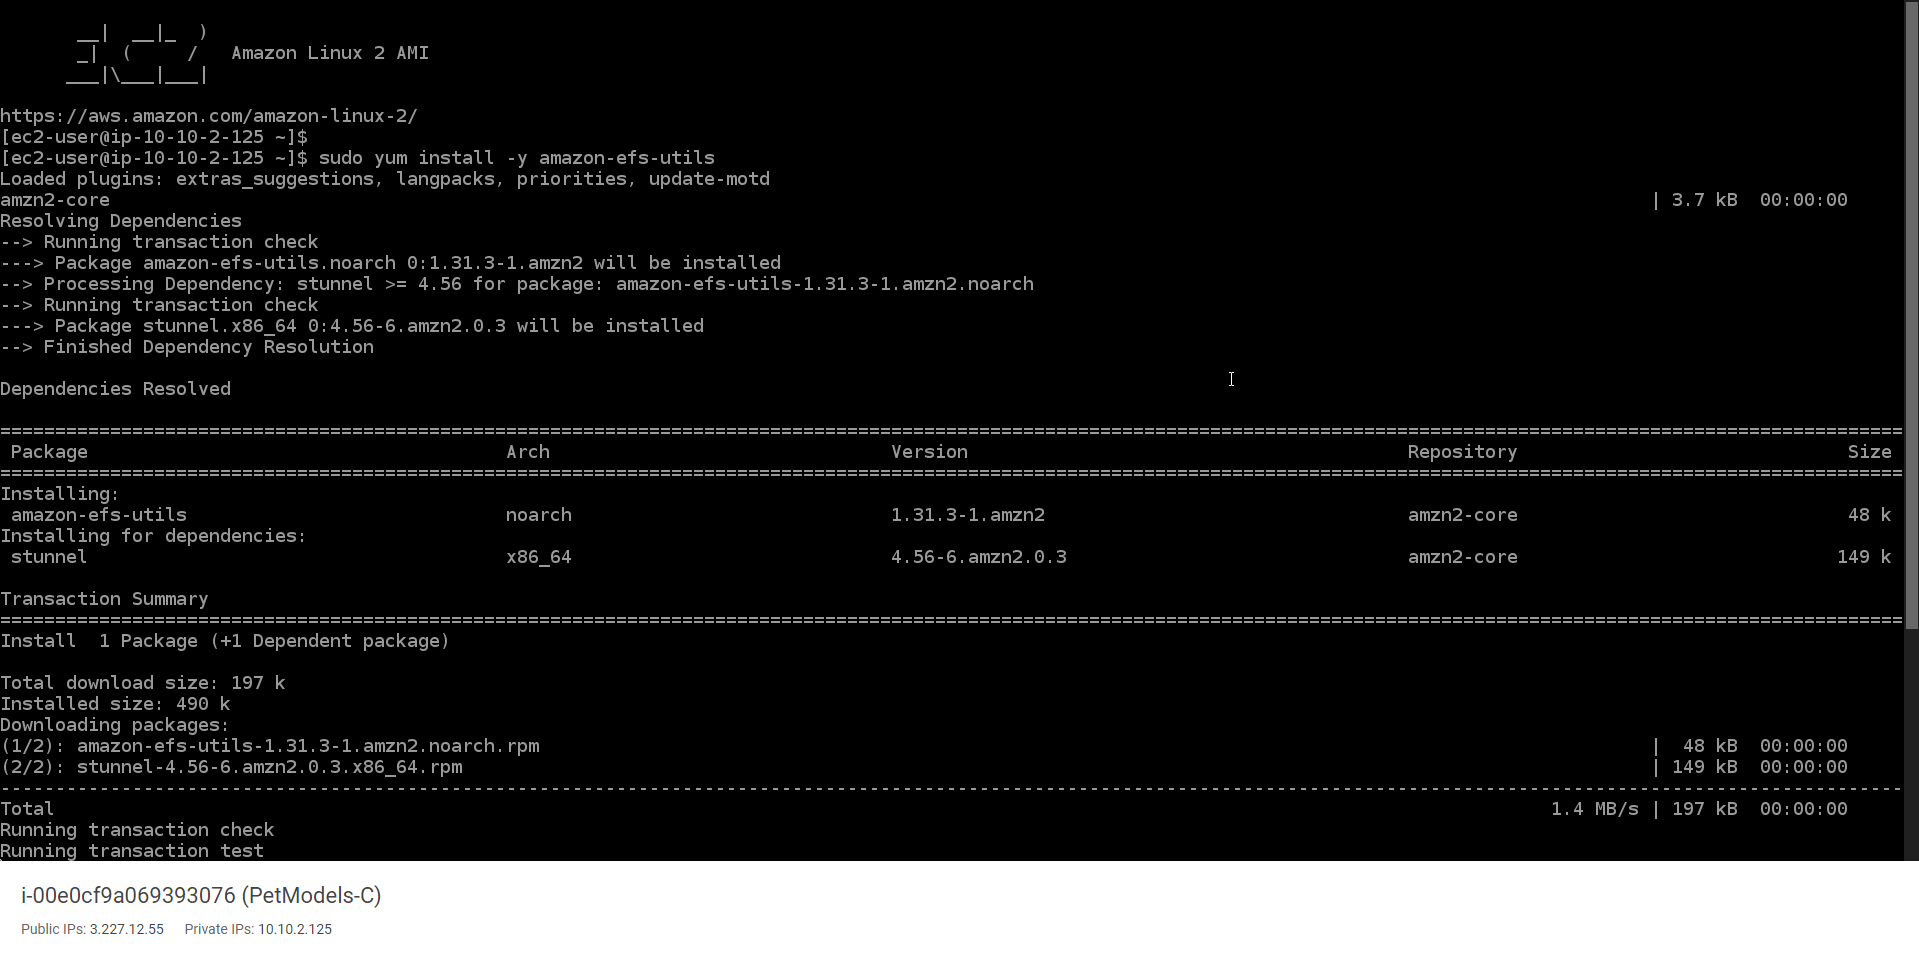
- In the PetModels-C interface
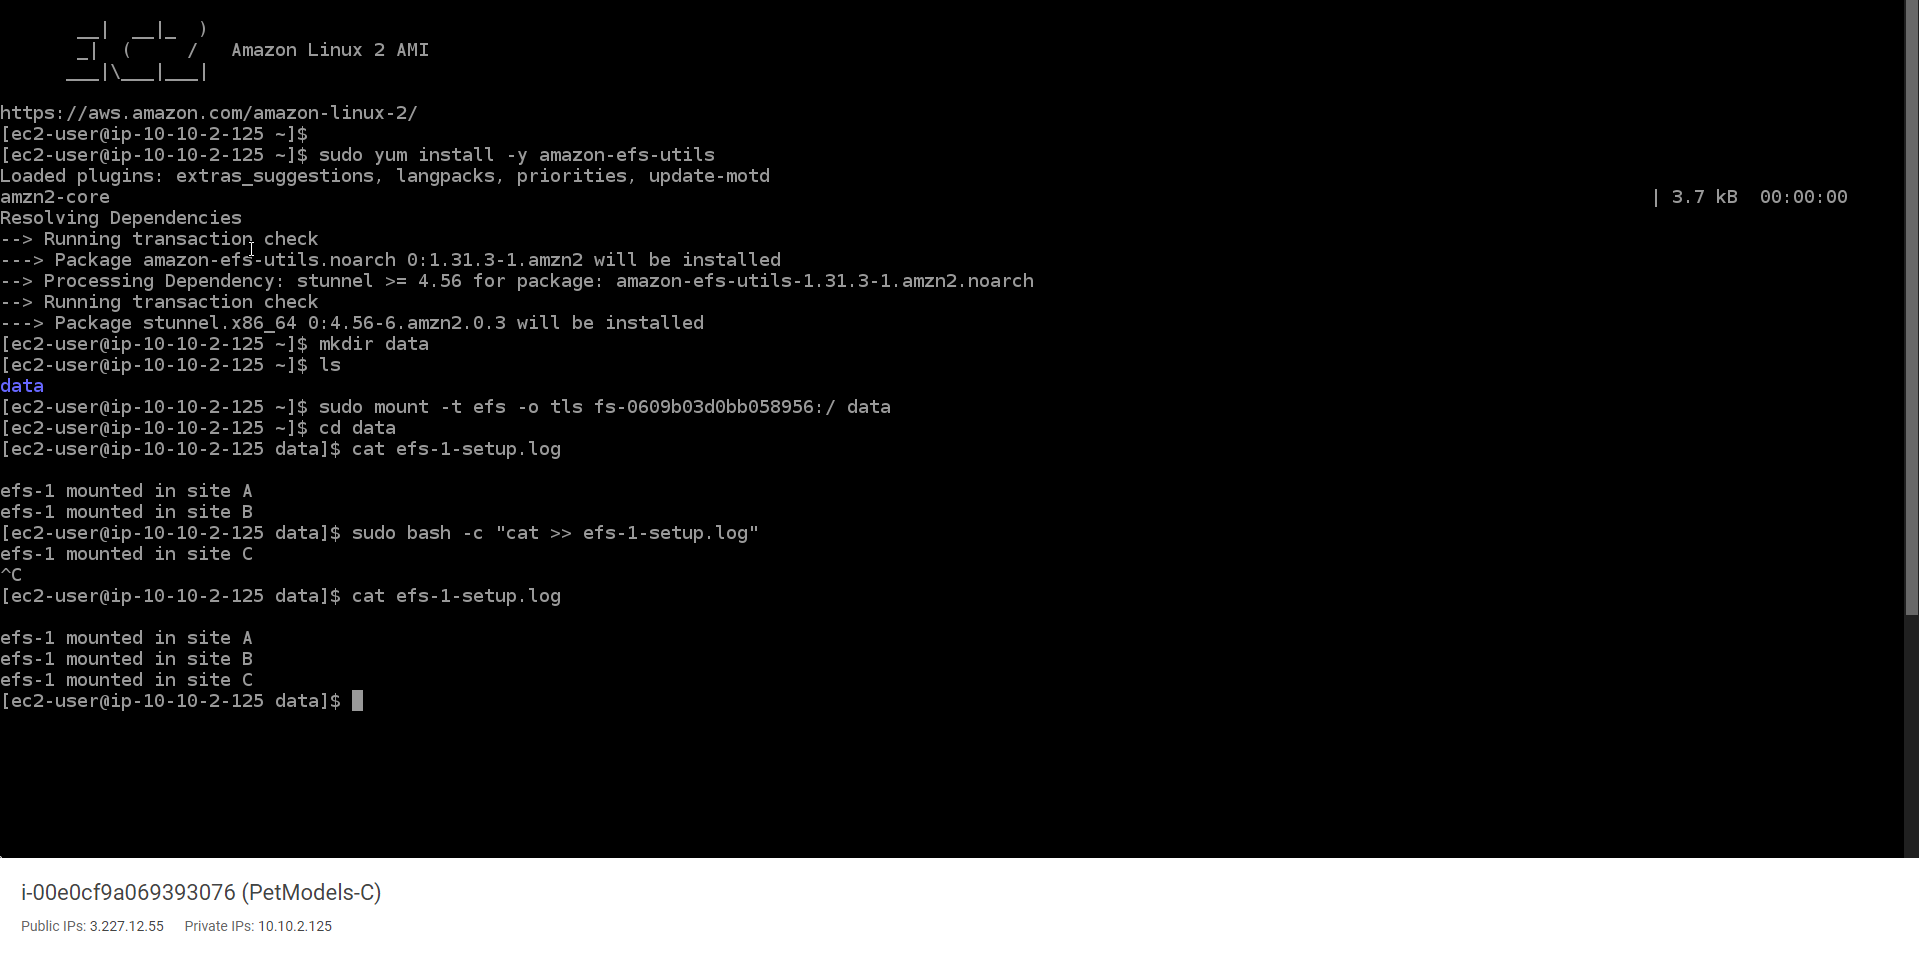
- Enter
mkdir data - Enter
ls - Enter the command line of Using the EFS mount helper copied in step 19, then change efs to data
- Enter
cd data - Type
cat efs-l-setup.log - Type
sudo bash -c "cat >> efs-l-setup.log" - Enter
efs-1-mounted in site B - Use Ctrl + C
- Type
cat efs-l-setup.log - View results
- In delivery DIY
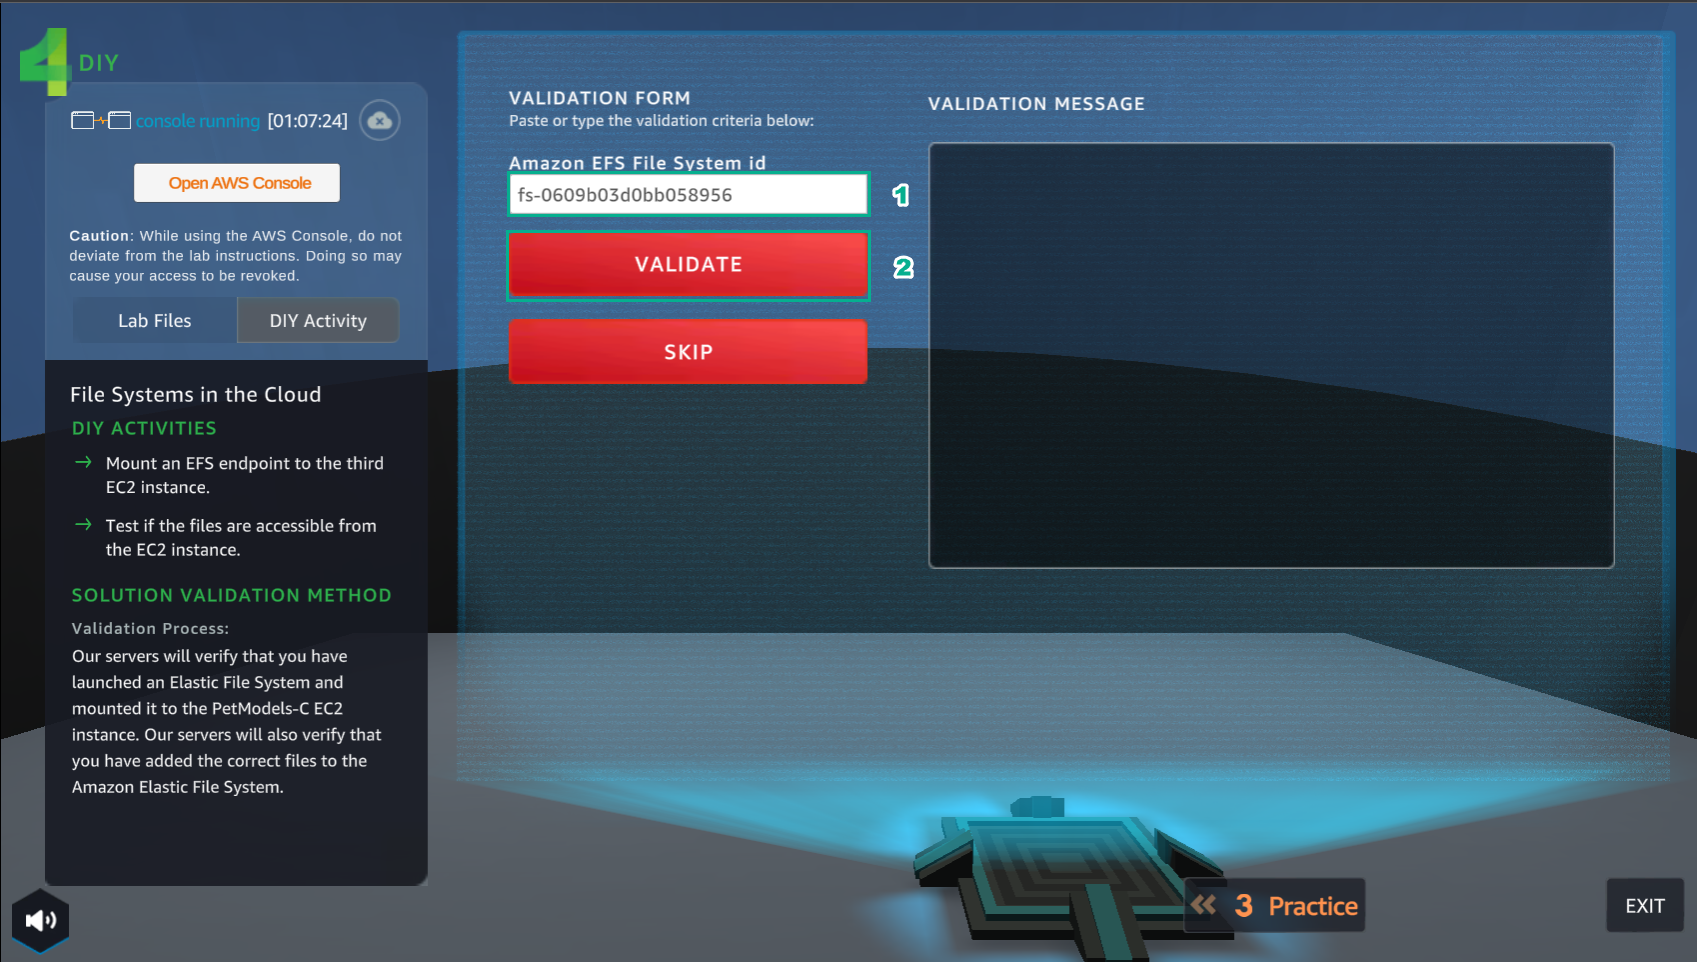
- Paste Amazon EFS File System id into VALIDATION FORM
- Select VALIDATE
 48. In the DIY interface
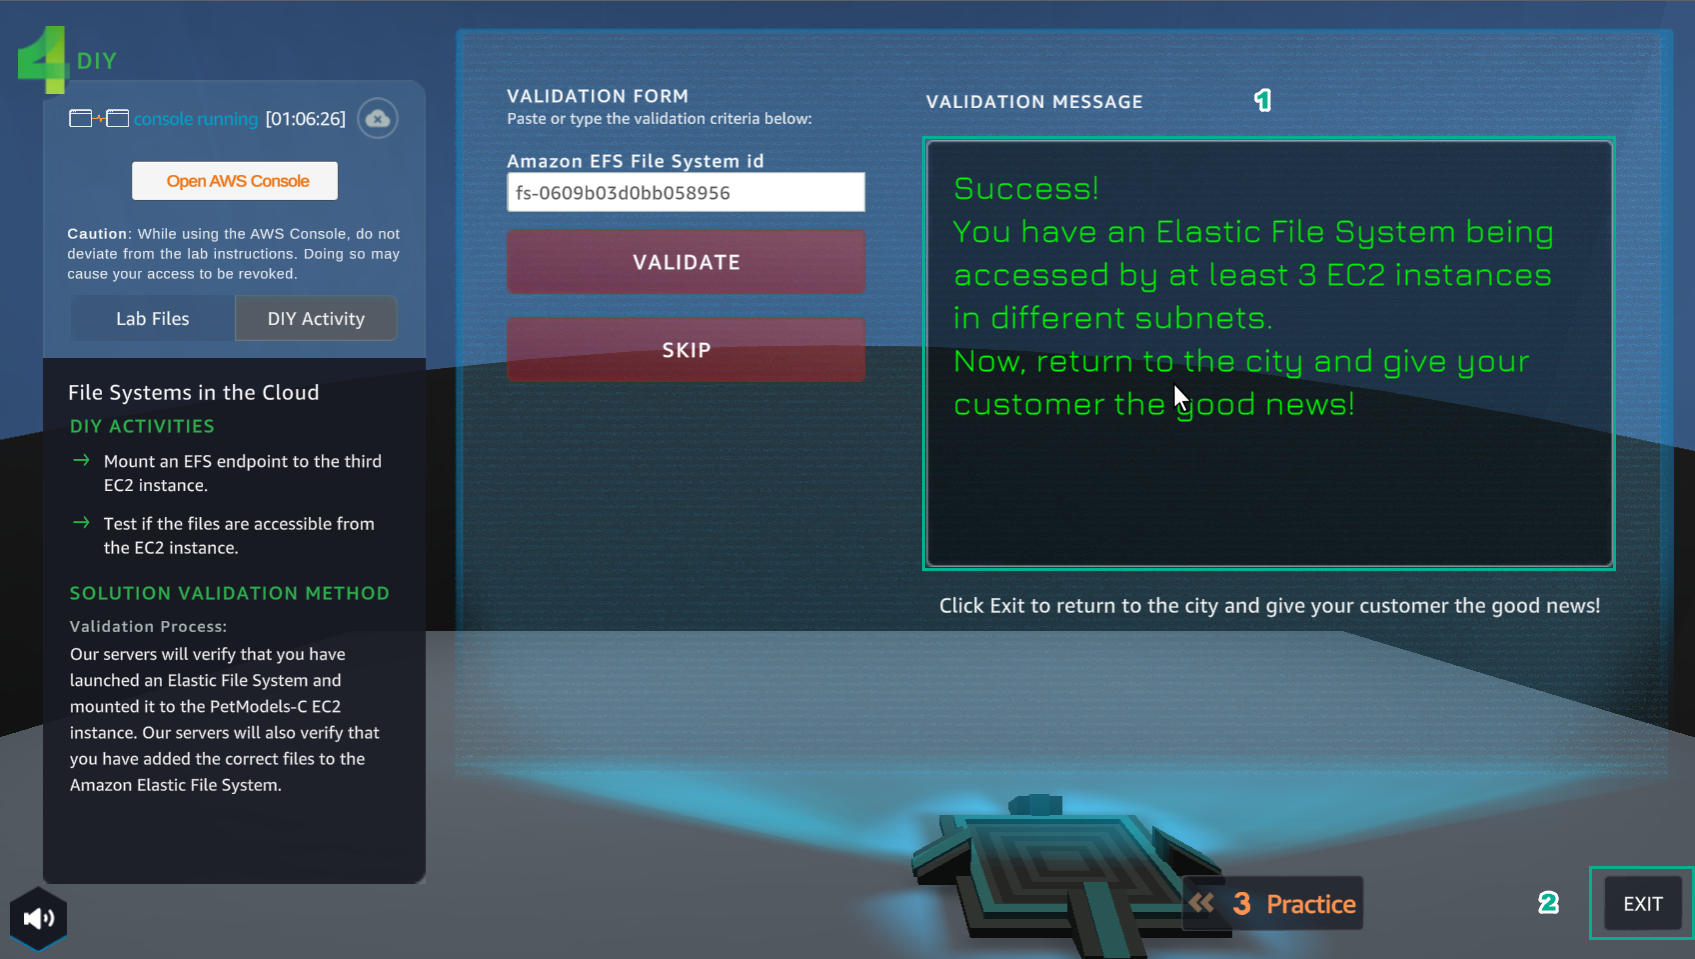
- After selecting VALIDATE, VALIDATION MESSAGE appears Success…
- Select EXIT
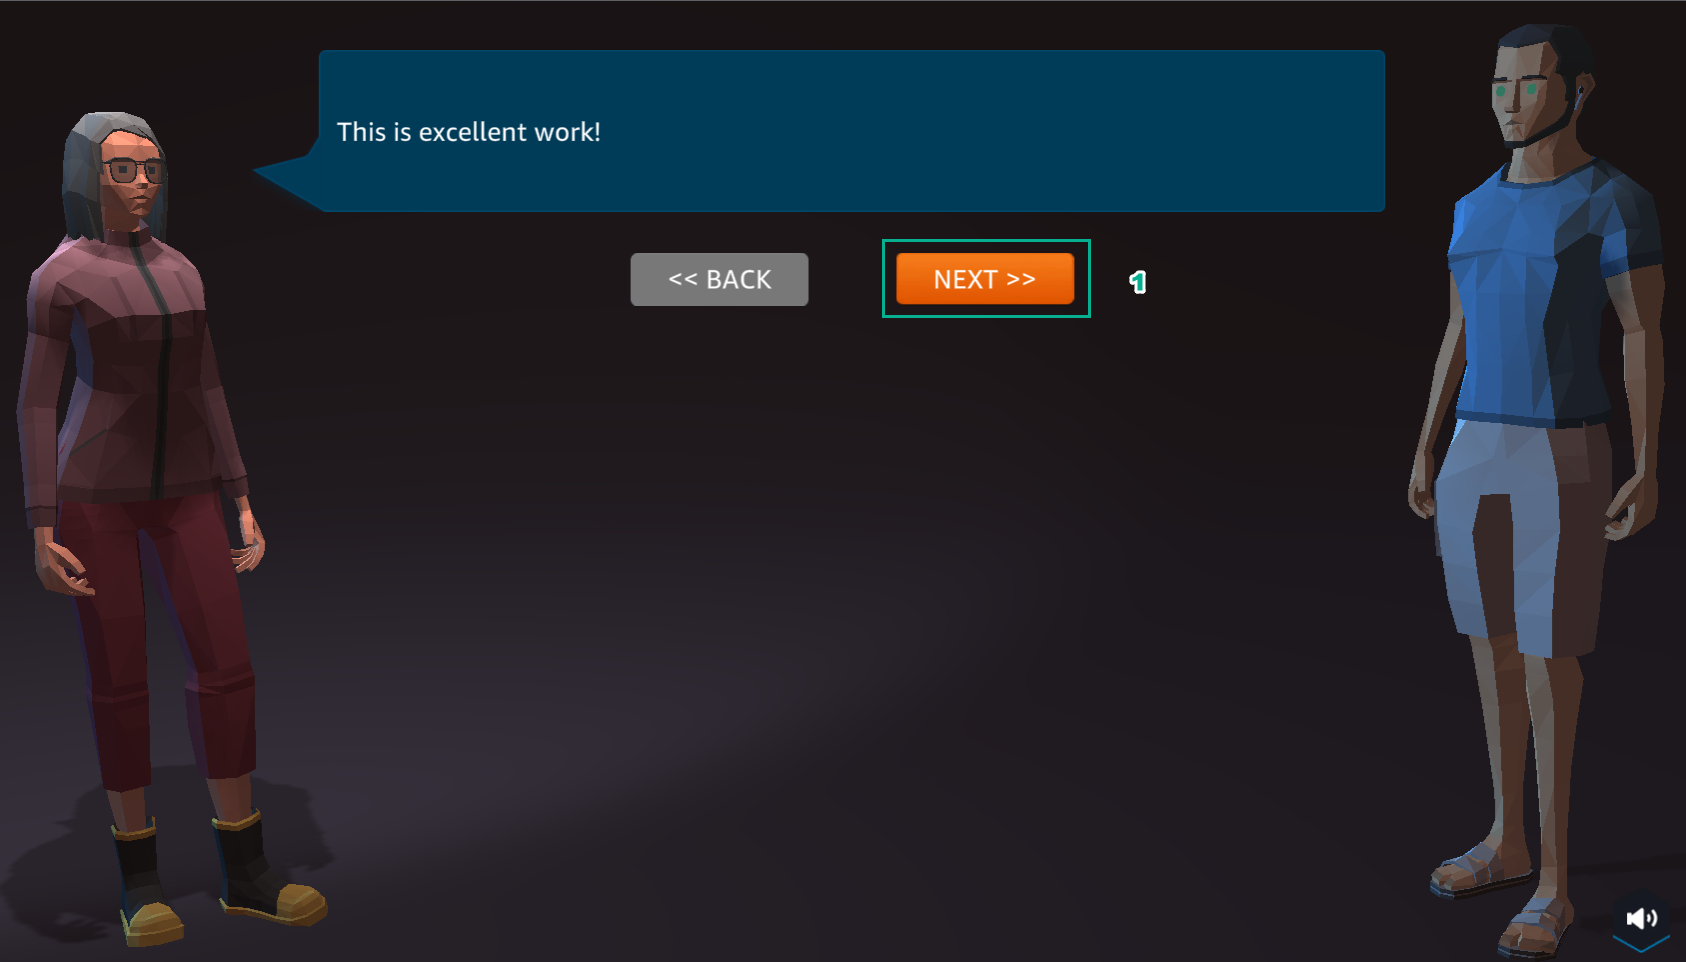
- In the city view
- Select ASSIGNMENT
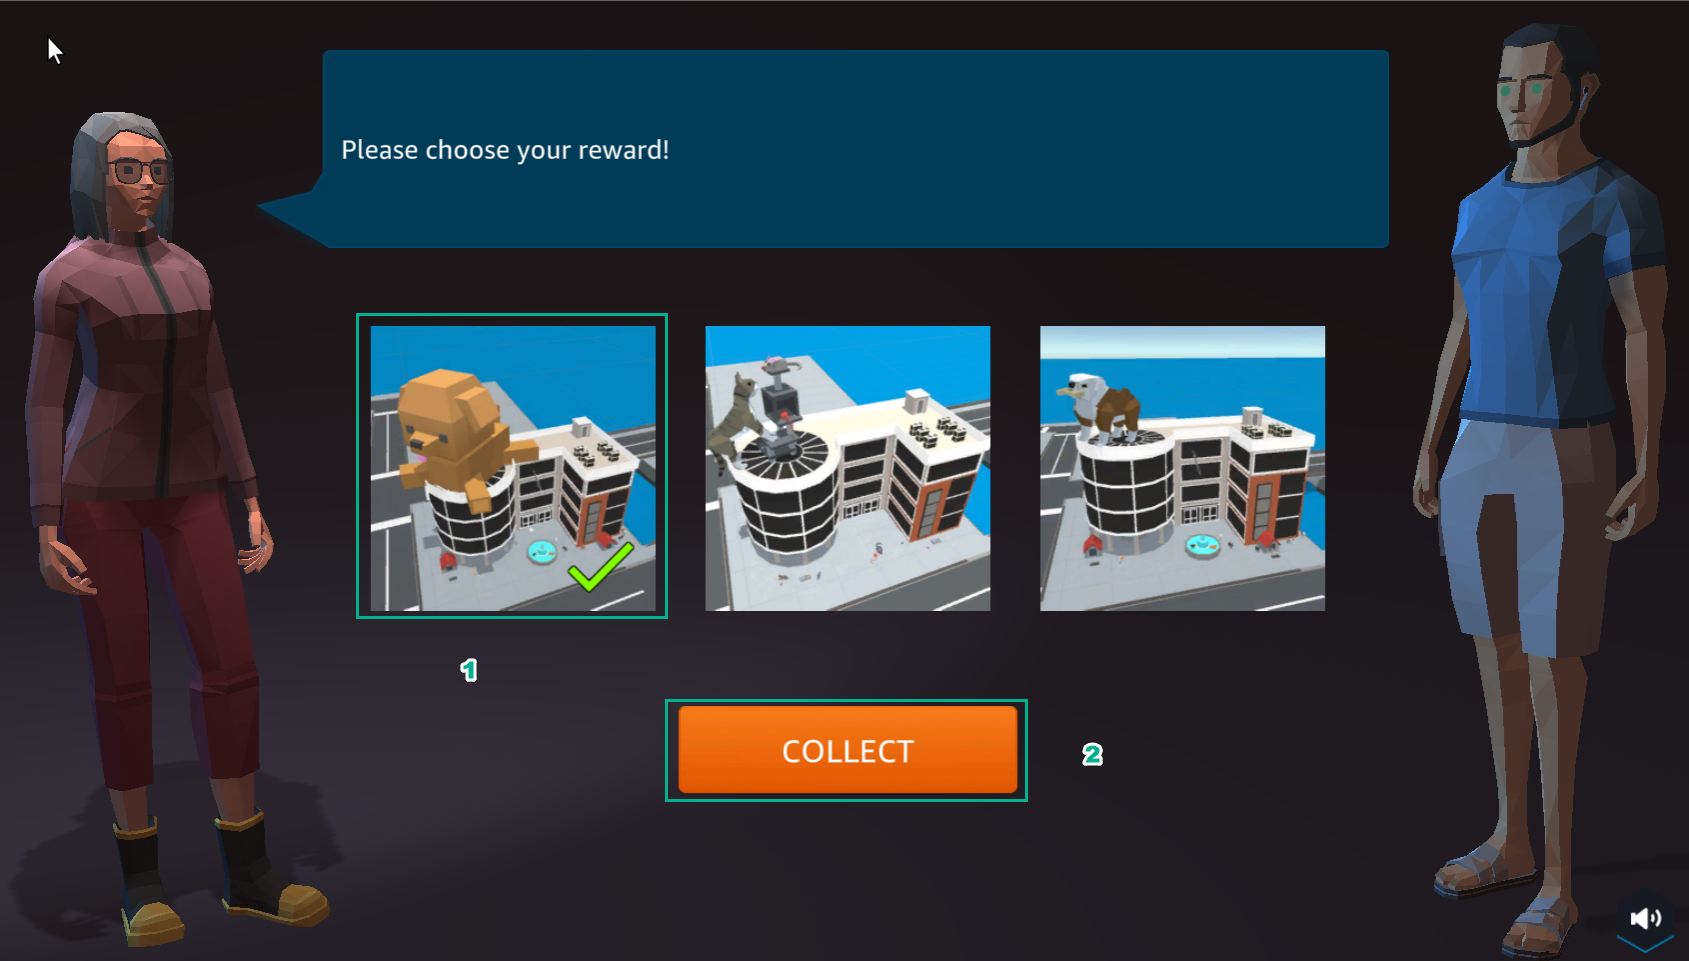
- Select COLLECT

- Select NEXT
- Select COLLECT